Blog

  • Walk Your Plans Sacramento | Remodel Planning Tool

    Walk Your Plans Sacramento | Remodel Planning Tool

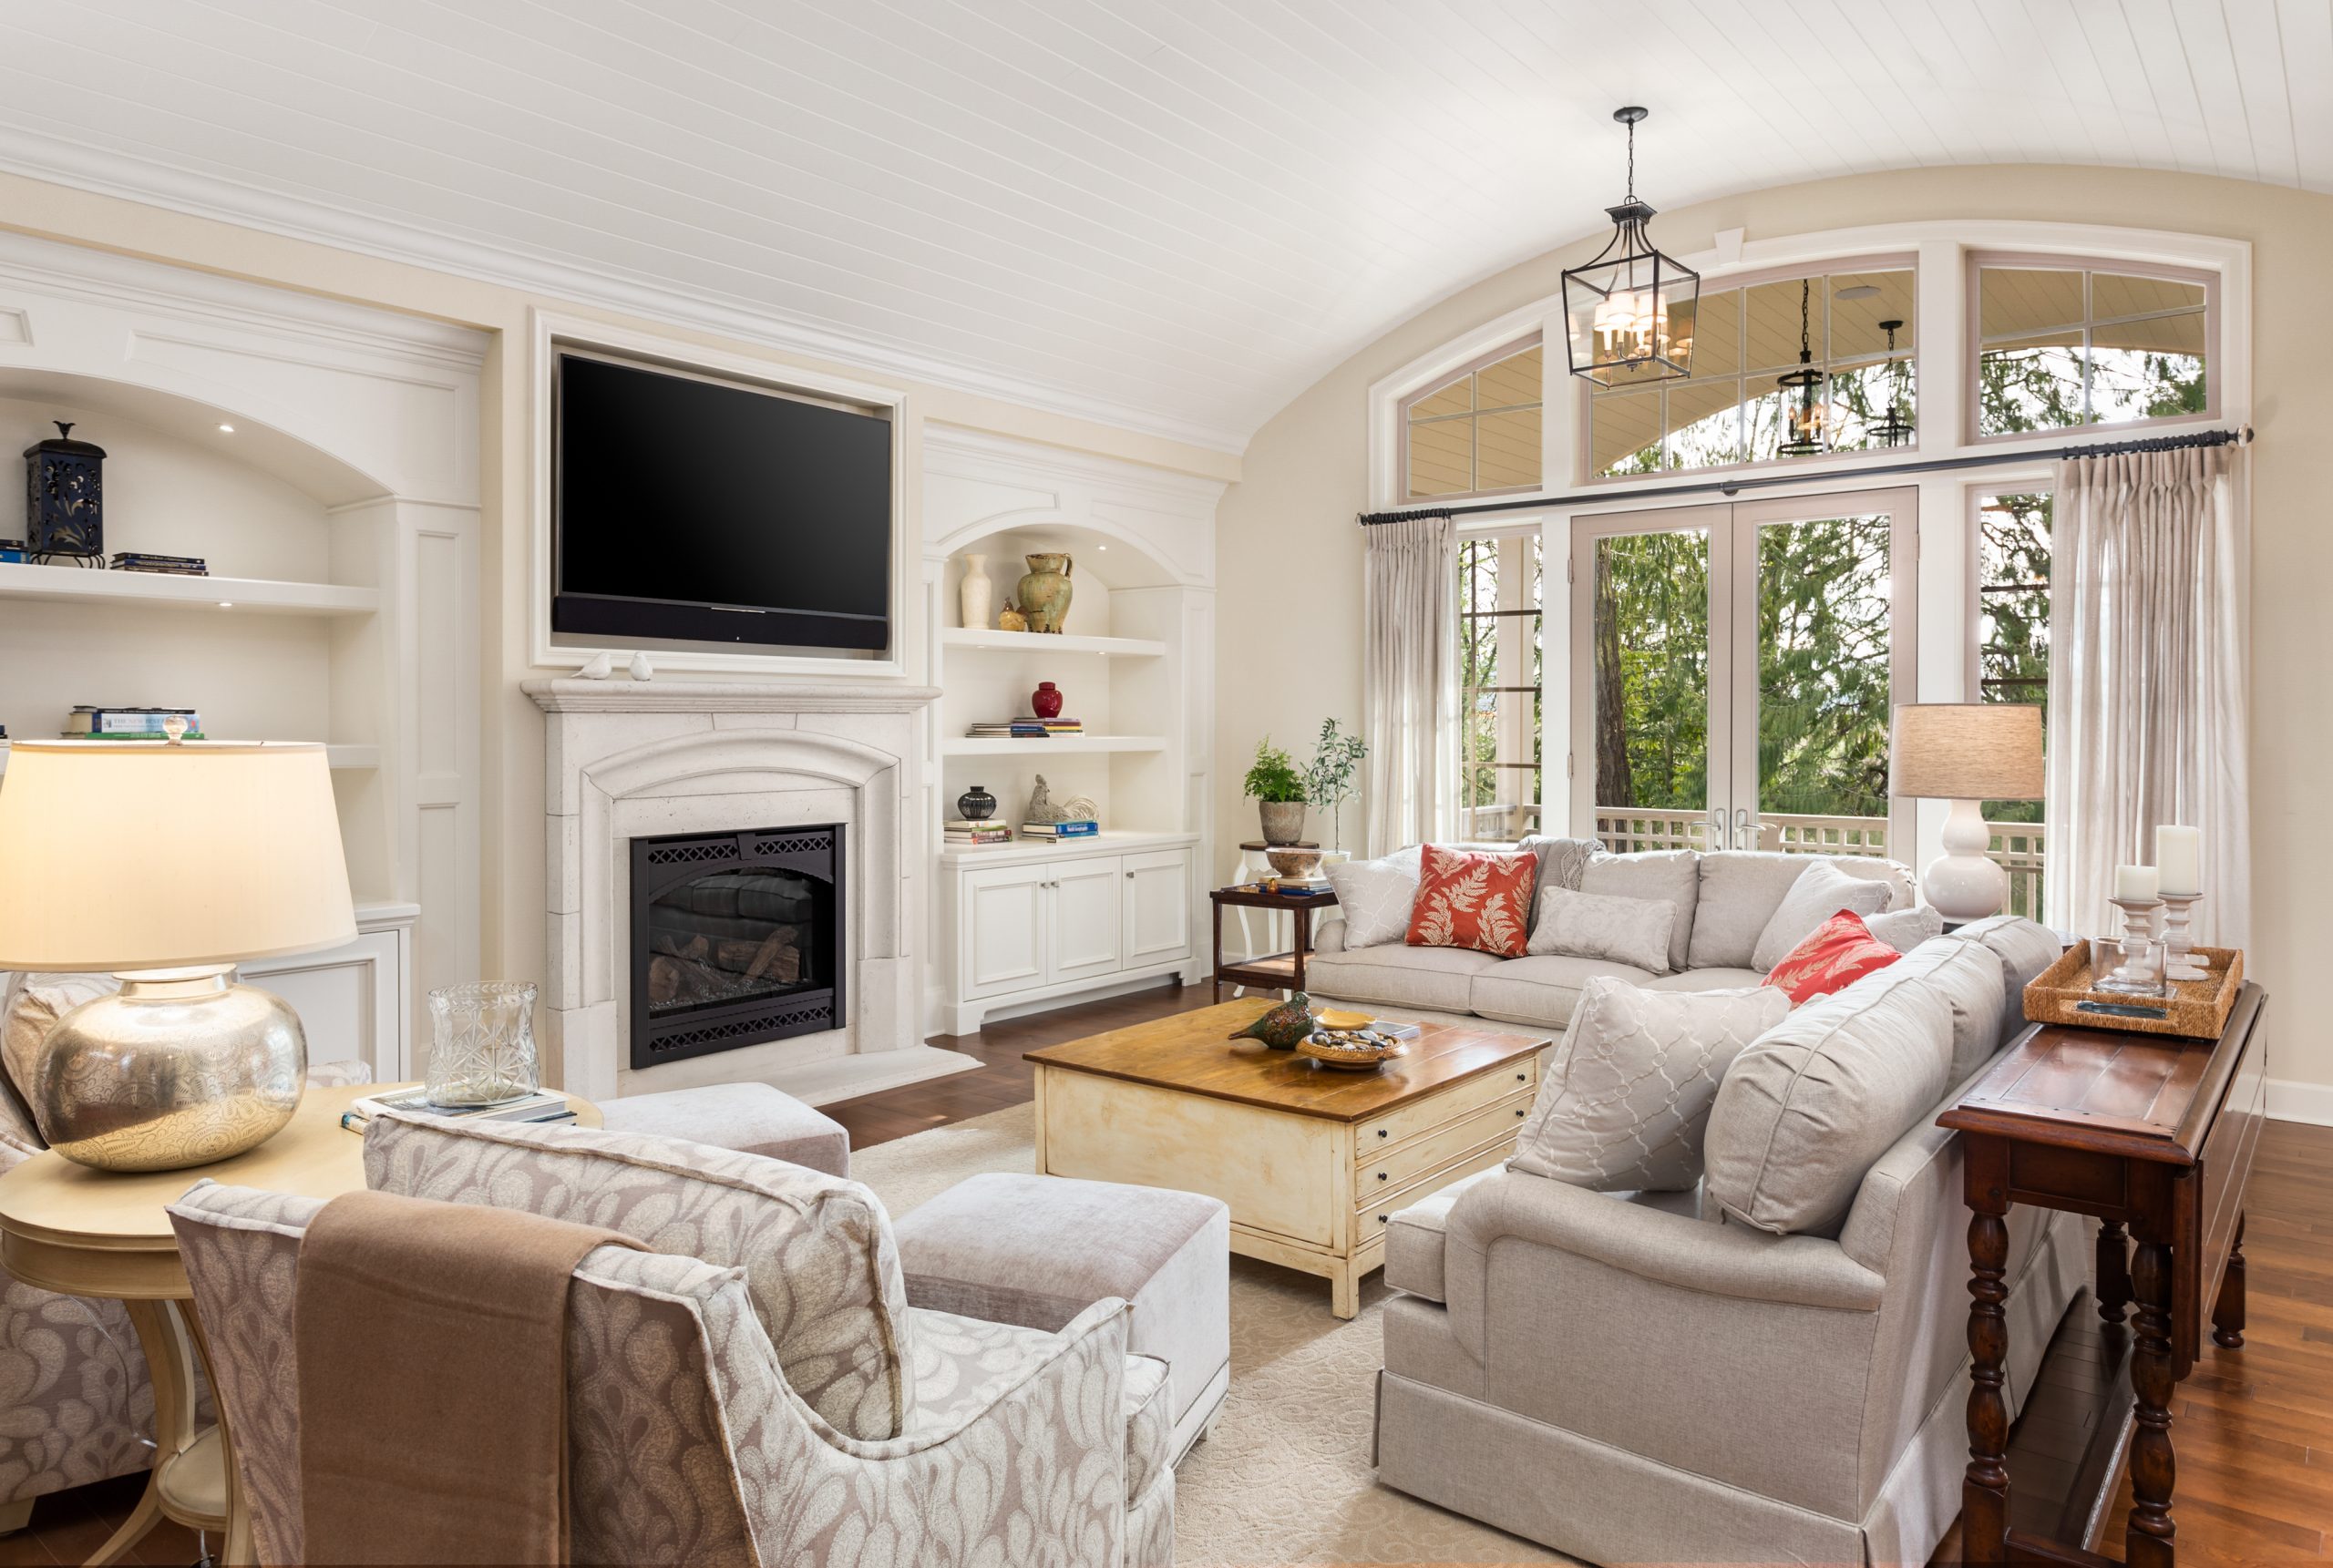
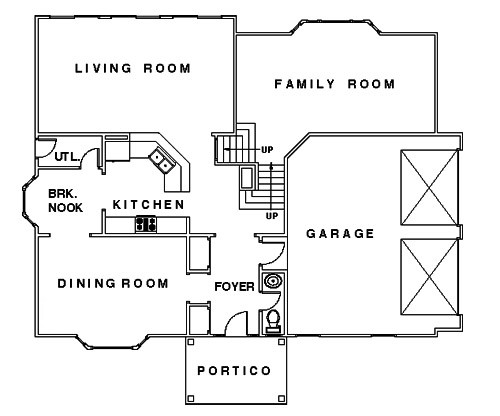
    If you’re planning a kitchen remodel, bathroom renovation, or home addition in Sacramento, you’ve likely stared at construction drawings wondering, “Is this really going to feel right?” Blueprints, elevations, and 3D renderings are helpful, but for many homeowners, they don’t fully translate into how a space will actually function day-to-day.

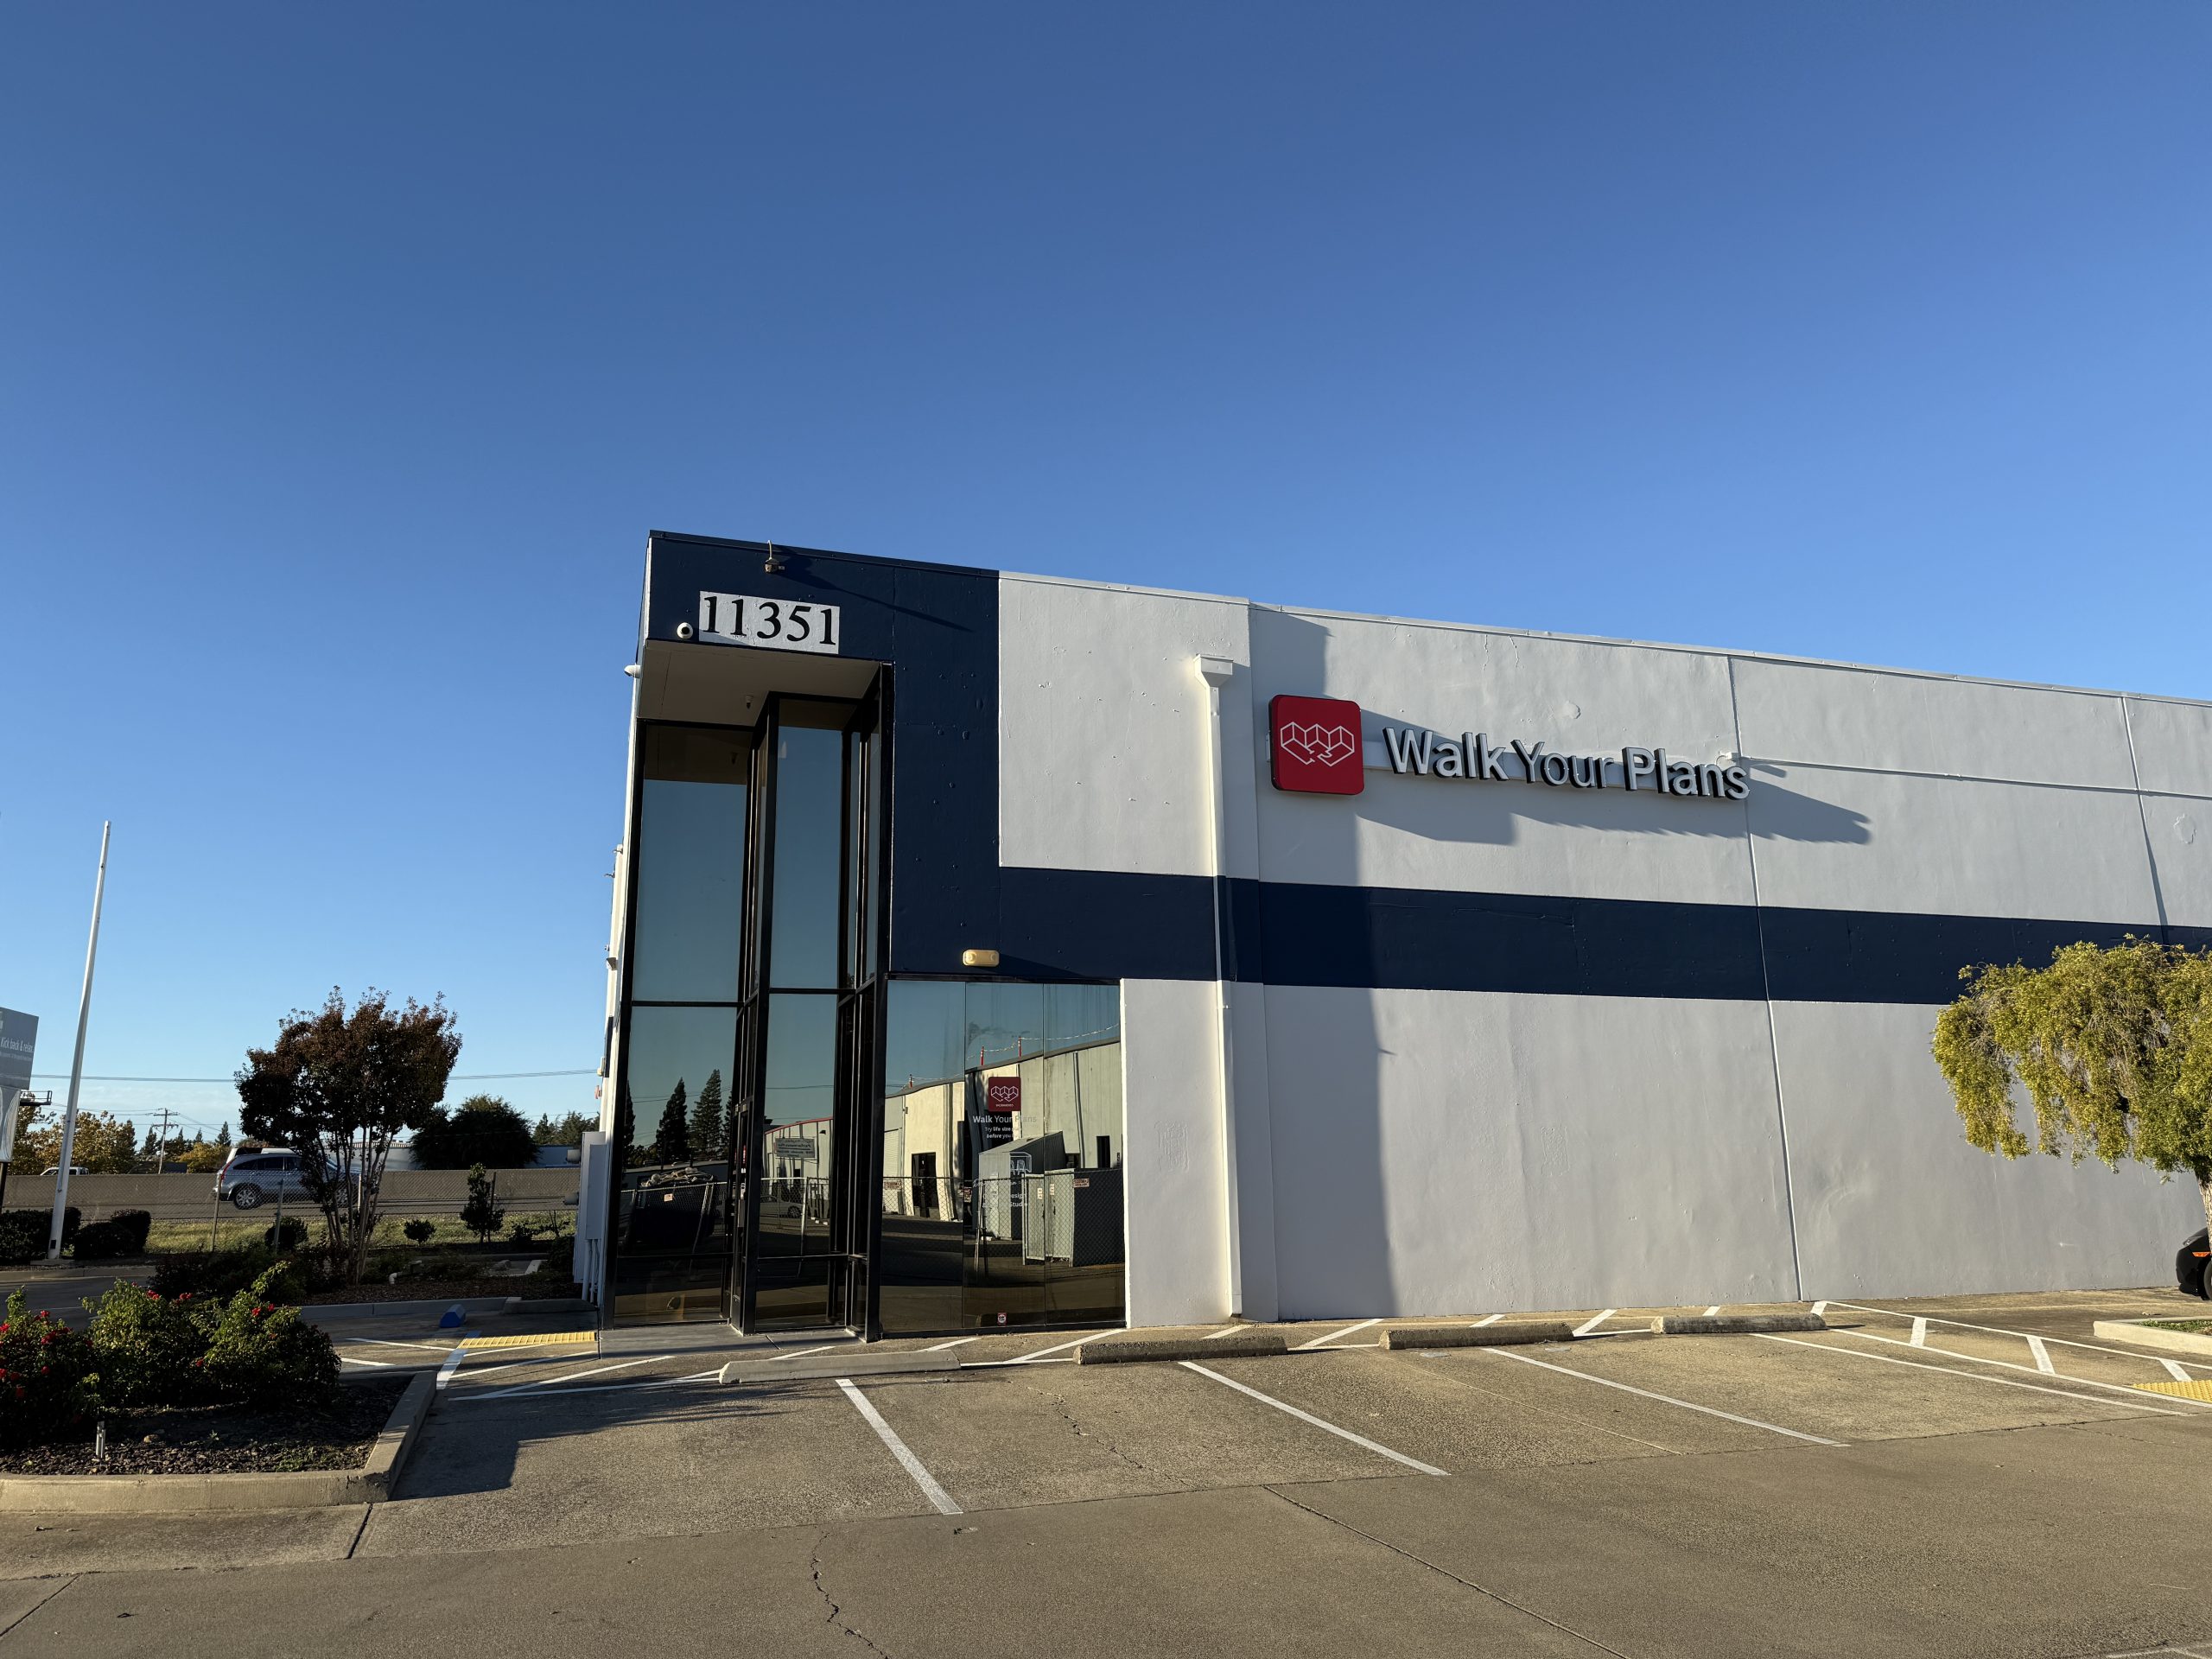
    That’s exactly why Walk Your Plans has opened a new location in Sacramento — offering a full-scale, true-to-size way to physically walk your floor plan before construction begins.

    At Parrish Construction, we believe great remodeling starts with clarity. Walk Your Plans gives homeowners, designers, and builders an opportunity to step inside their layout early in the design phase — reducing uncertainty, avoiding costly change orders, and making confident decisions before framing ever begins.

    Below, Beth Williams, owner of Walk Your Plans Sacramento, shares the story behind the company, her background in kitchen and bath design, and why this process can be such a game-changer for homeowners, designers, and builders alike.

    Owner Beth Williams with her husband and daughter
    Owner, Beth Williams with her husband and daughter.

    How did Walk Your Plans get started?

    Walk Your Plans was founded in 2023 out of a very real frustration with understanding construction plans. The founders were building a vacation home with multiple bedrooms and what was labeled as a “great room.” Once construction was underway, they realized the space couldn’t actually accommodate the number of people staying in the home. The joke is that the “great room” functioned more like a “good room.”

    The issue wasn’t poor intentions or bad planning; it was that the scale and function of the space weren’t fully understood until it was too late to change affordably.

    That experience sparked the idea behind Walk Your Plans: projecting plans at full scale so people can physically walk their spaces before construction begins. After building the concept, a video demonstrating the process went viral on Instagram, confirming that this was a widespread problem across the industry.

    In 2024, Walk Your Plans signed its first licensed location. As of 2026, there are 26 open locations nationwide, with an estimated 50 locations projected by the end of the year.

    In late 2024, Walk Your Plans entered a new chapter under the ownership of Beth Williams, who brought the concept to Sacramento and opened the local location in October 2025.

    What exactly is Walk Your Plans?

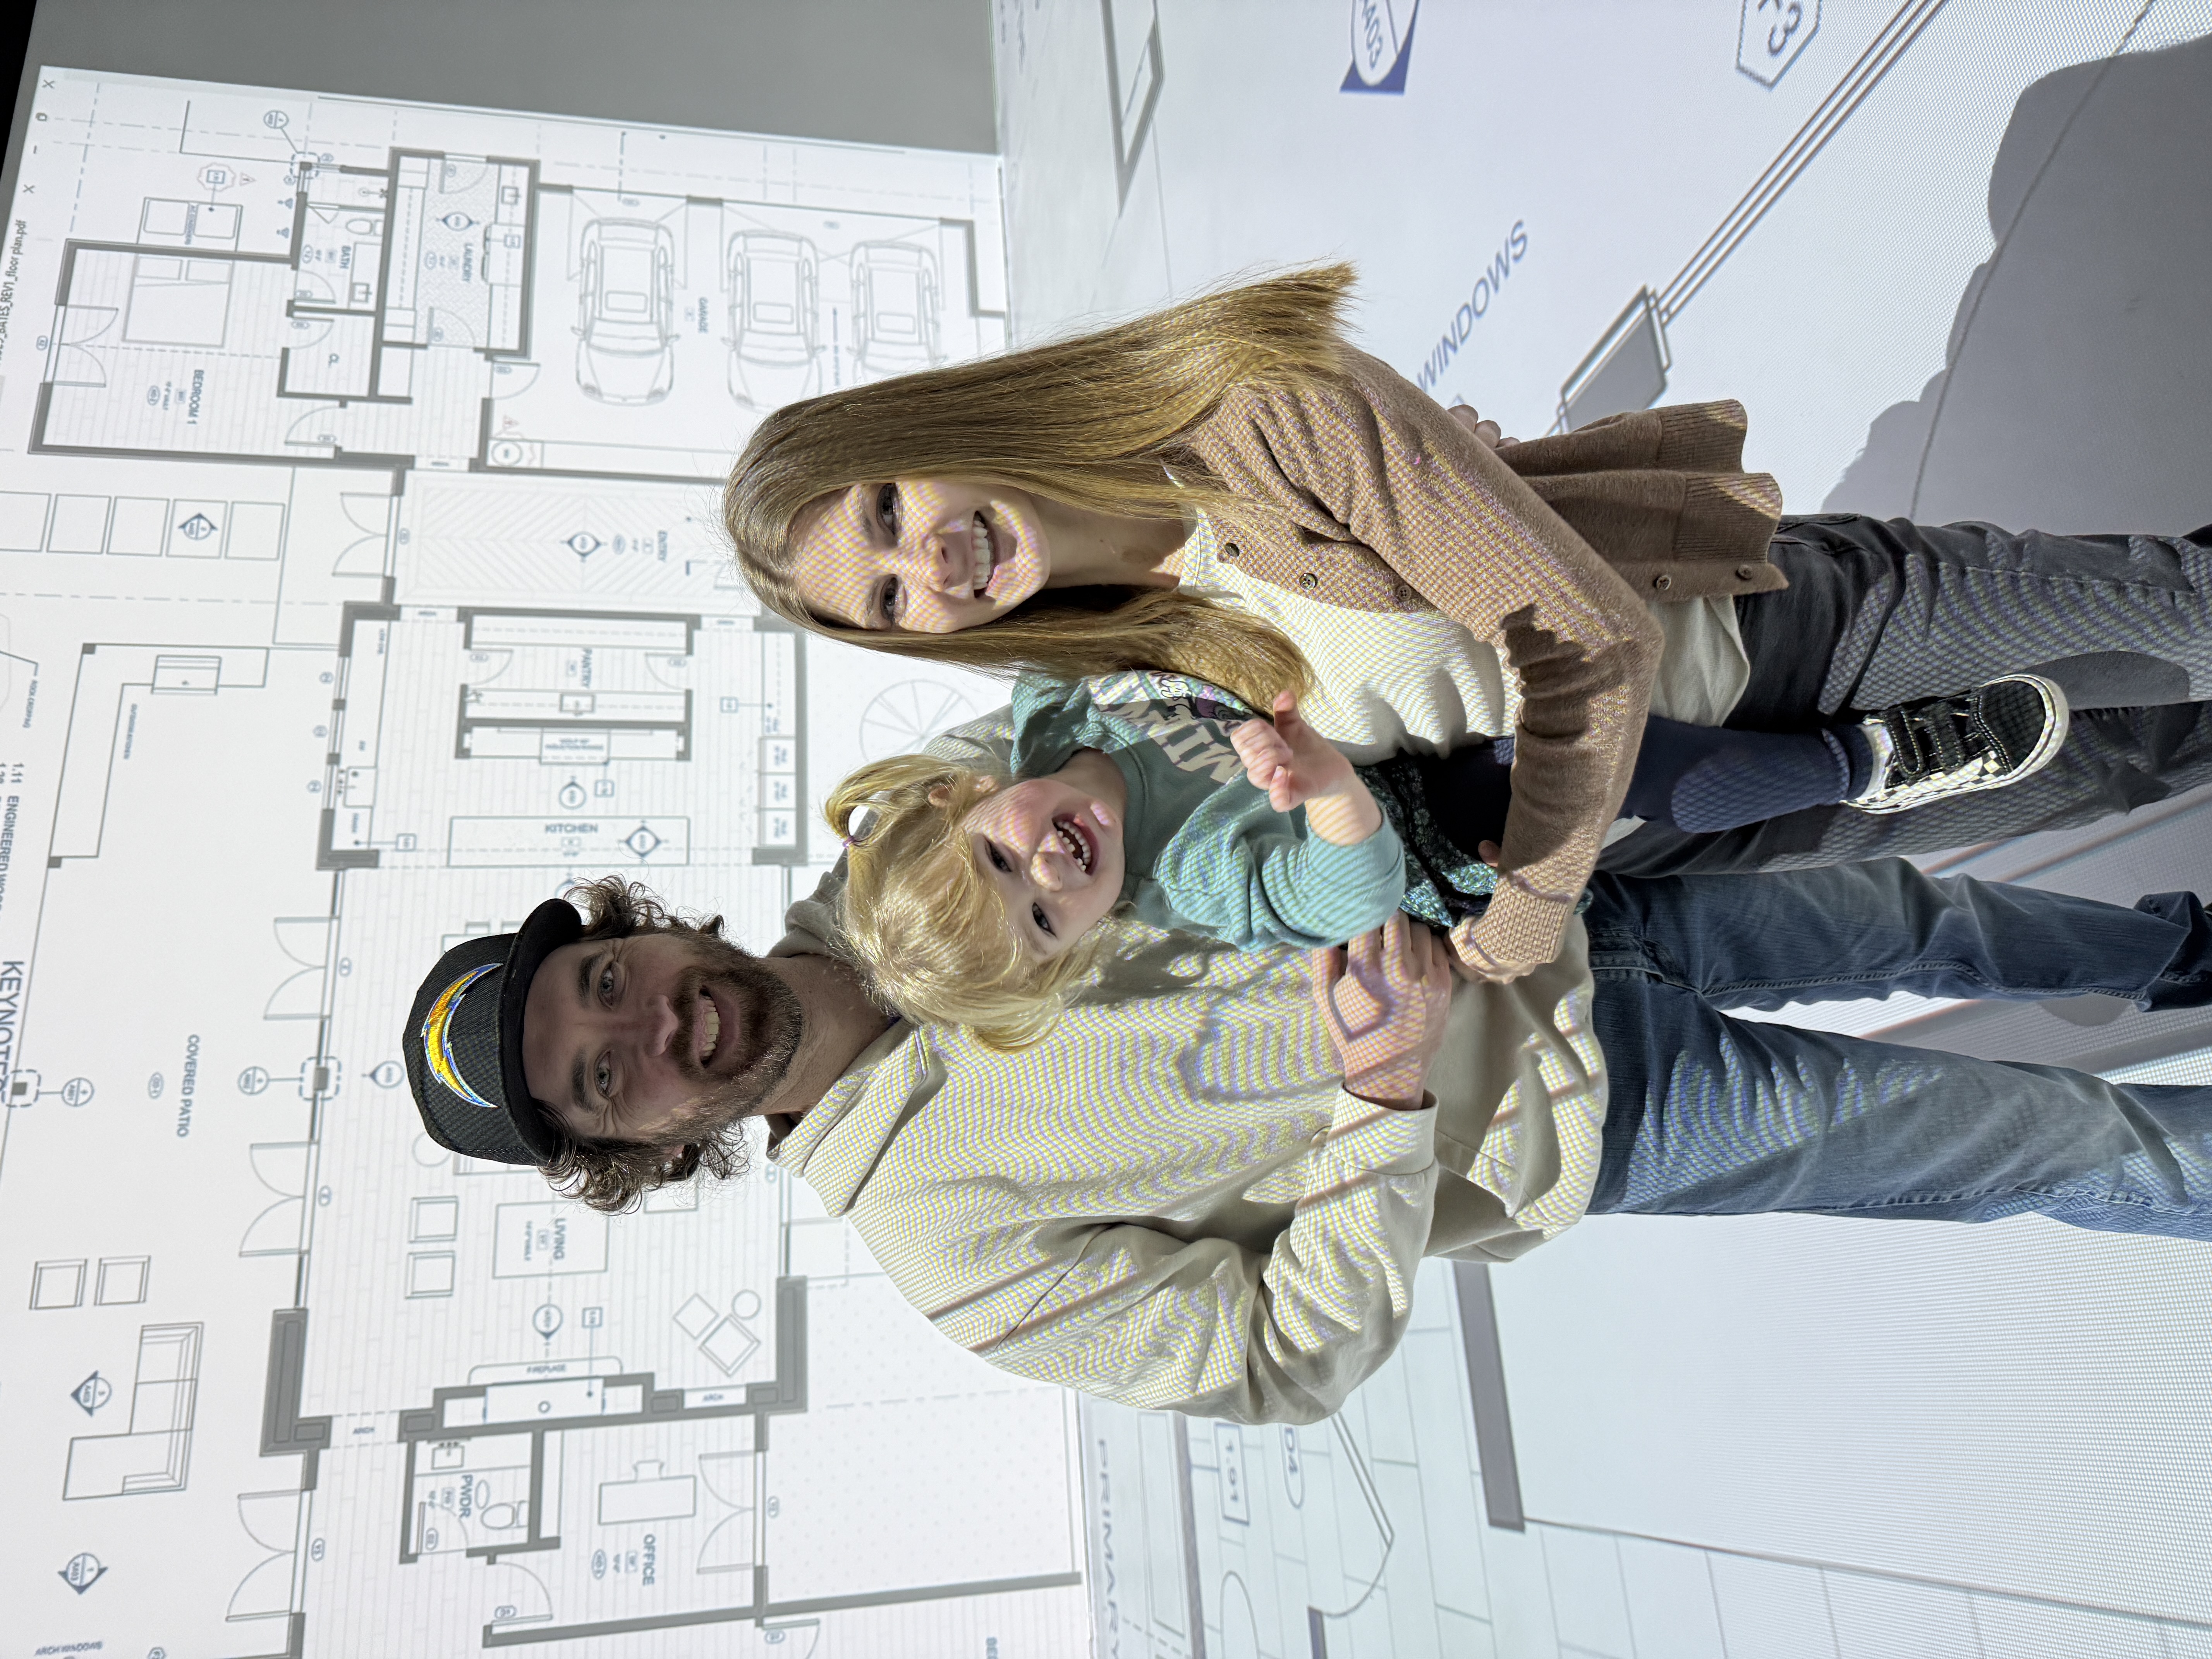
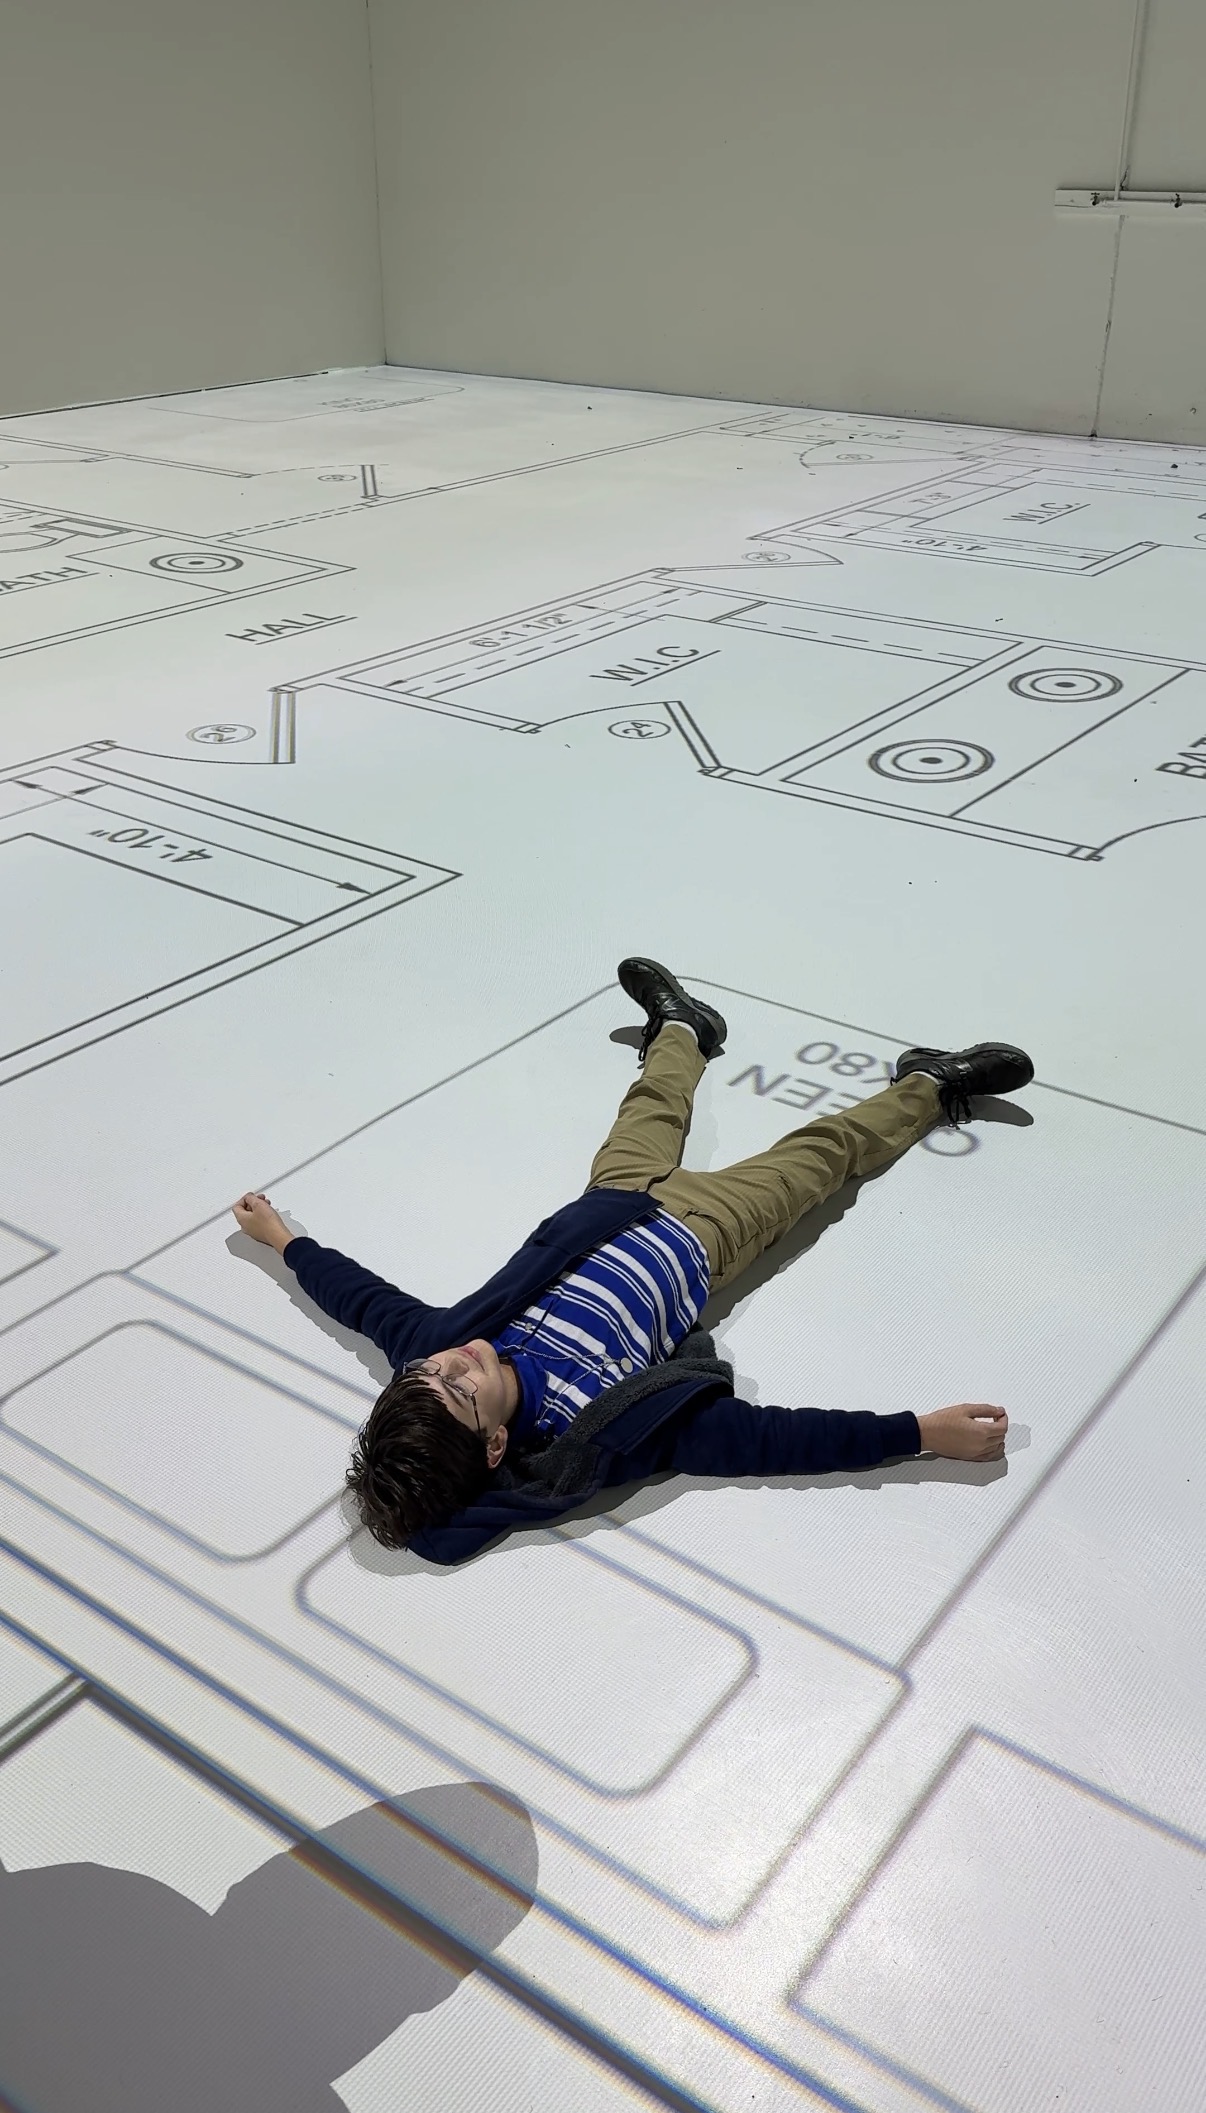
    Walk Your Plans allows clients to physically walk through their construction plans at full scale, translating drawings into real-world understanding before construction begins.

    The experience is designed for:

    • Homeowners
    • Designers
    • Builders and contractors
    • Anyone overwhelmed by plans, elevations, or scale

    Can you share a bit about your background prior to opening Walk Your Plans?

    I’ve spent my career in kitchen and bath design, helping homeowners translate ideas, inspiration, and real-world constraints into layouts that function in everyday life. My work has always lived at the intersection of design intent, construction realities, and budget. Basically, I’d help clients balance what they want with what’s practical and achievable.

    Personally, I’m drawn to space planning and problem-solving. I genuinely enjoy helping people create homes that support how they live, not just how the space looks. A home should feel like a sanctuary. It should be a place that reduces stress, not one that creates it through poor layout or overlooked decisions.

    Walk Your Plans session in action

    What initially drew you to Walk Your Plans and led you to open the Sacramento location?

    In 2024, I was actively looking for an opportunity to do something more within the industry and ultimately work for myself. I came across Walk Your Plans on Instagram and immediately thought, that’s a great idea.

    After spending time learning about it, and having a lot of conversations at home, my husband and I flew to Cleveland to experience it in person. Seeing the technology firsthand sparked countless ideas. It directly addressed many of the challenges I’d faced with clients for years, especially around communication, visualization, and decision-making.

    A few months later, I signed on to open the Sacramento location and began the process of bringing Walk Your Plans to this market.

    What problem does Walk Your Plans solve that you see most often in your work?

    Most clients are not visual, and pre-construction can be an incredibly difficult phase because of that. I saw it constantly: spouses disagreeing, projects stalling, and months spent trying to finalize layouts, particularly in kitchens, before even getting to finishes.

    Some homeowners walked away from remodeling altogether because they didn’t fully understand what they were committing to and felt uneasy about the investment.

    Even more challenging were situations where clients believed they understood the plans, signed off, and later said, “This isn’t what I thought it would be,” once construction had already started.

    Walk Your Plans addresses that gap by helping people truly understand their space before they commit, reducing confusion, hesitation, and costly mistakes.

    Full-scale floor plan projection at Walk Your Plans

    What do clients often realize during a Walk Your Plans session that surprises them?

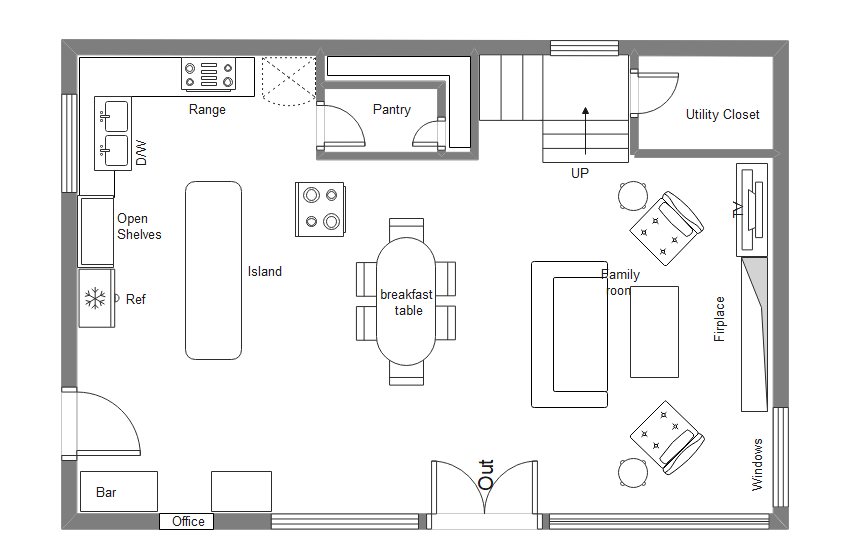
    It’s hard to fully grasp the value of Walk Your Plans until you experience it. It’s wild how you’ll stare at blueprints for months on a screen and then suddenly when the plans are blown up to real size at your feet, little mistakes become very apparent.

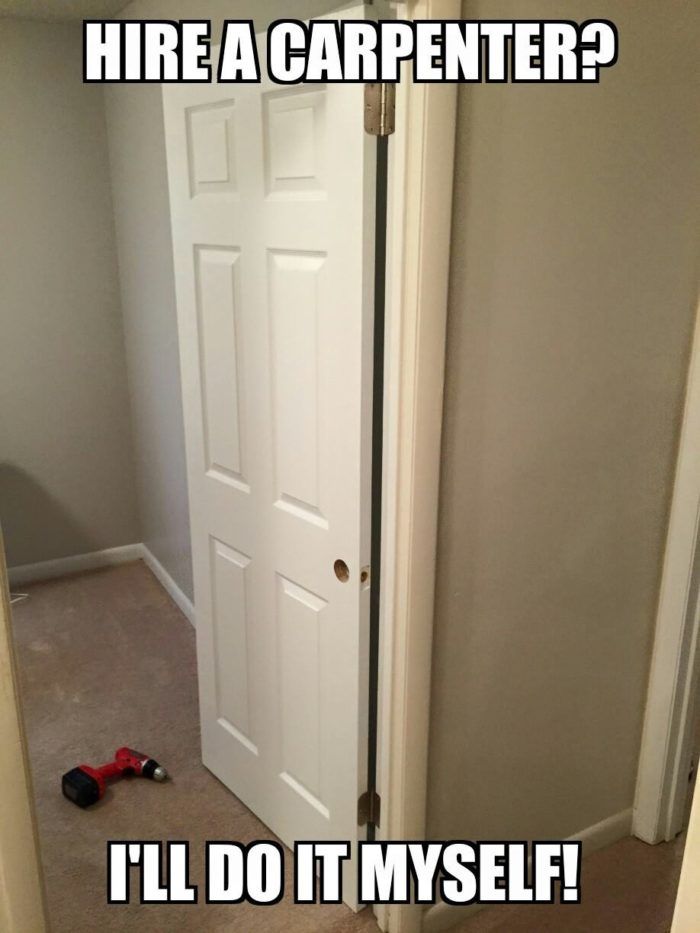
    Things like door swings interfering with furniture, windows not aligning as expected, or clearances feeling tighter than imagined suddenly become very clear. And those details matter. The difference between 42 inches and 48 inches doesn’t always register on paper, but it absolutely impacts how a space feels and functions every day.

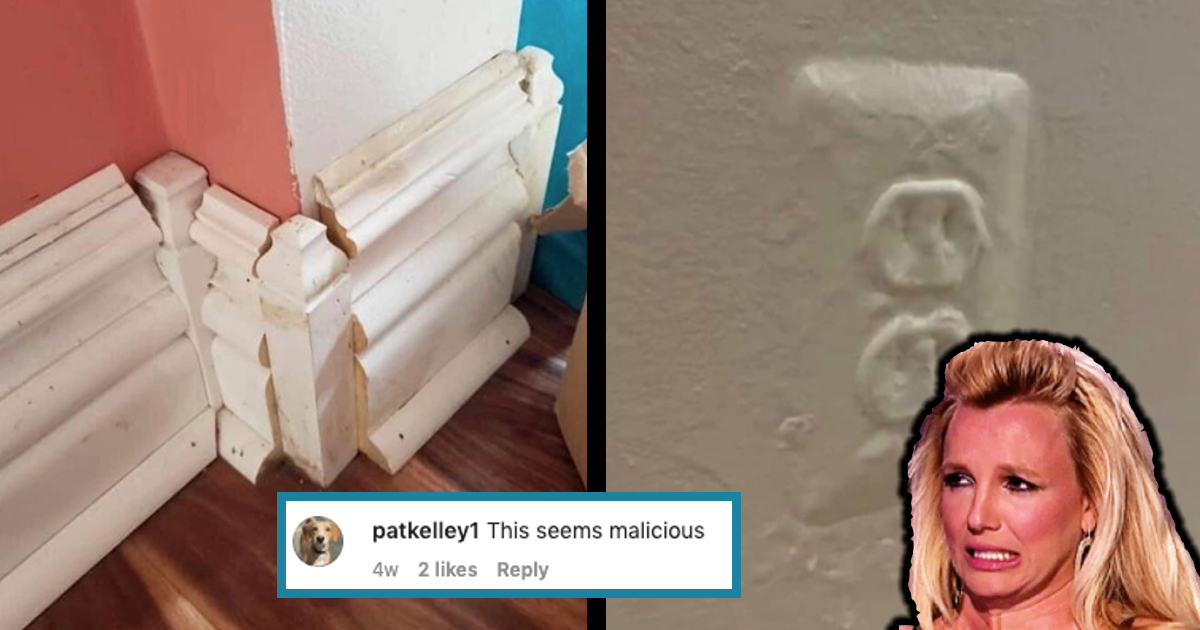
    Most change orders aren’t caused by bad decisions; they happen because decisions are made too late, once people finally understand their space. If those realizations happen after drywall goes up, changes become expensive very quickly.

    Our goal is to help people understand their investment earlier, make informed decisions, and avoid those costly downstream surprises.

    Client walking their floor plans at full scale

    Why is the Walk Your Plans experience intentionally simple?

    People are often surprised by how effective the 2D experience is. I’m frequently asked whether Walk Your Plans is 3D or uses VR, and the honest answer is that it doesn’t need to.

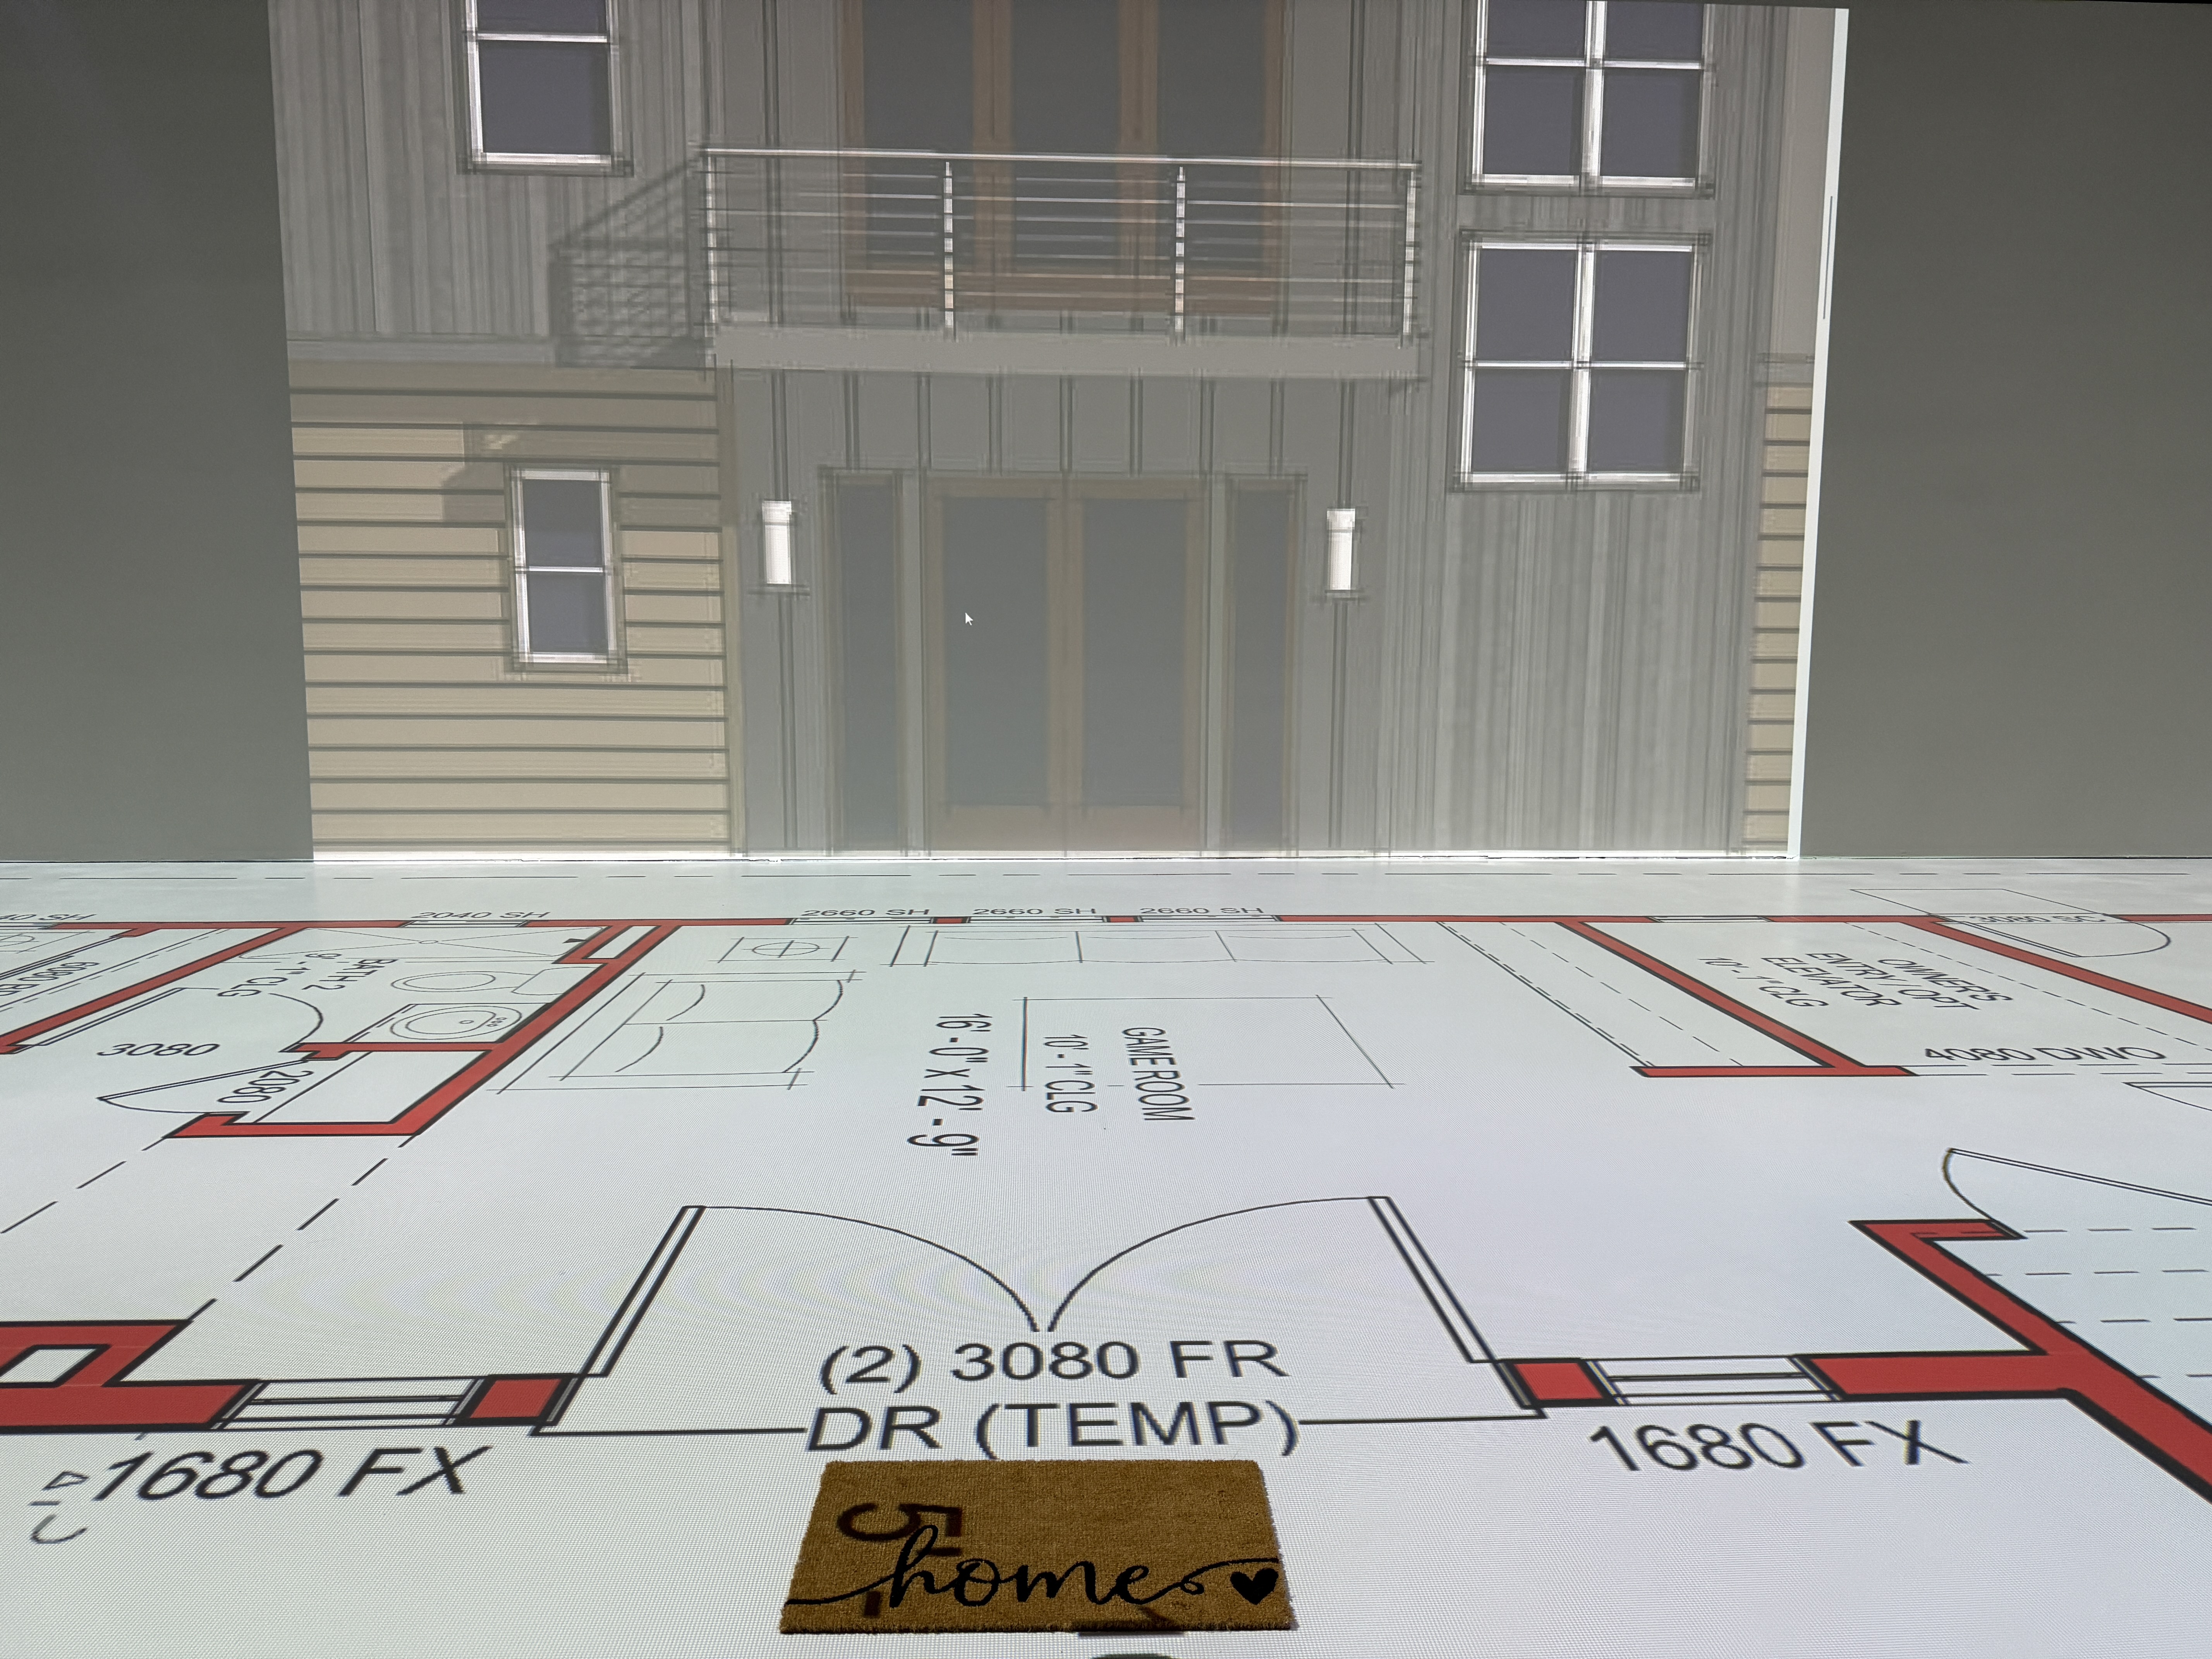
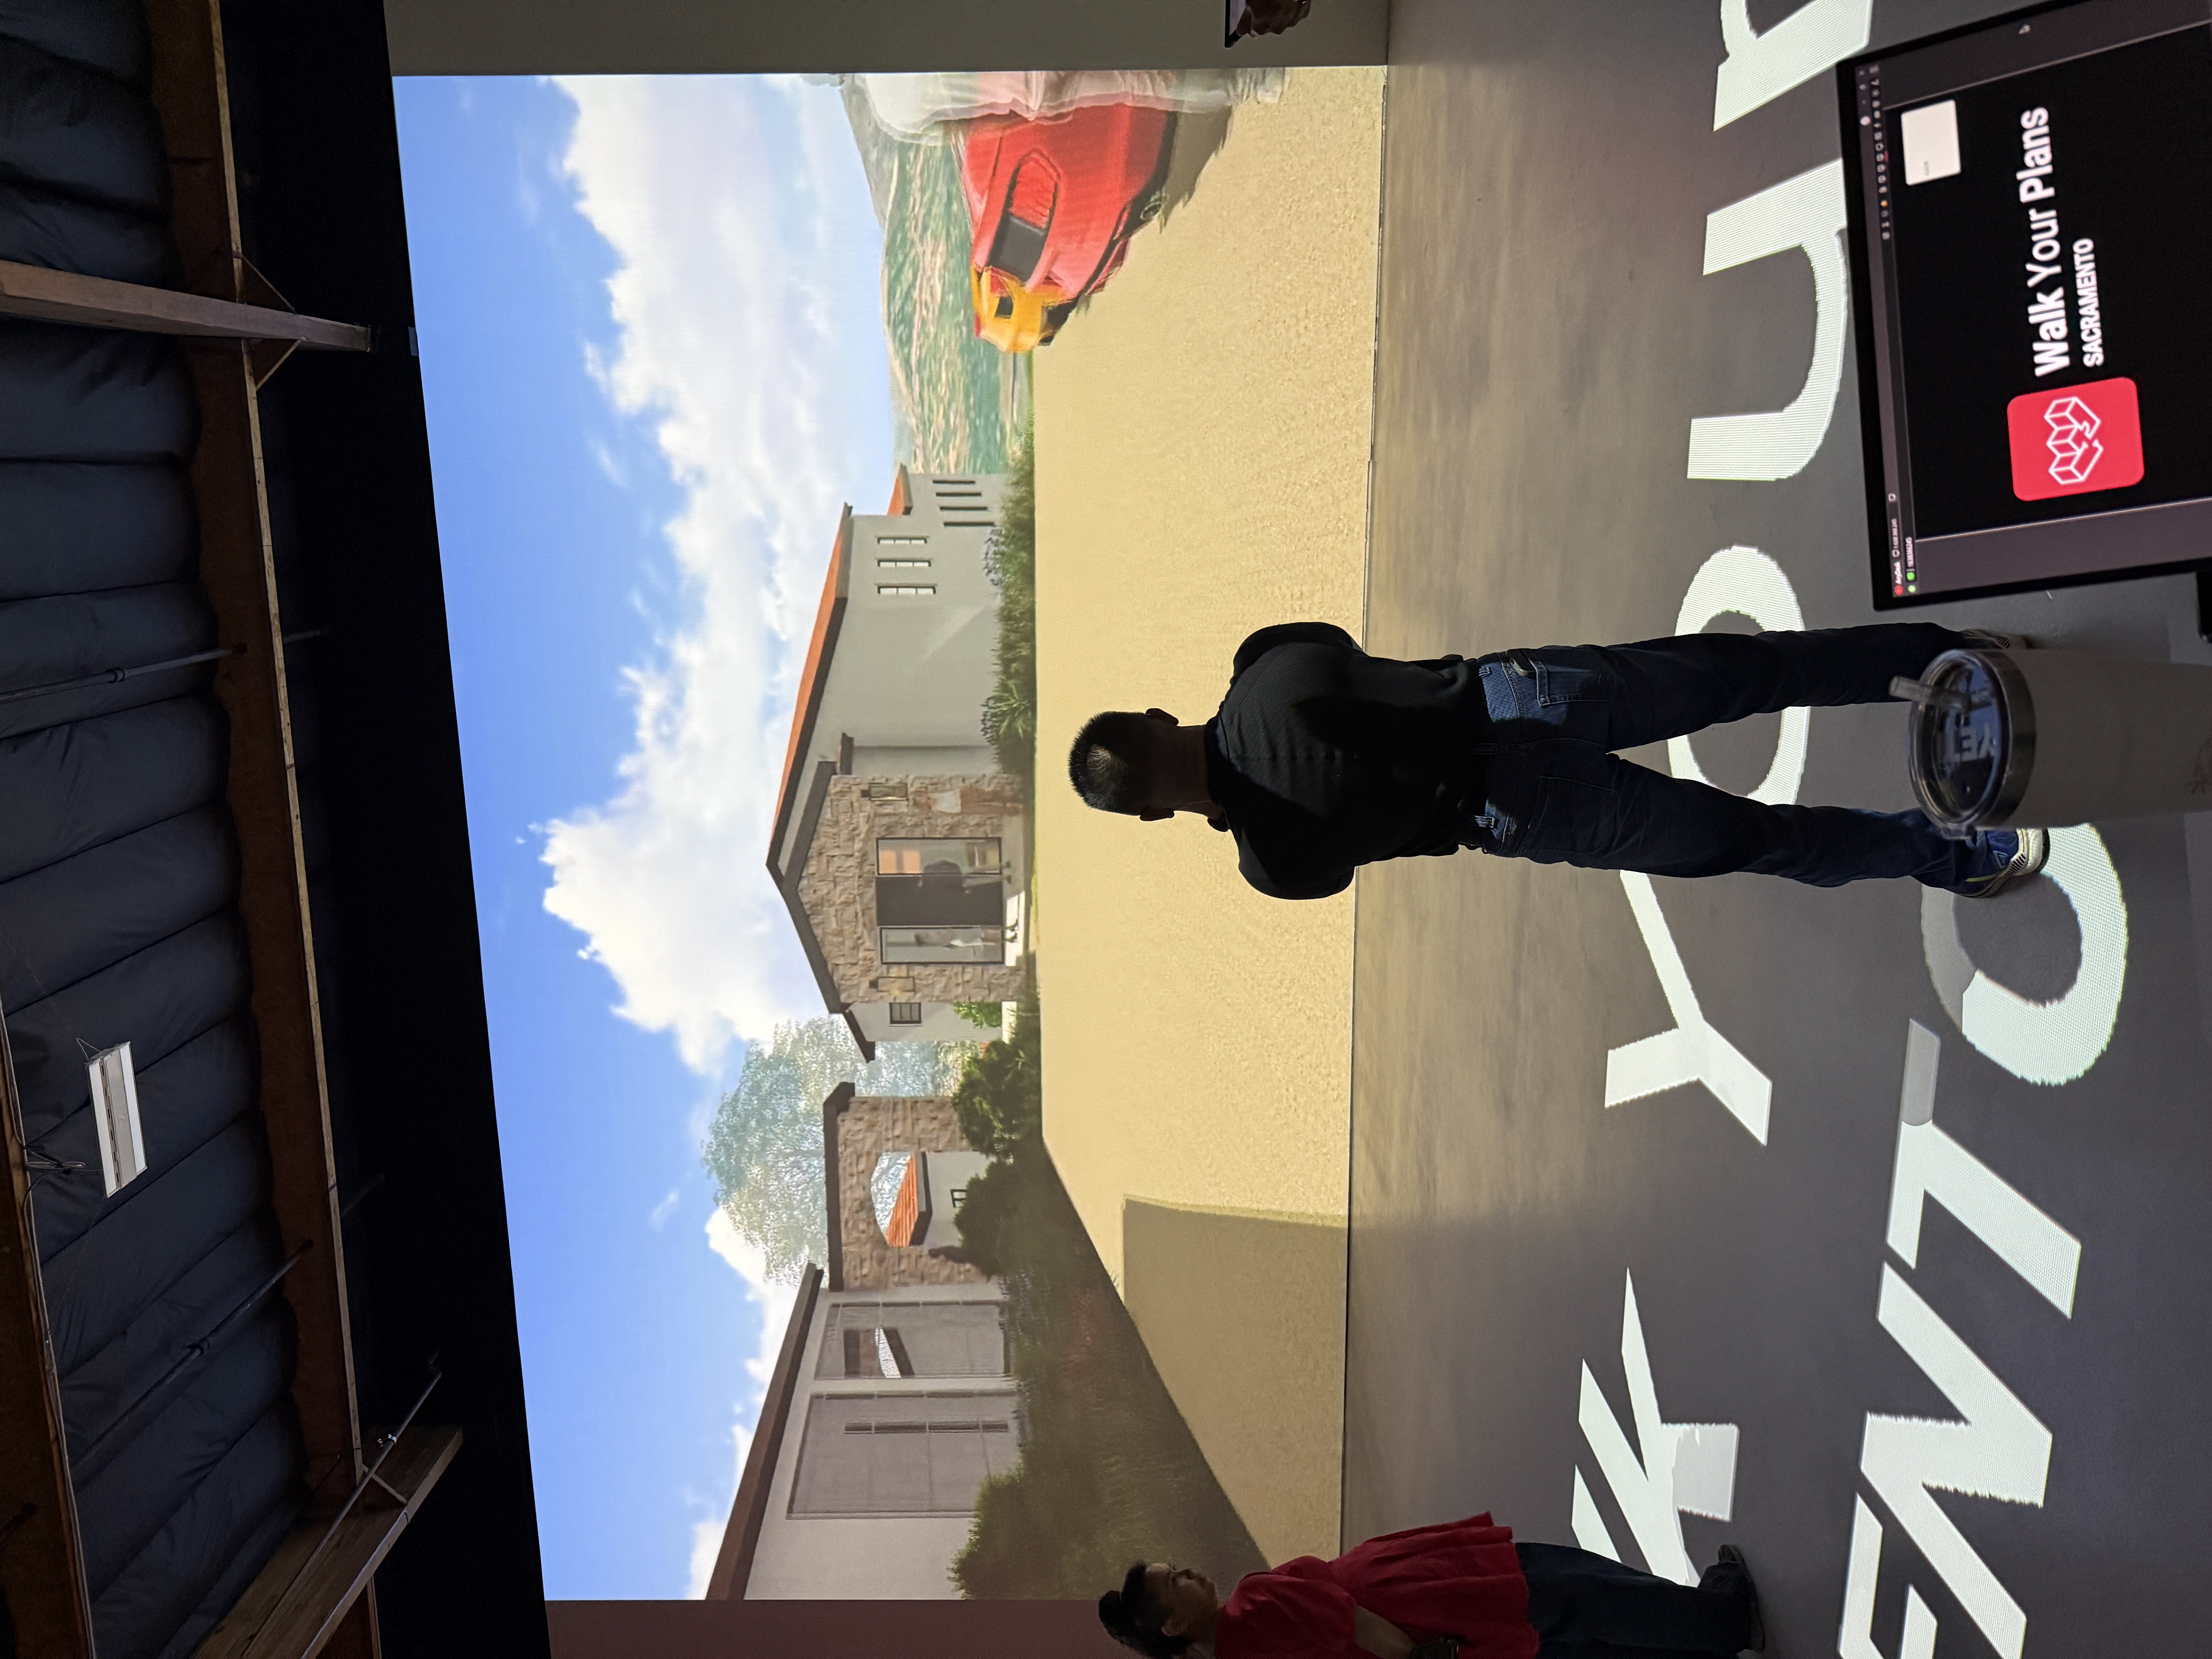
    In many cases, the simplicity is where the real value lies. By removing goggles, headsets, and unnecessary “props,” people stay grounded in the actual space — focusing on scale, flow, and function instead of being distracted by effects.

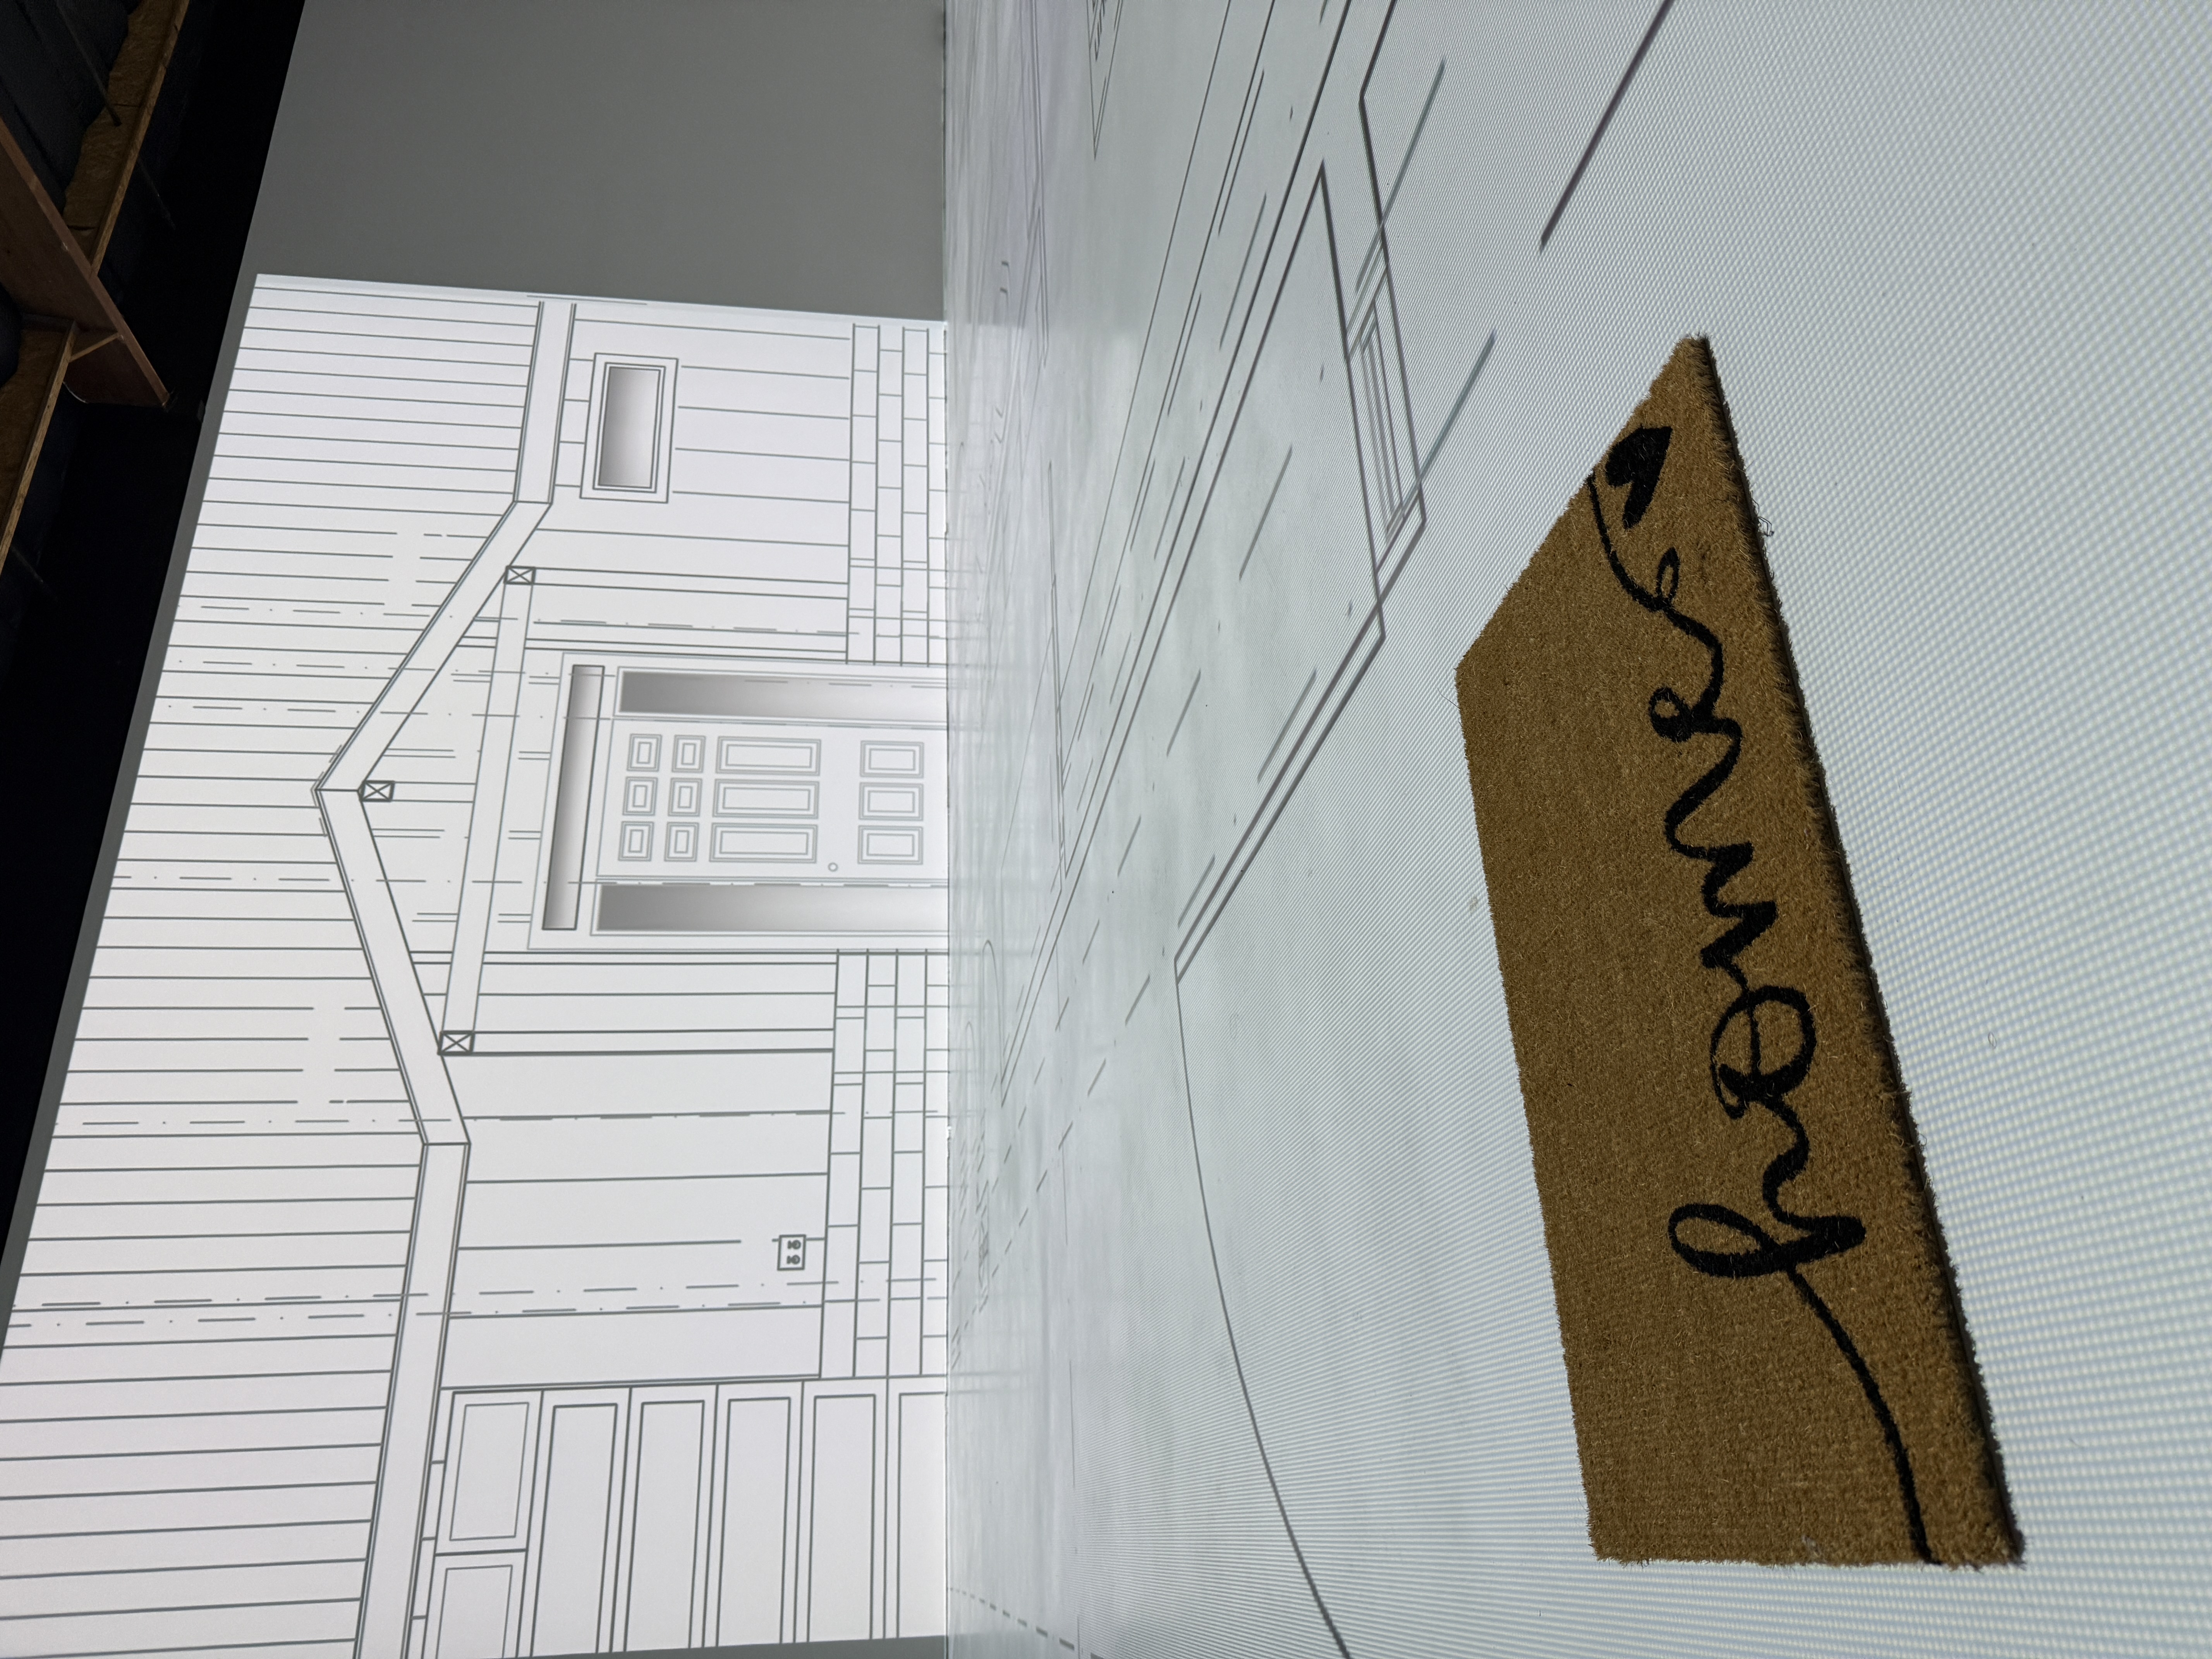
    We can still display 3D renderings or full-color mockups on the wall for reference, but the understanding happens when you’re physically walking the plan at full scale.

    Walk Your Plans delivers clarity around space without adding layers of technology that can sometimes get in the way of good decision-making.

    Can you share an example of the impact Walk Your Plans can have?

    One of my favorite client experiences so far was actually with a builder who came in to demo the service. We walked the plans for a home that was already under construction, with framing actively up in the field.

    During the session, the team identified five to eight layout issues and improvement opportunities they hadn’t caught previously. Their immediate response was to call the homeowner and head back to the jobsite to make adjustments.

    Even at the framing stage, the cost to correct these layout issues was significantly lower than it would have been after finishes were installed. At that point, most homeowners end up living with daily frustrations because the changes become too expensive to justify.

    The real difference is that a Walk Your Plans session shows how everything interacts. You’re not just looking at walls in isolation, you’re seeing framing alongside electrical, windows, door swings, cabinetry, finishes, and furniture, which we can populate on the spot during the session. It’s a real-size working session designed to help people understand how all the parts work together, because that’s ultimately how the space will be experienced and used.

    Walk Your Plans detail showing full-scale layout

    How Parrish Construction Uses Walk Your Plans

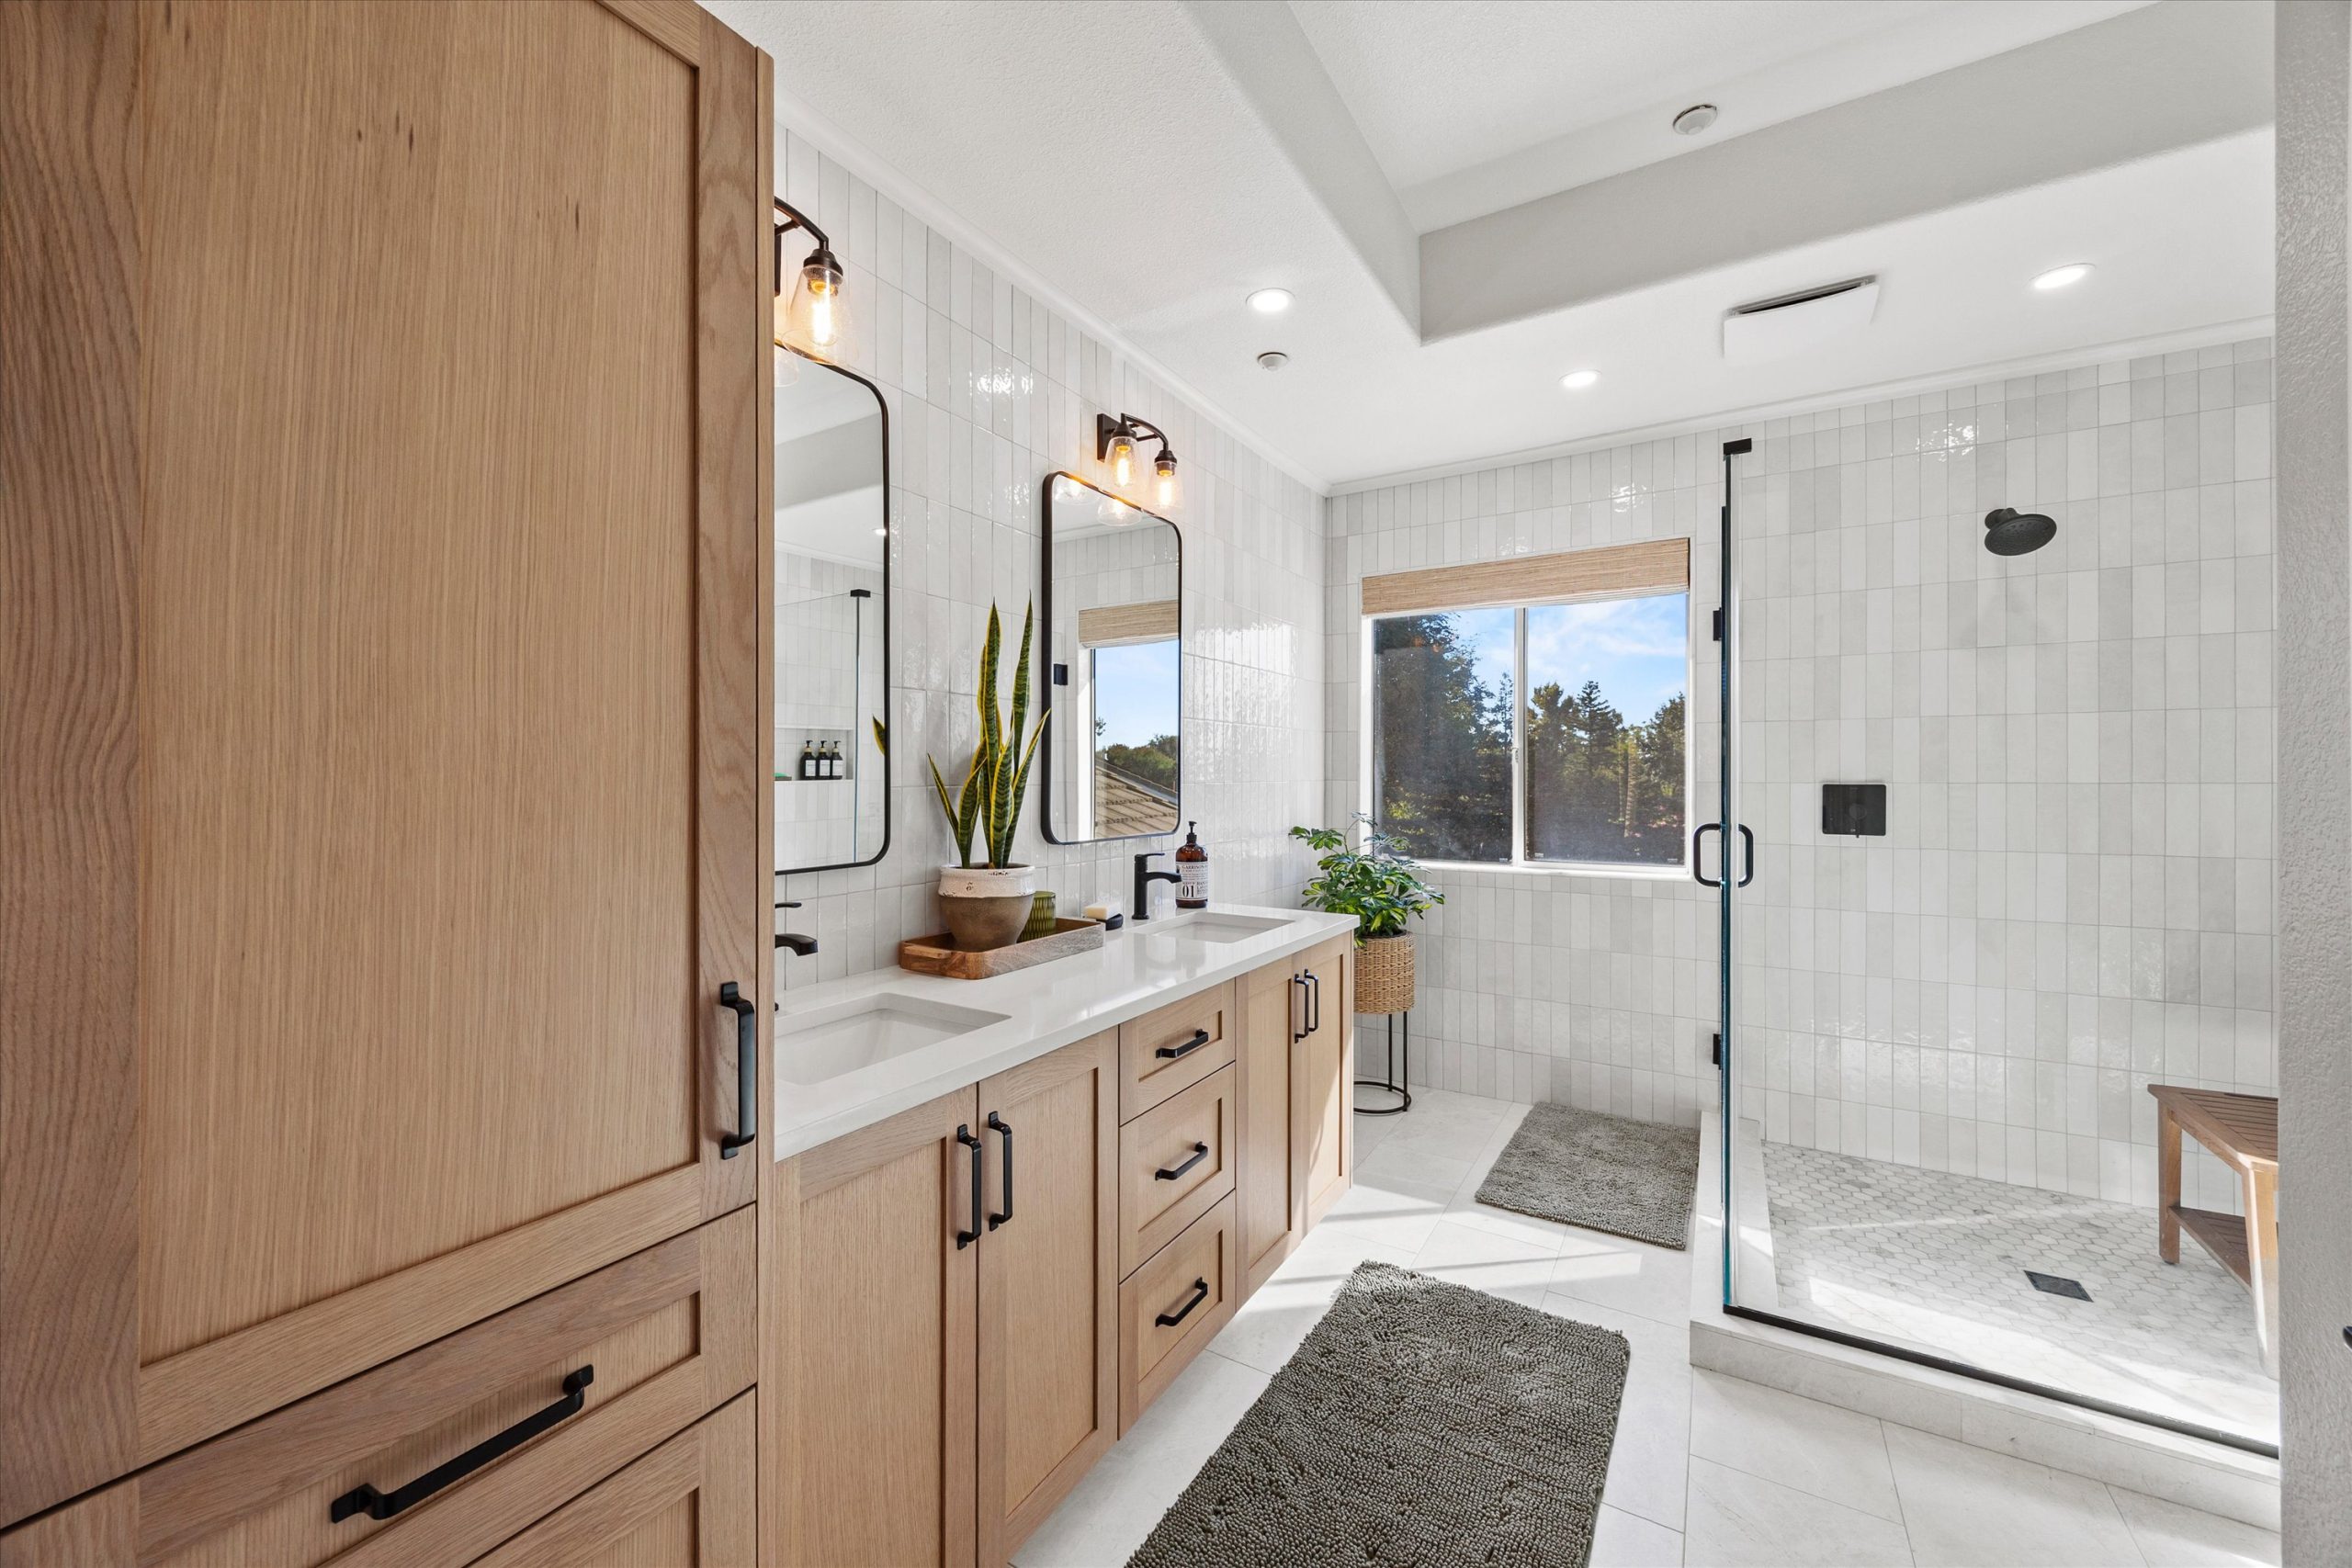
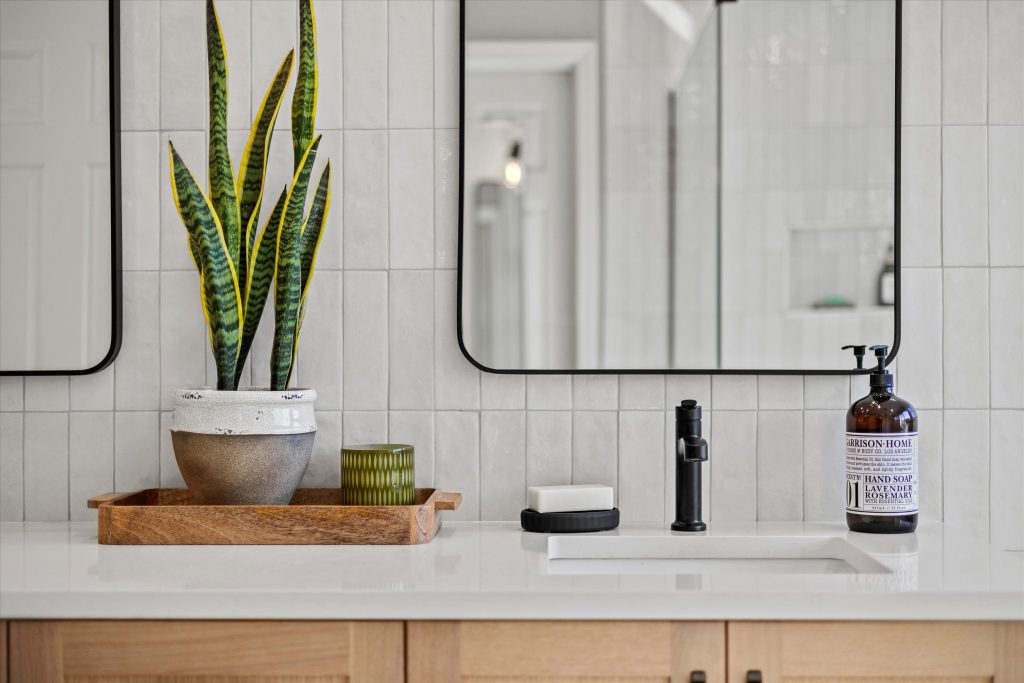
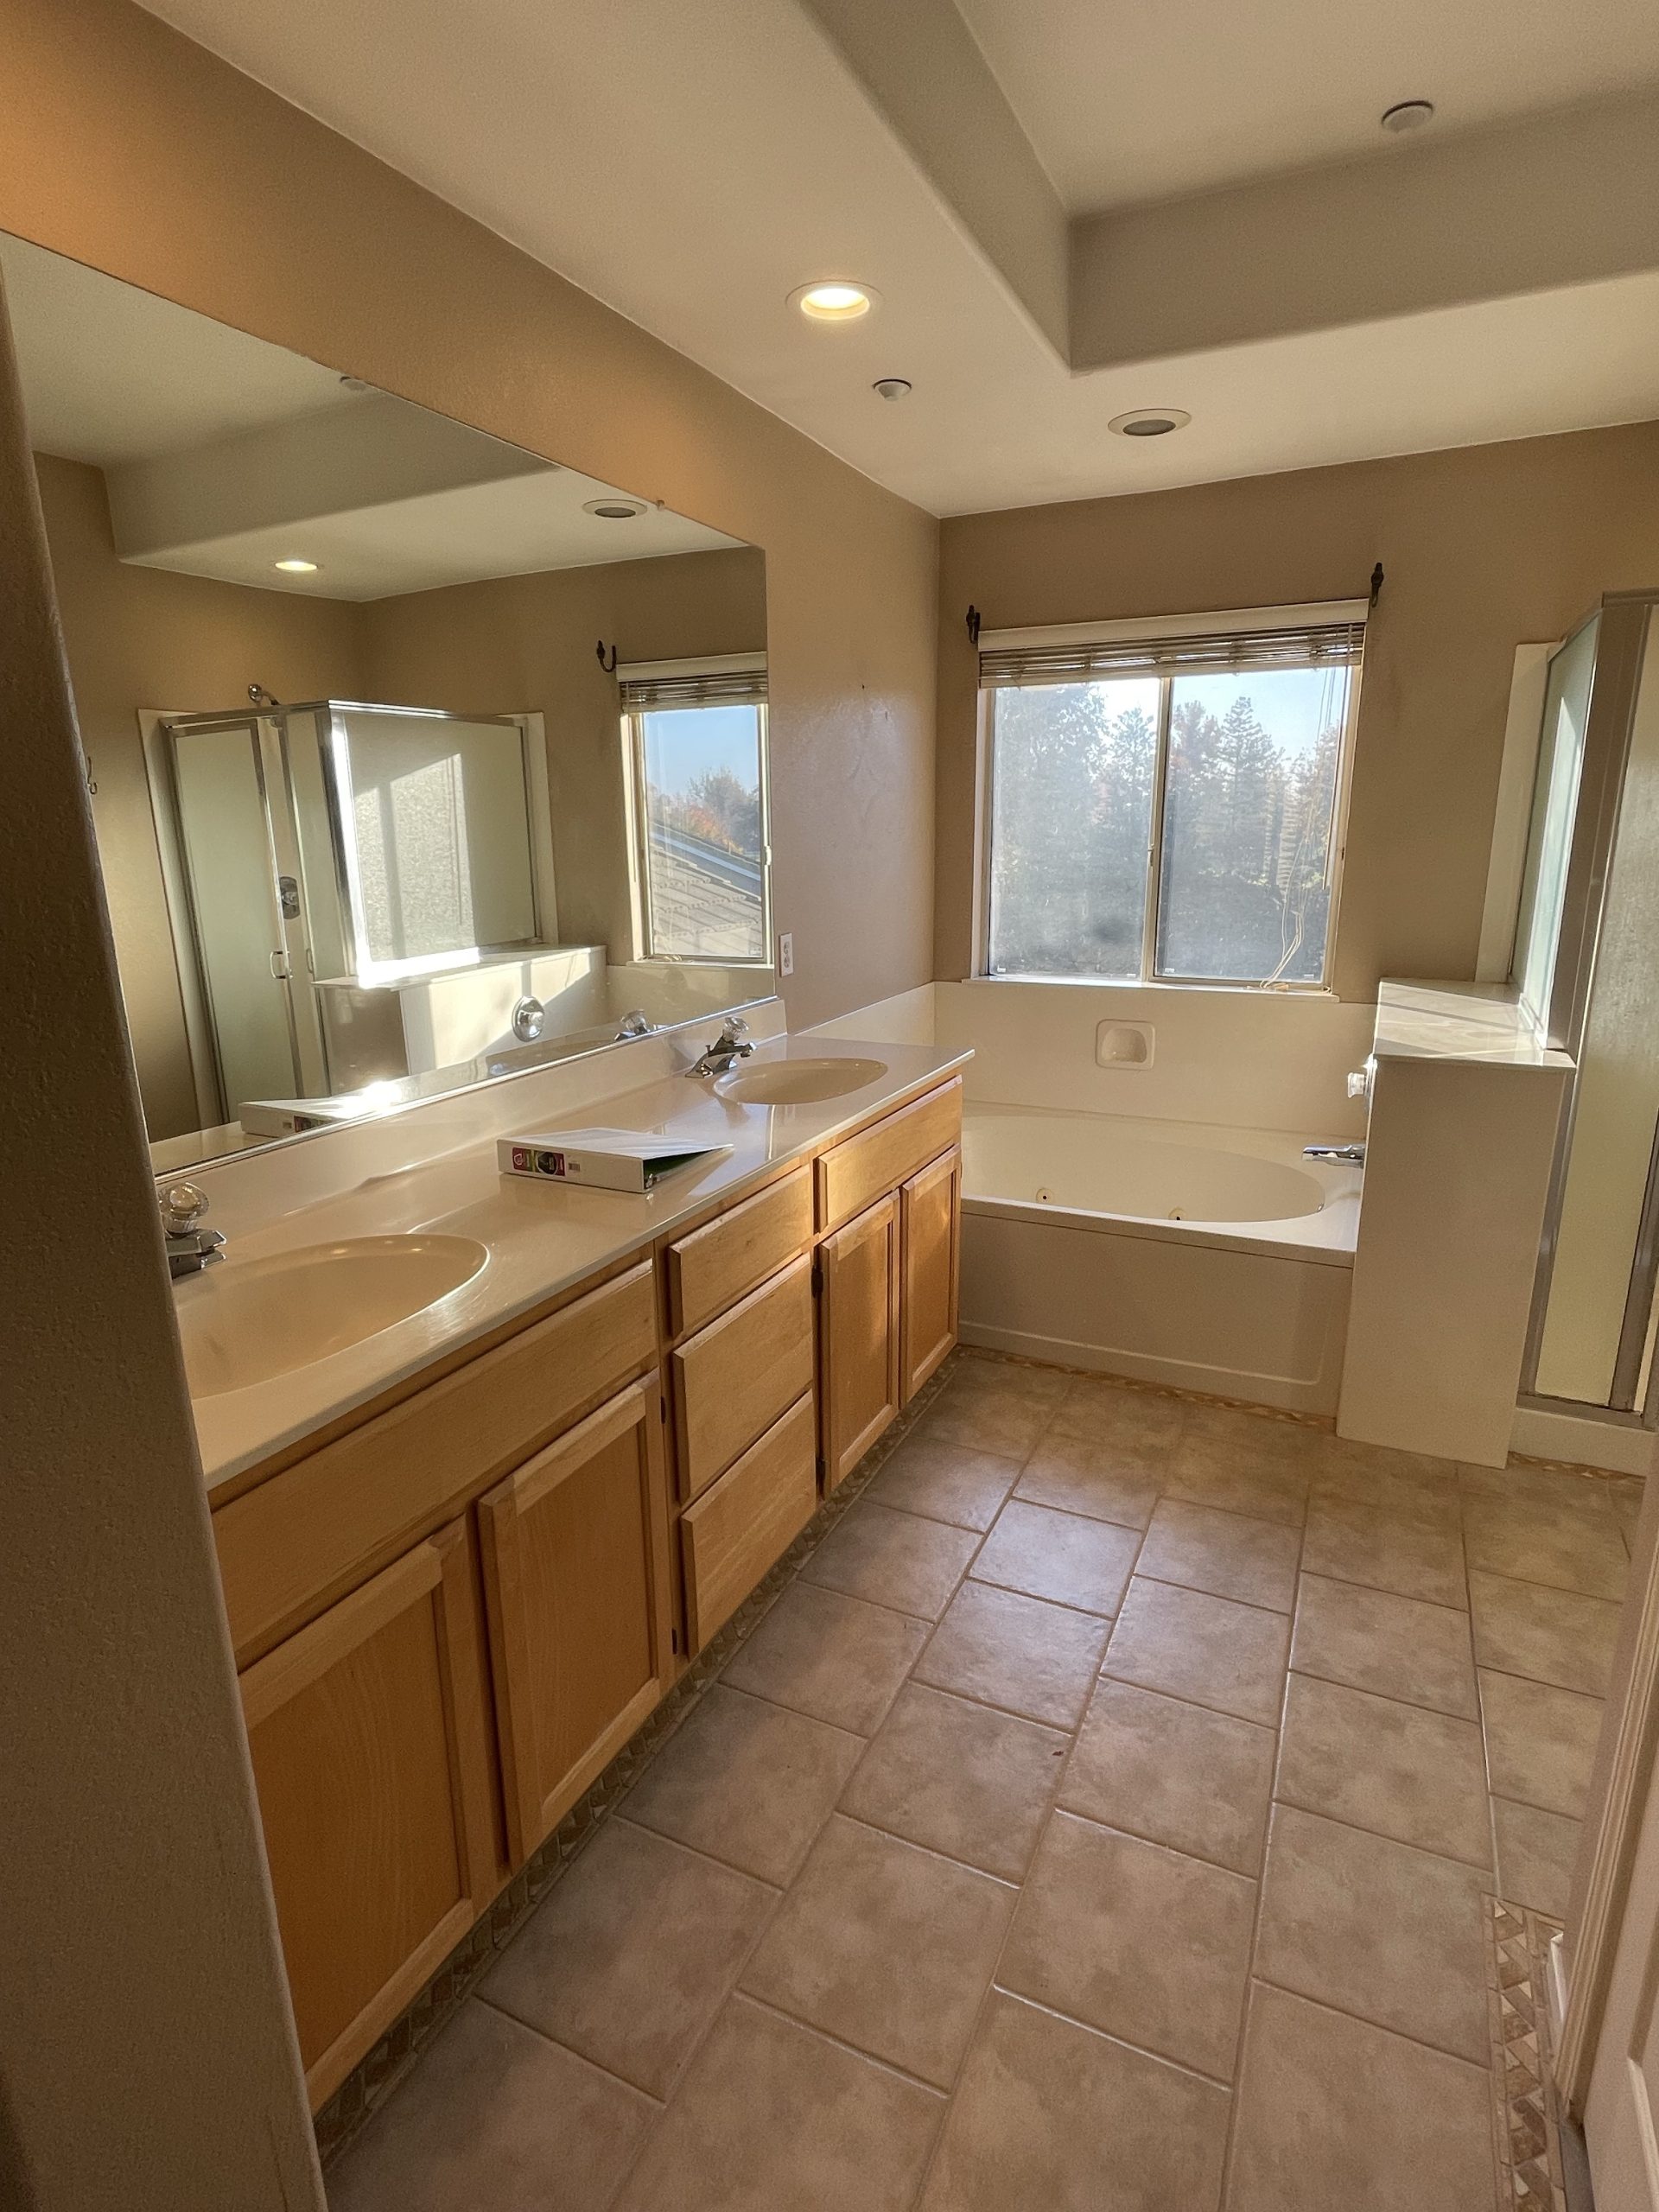
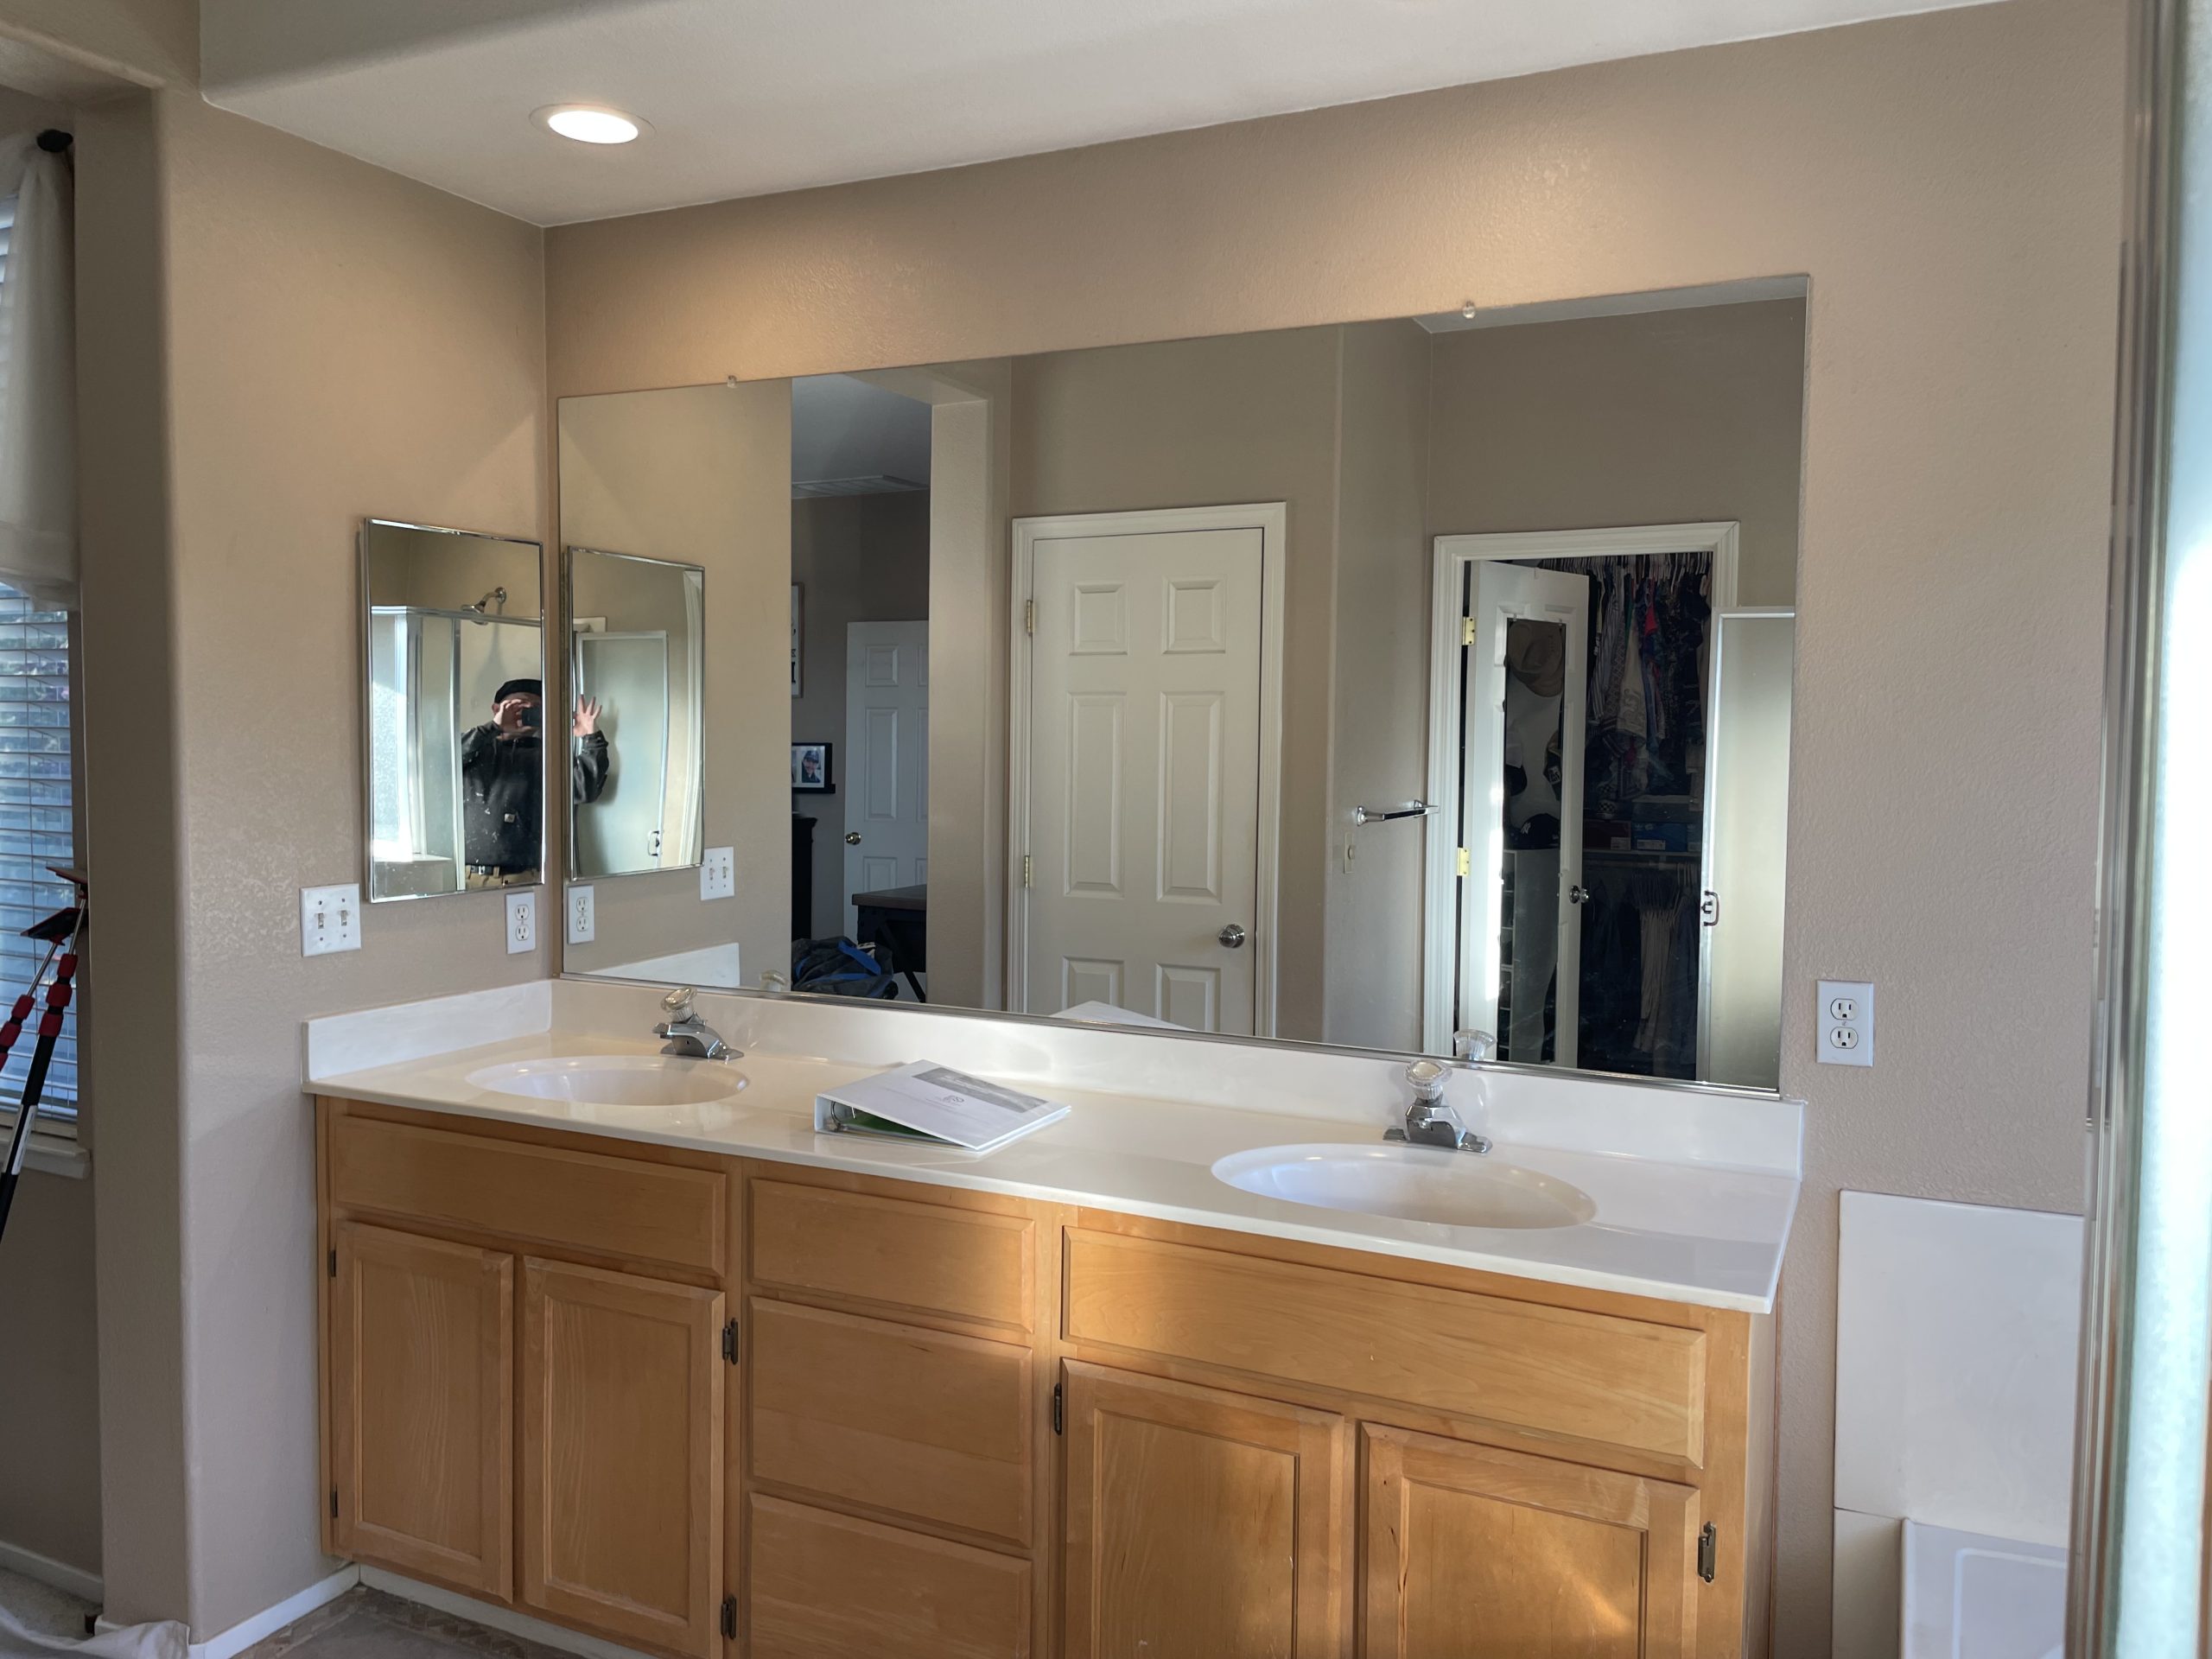
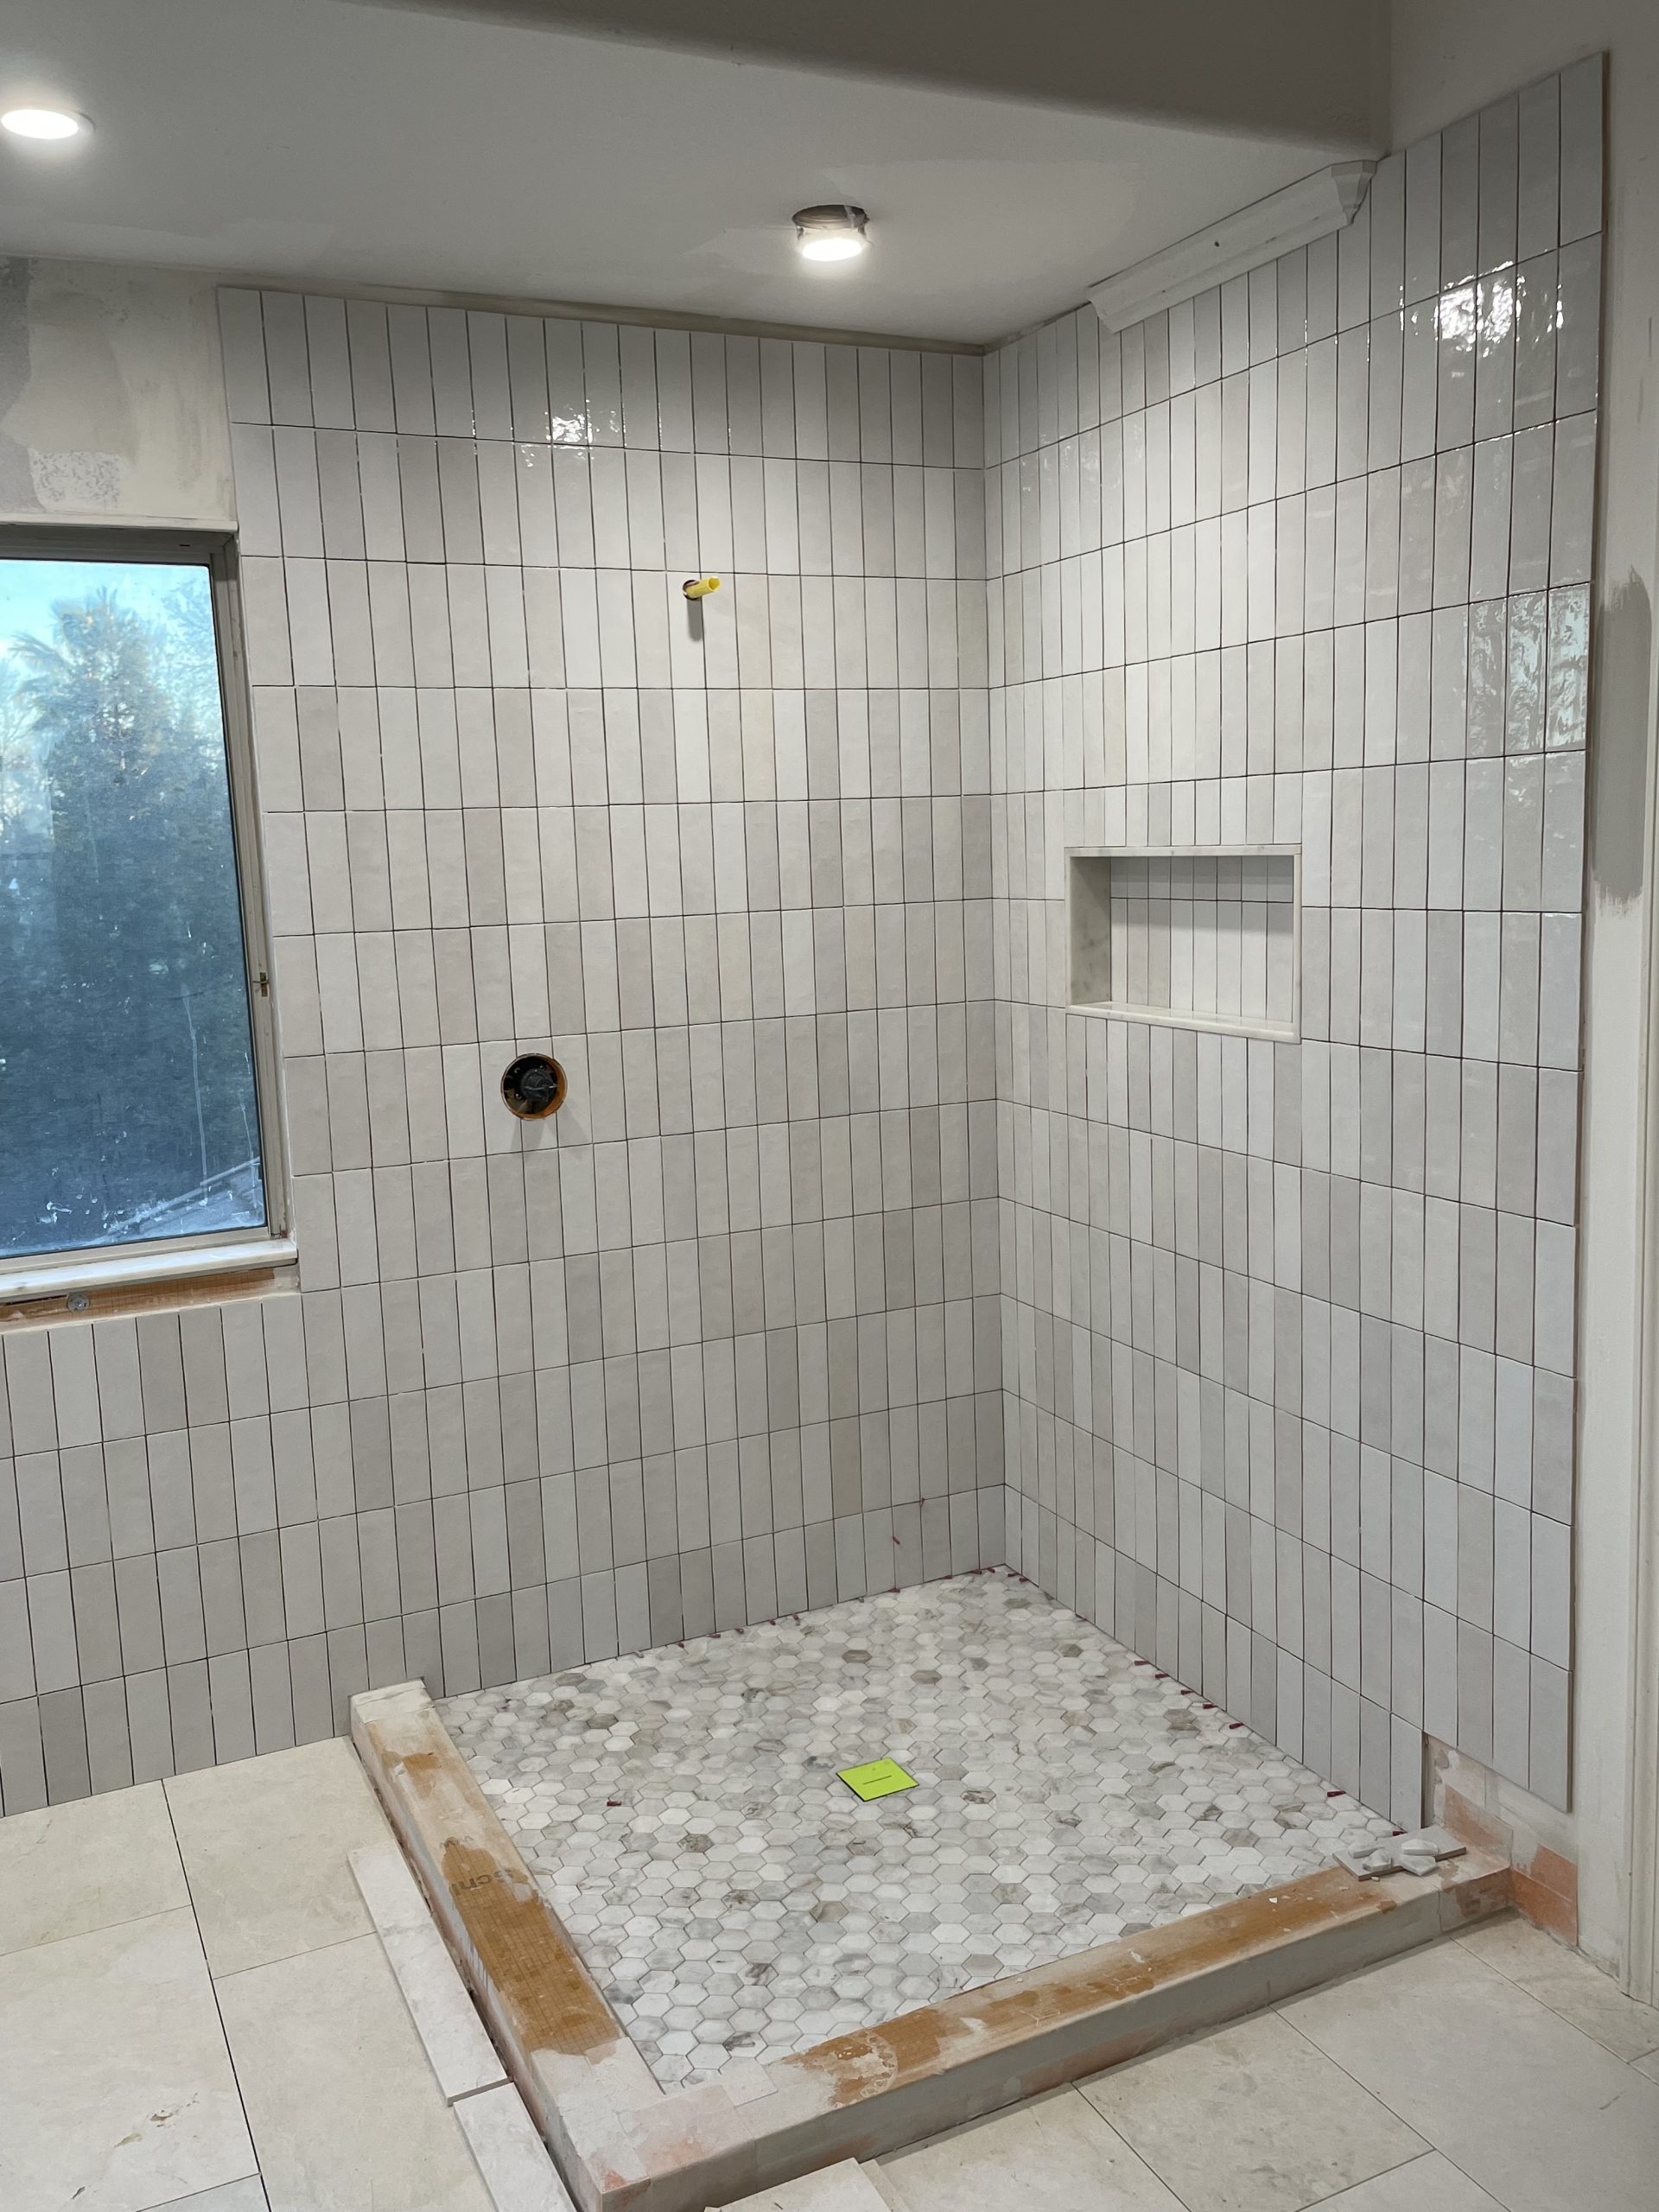
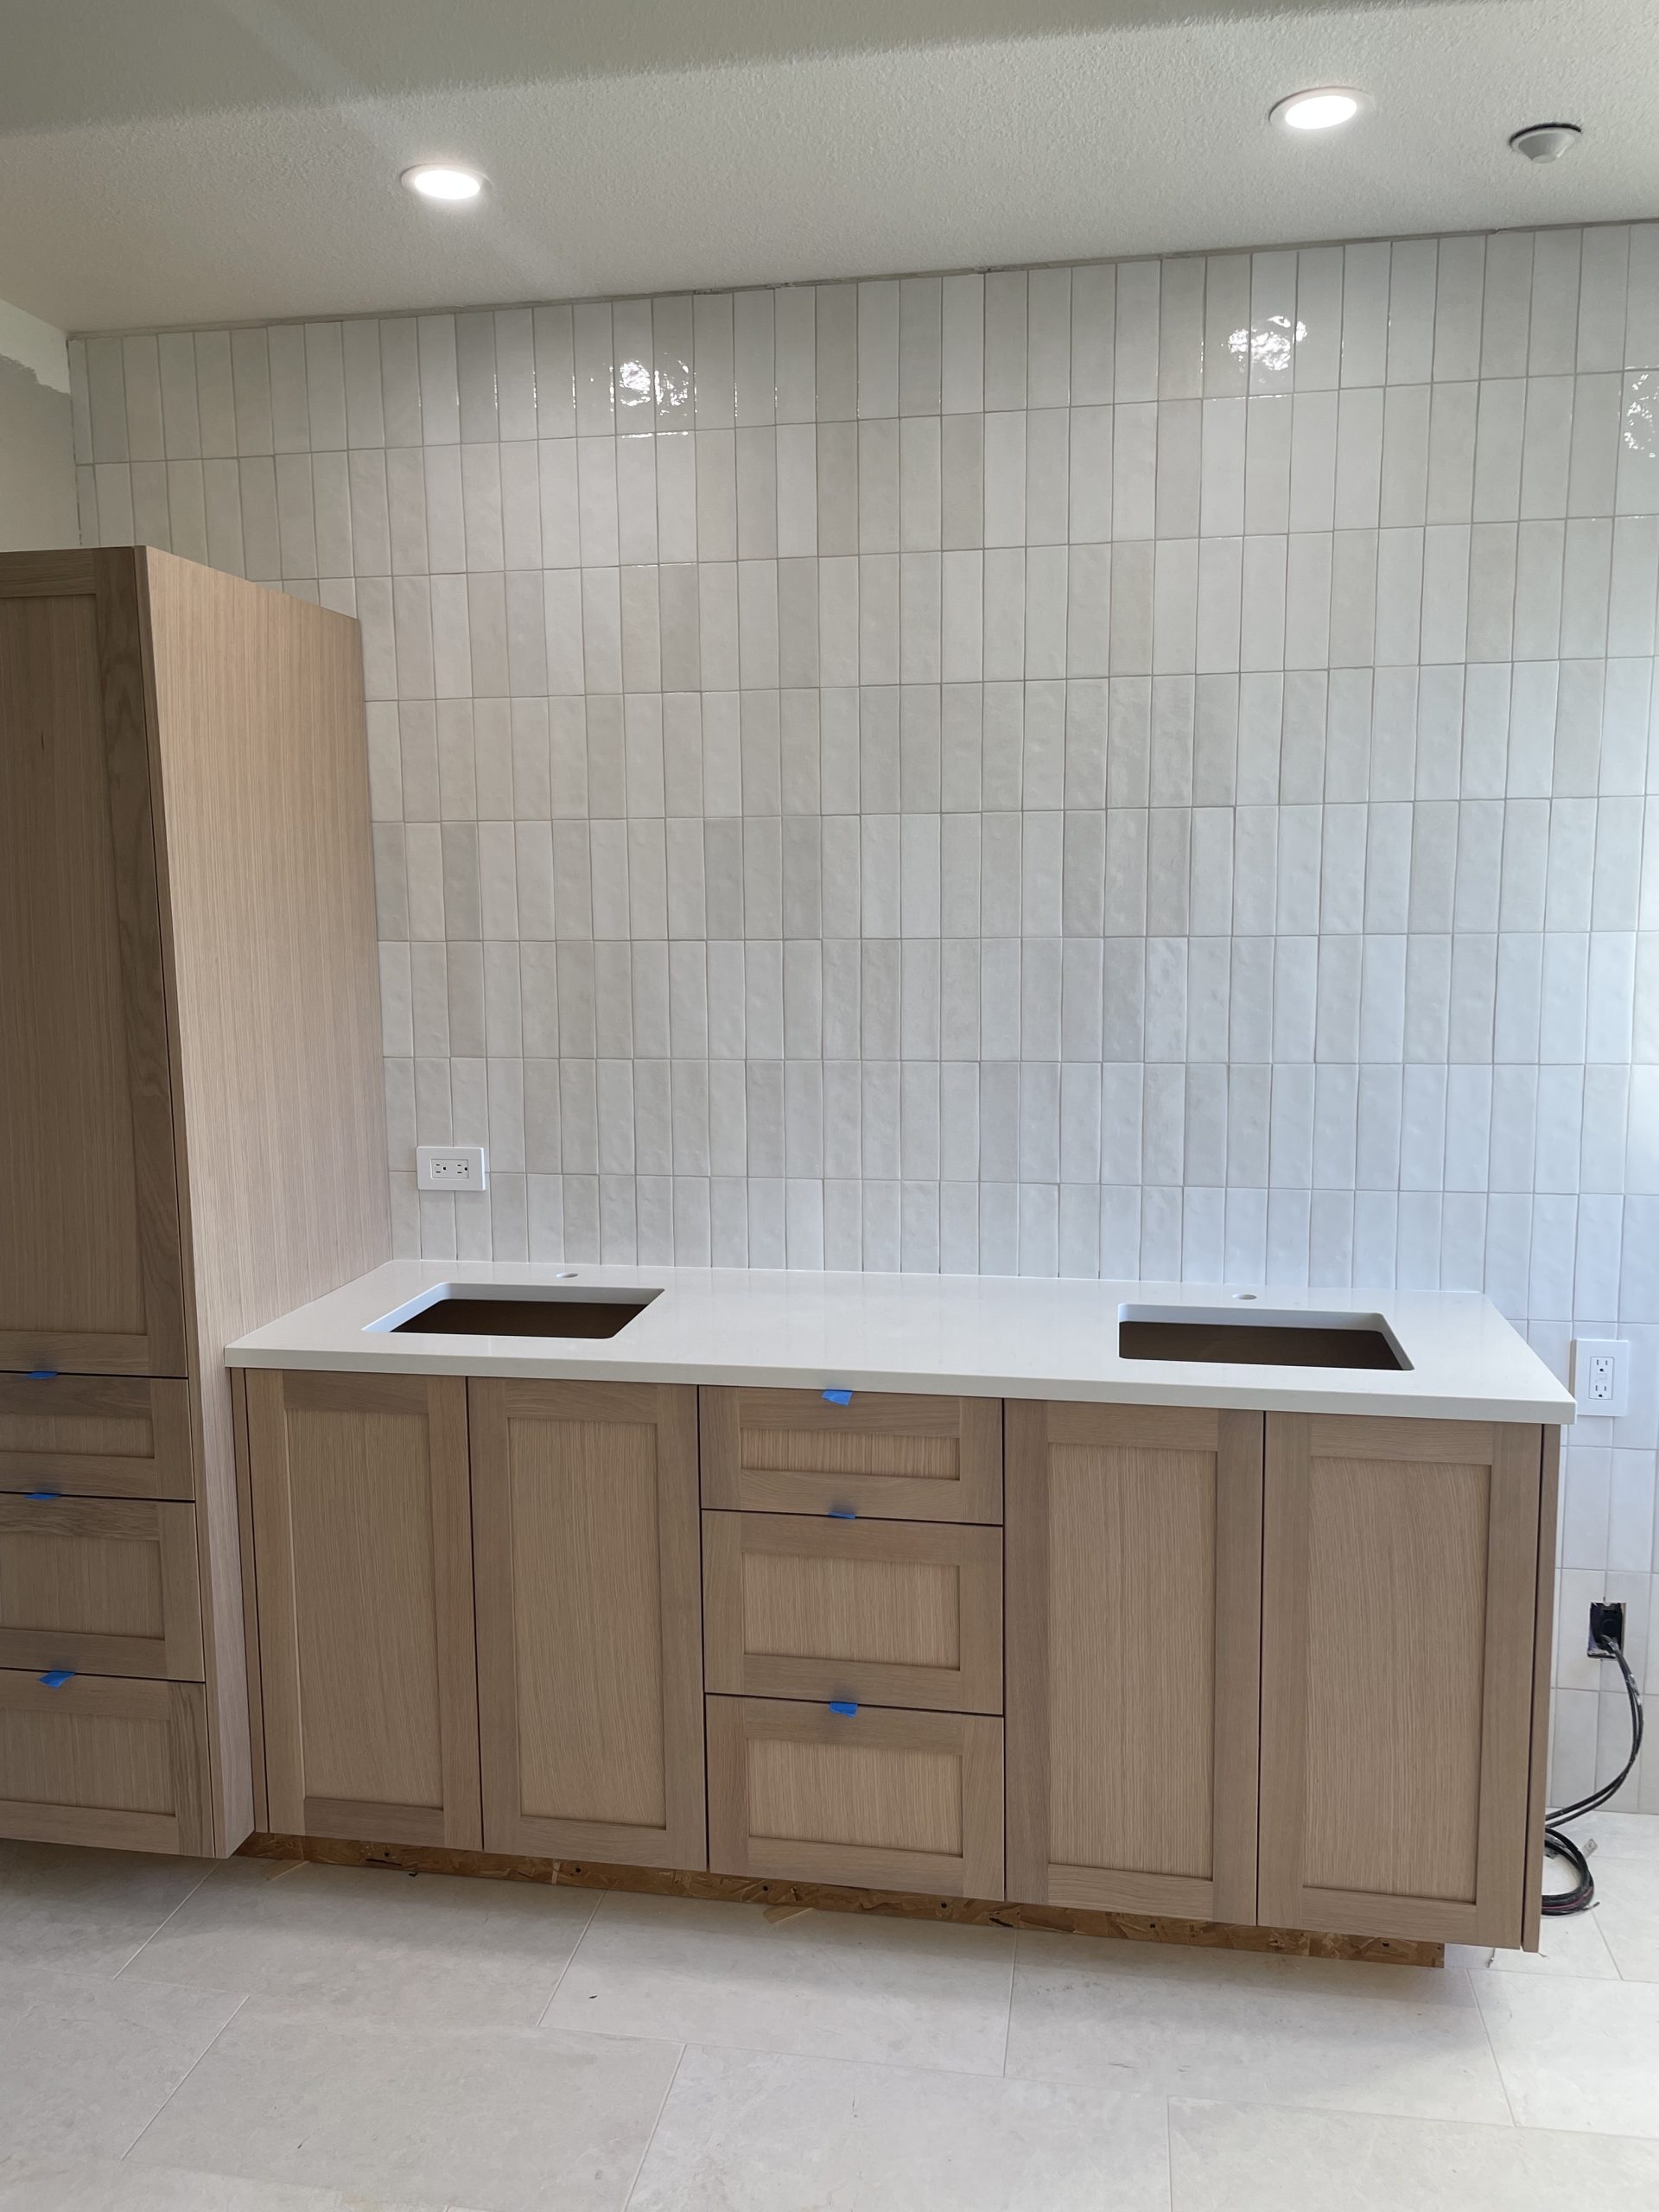
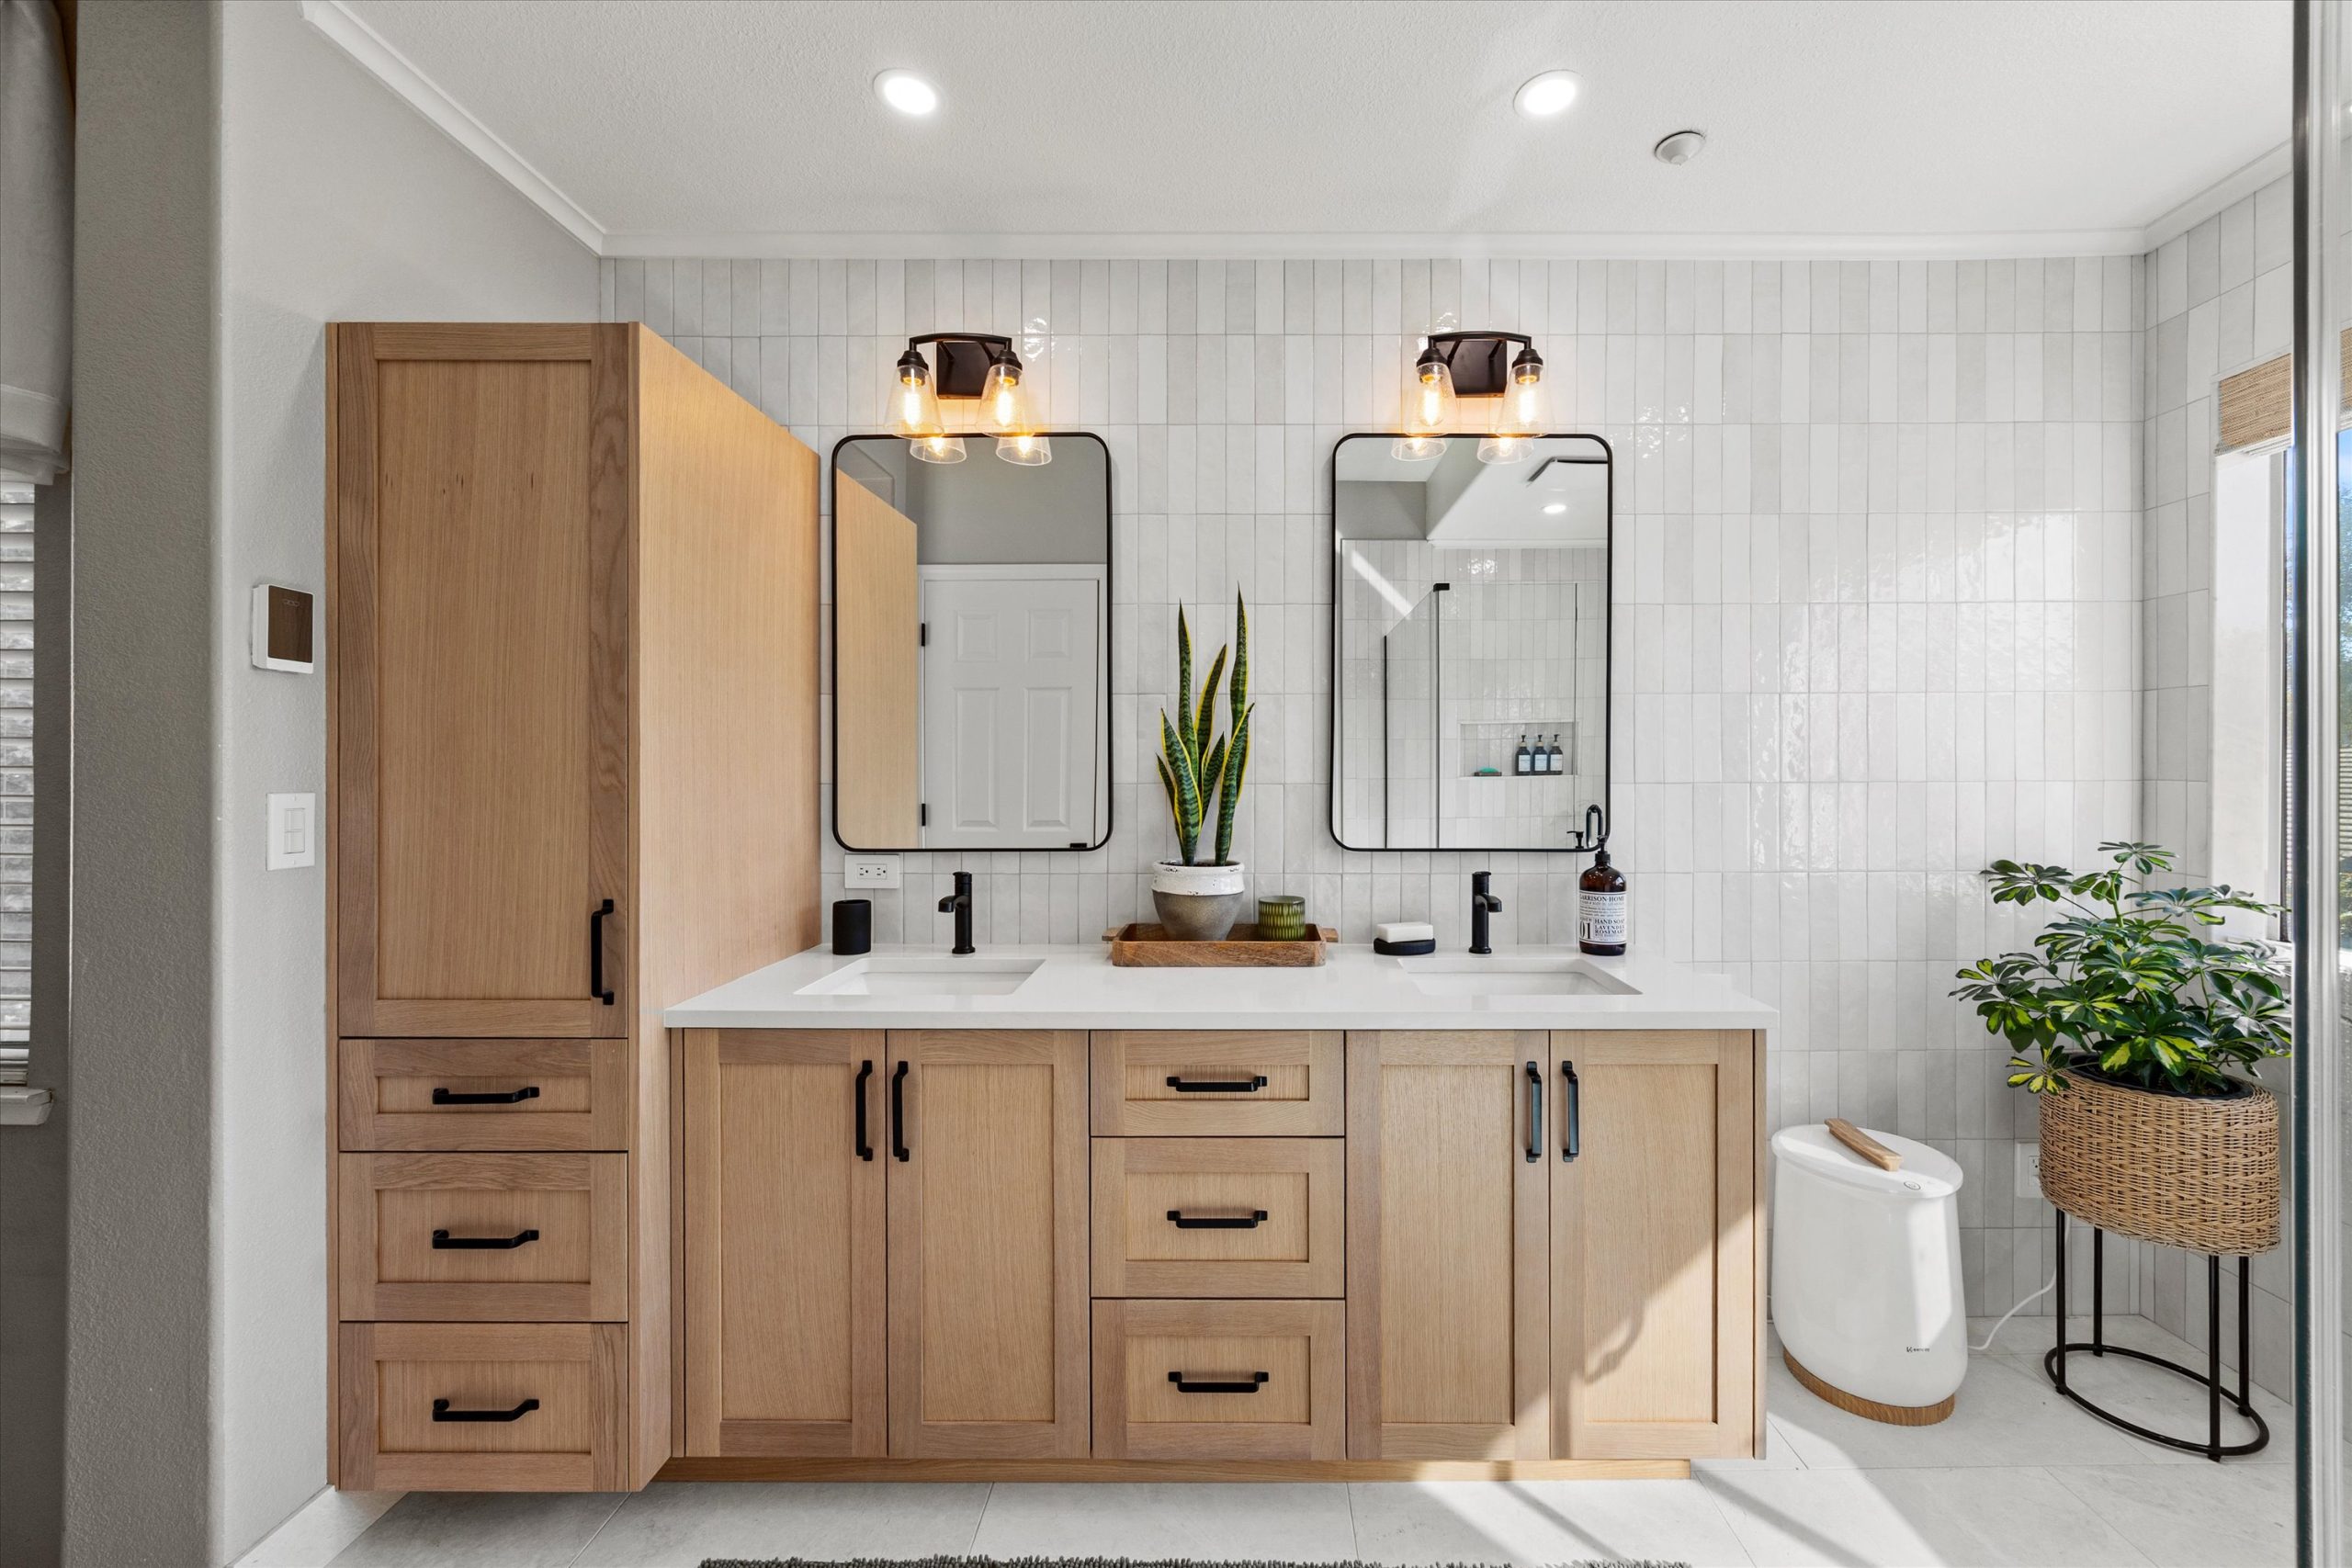
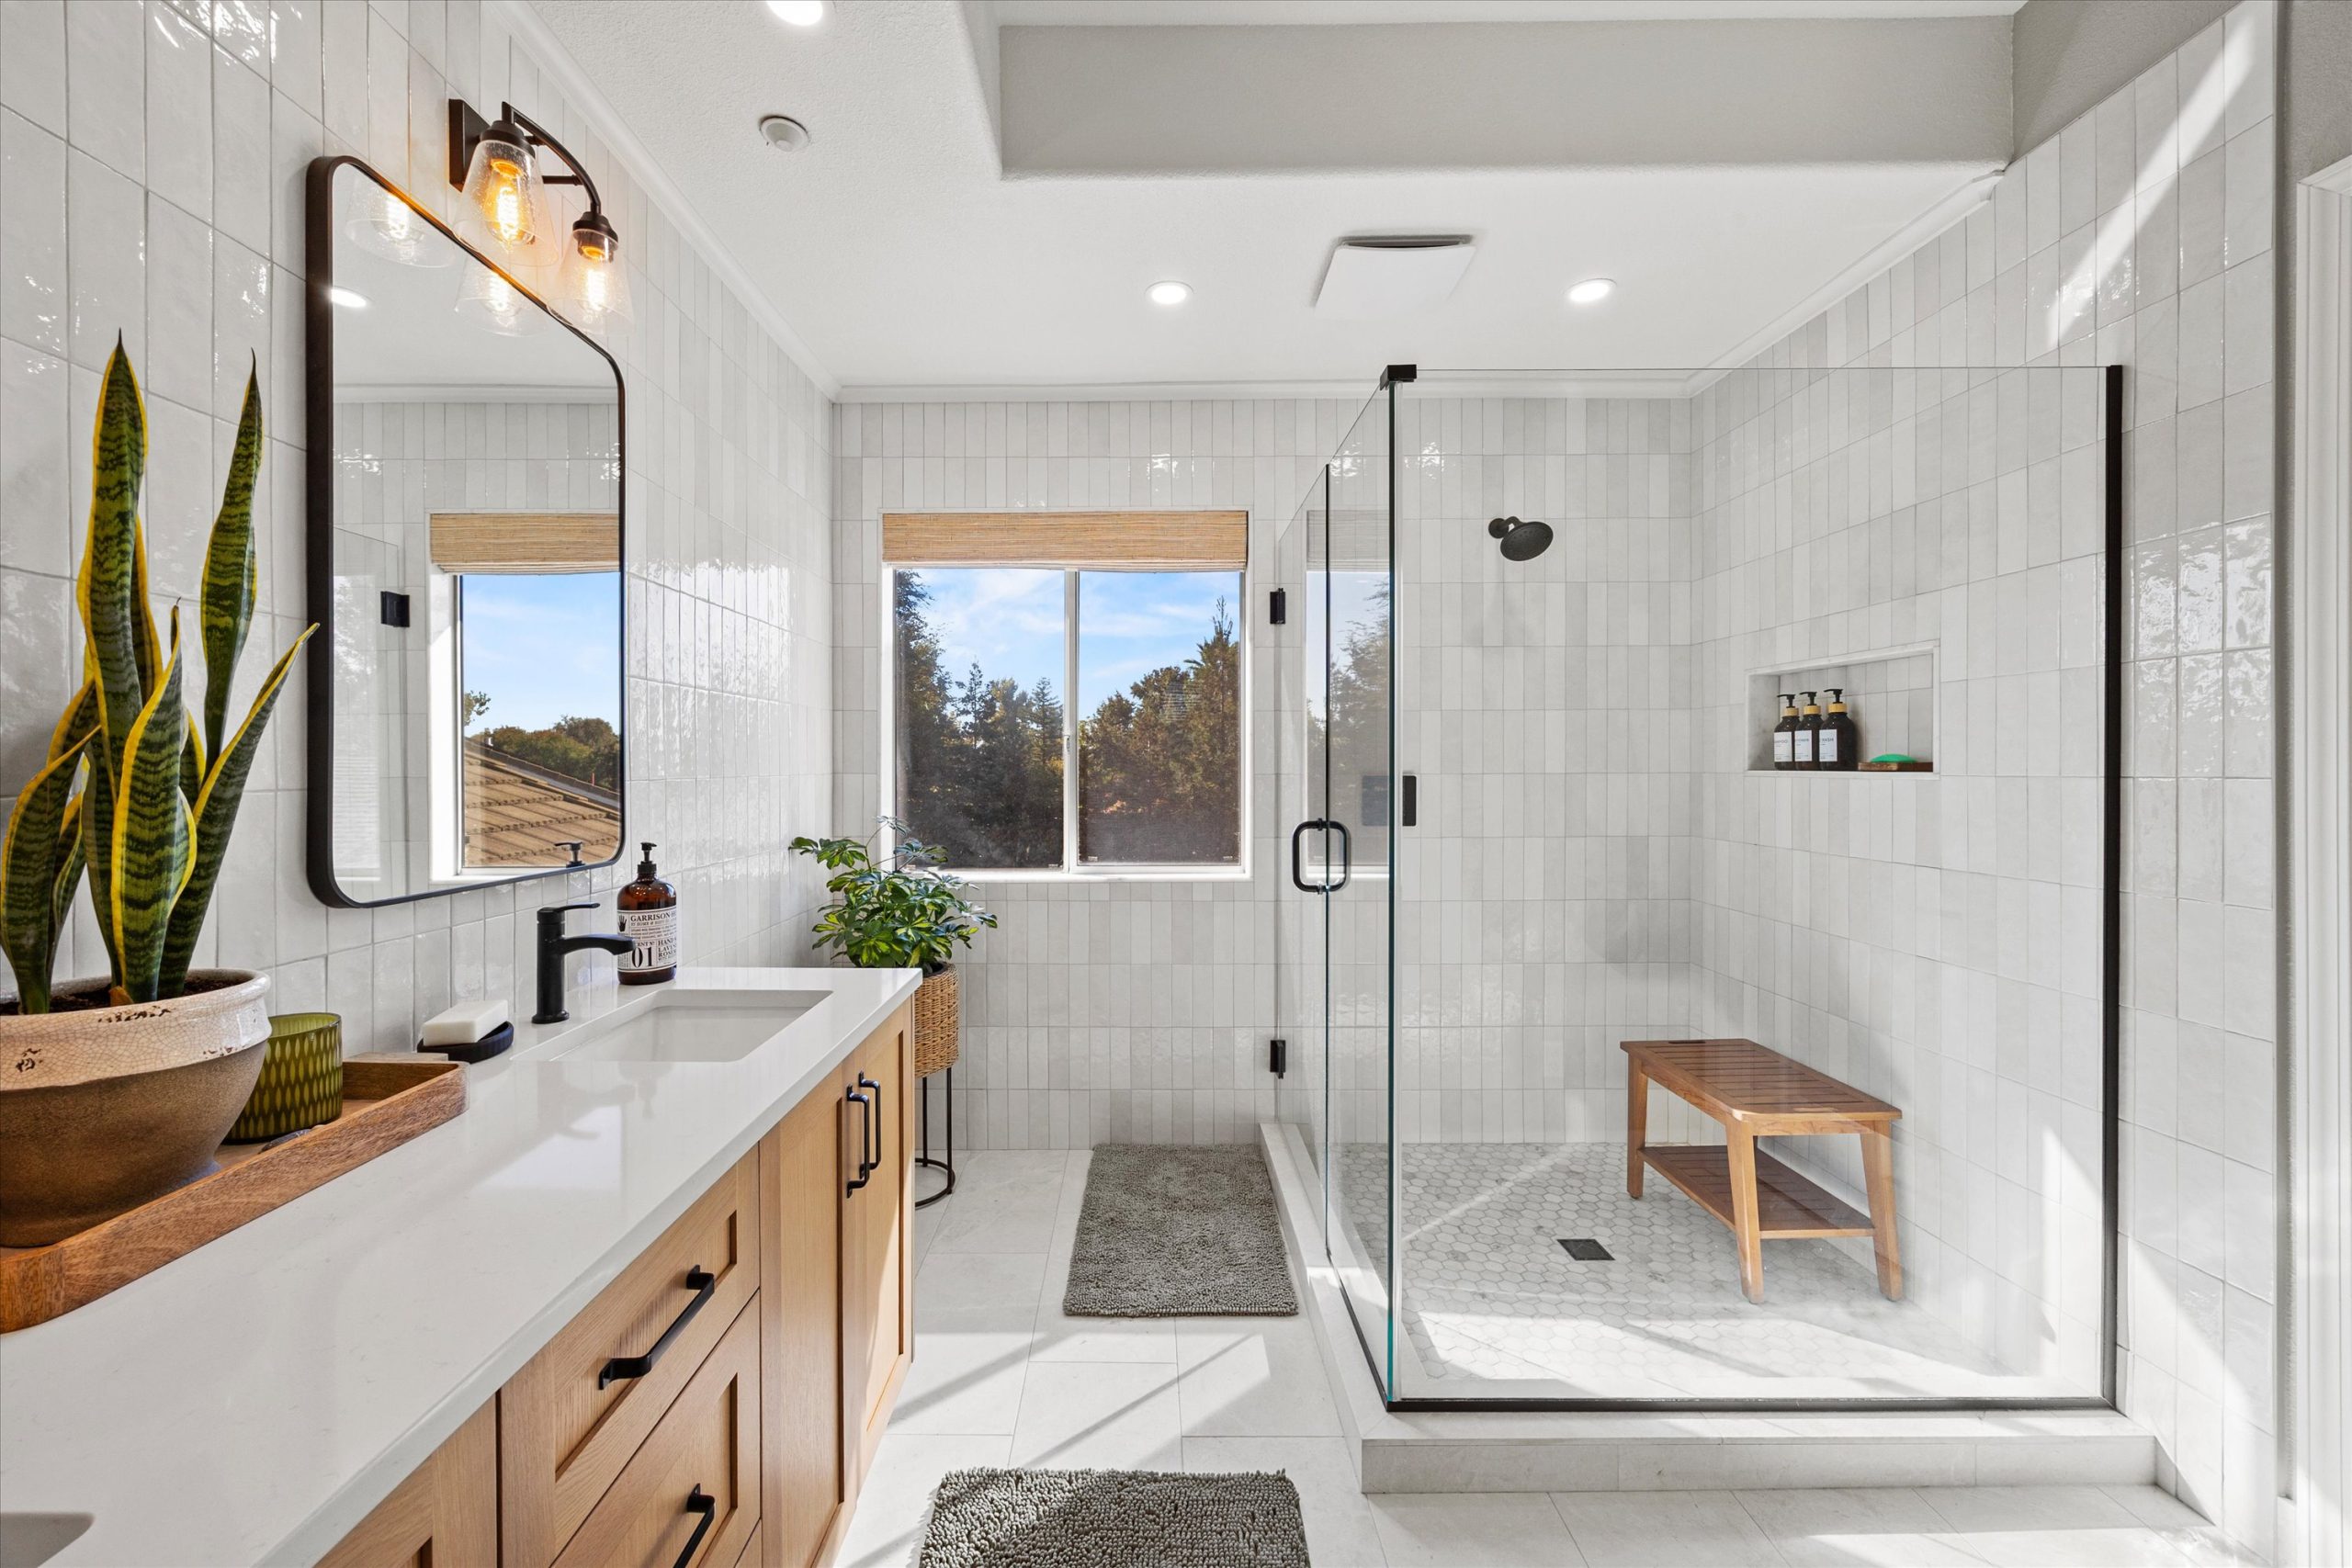
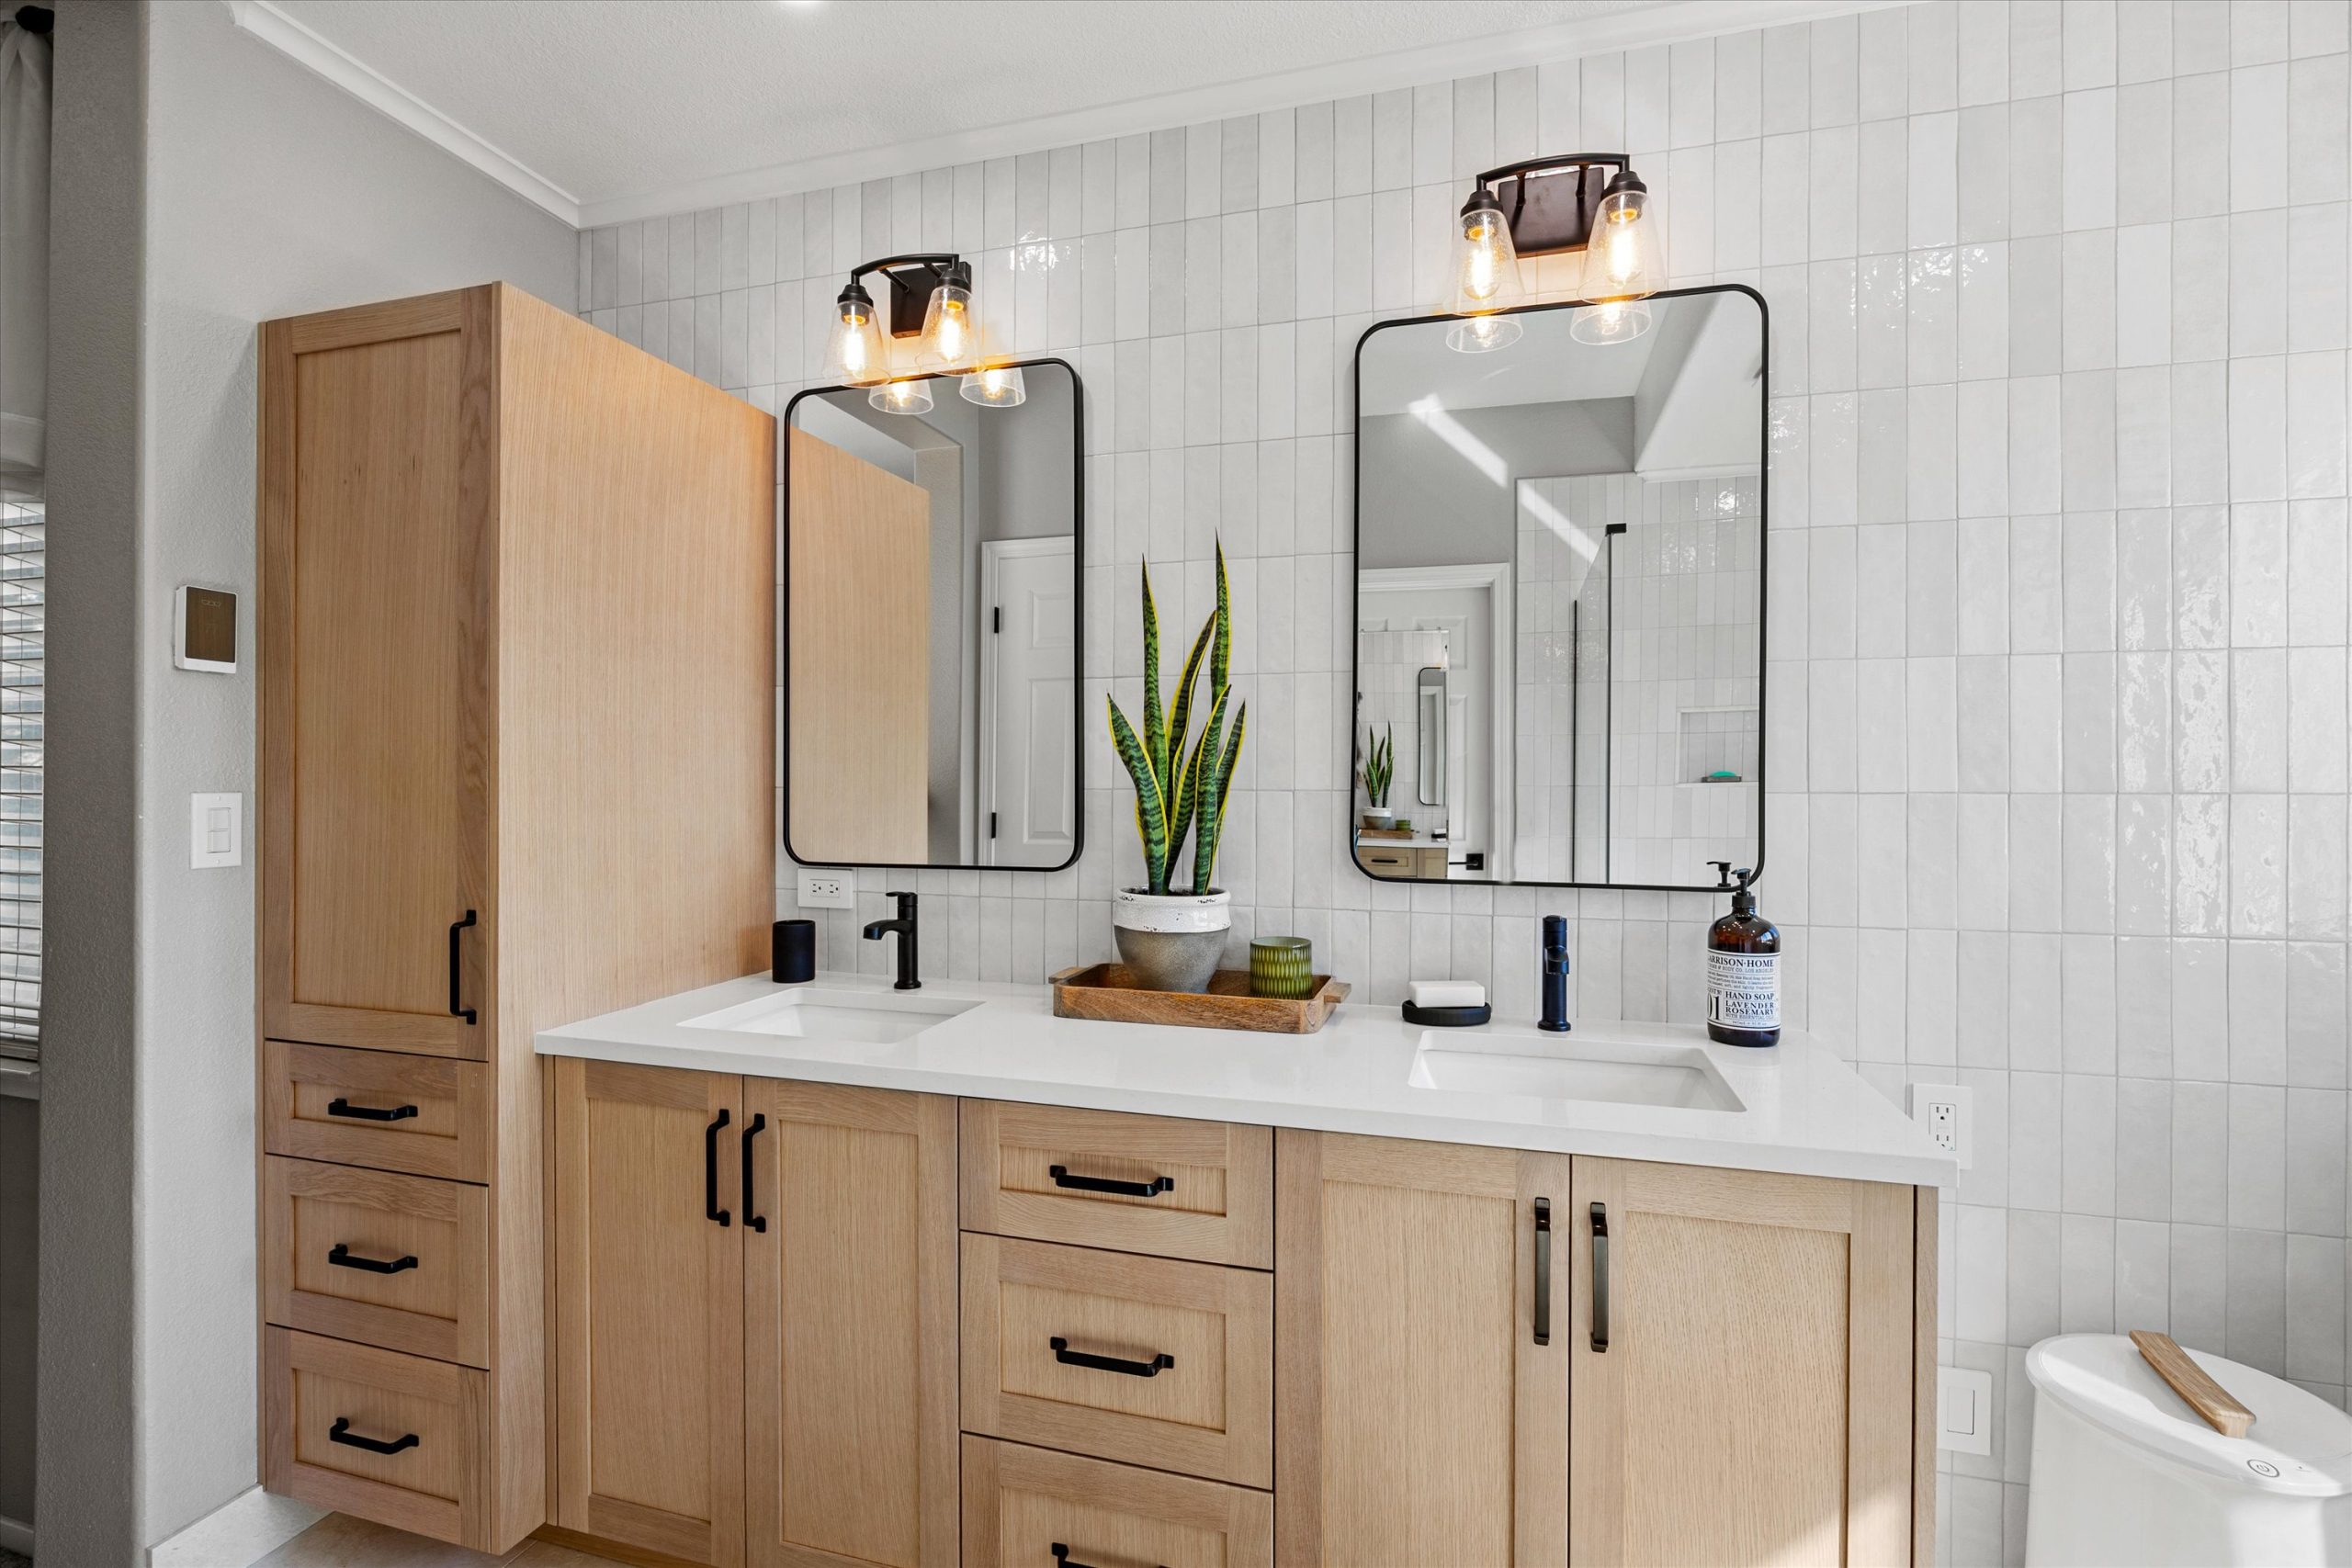
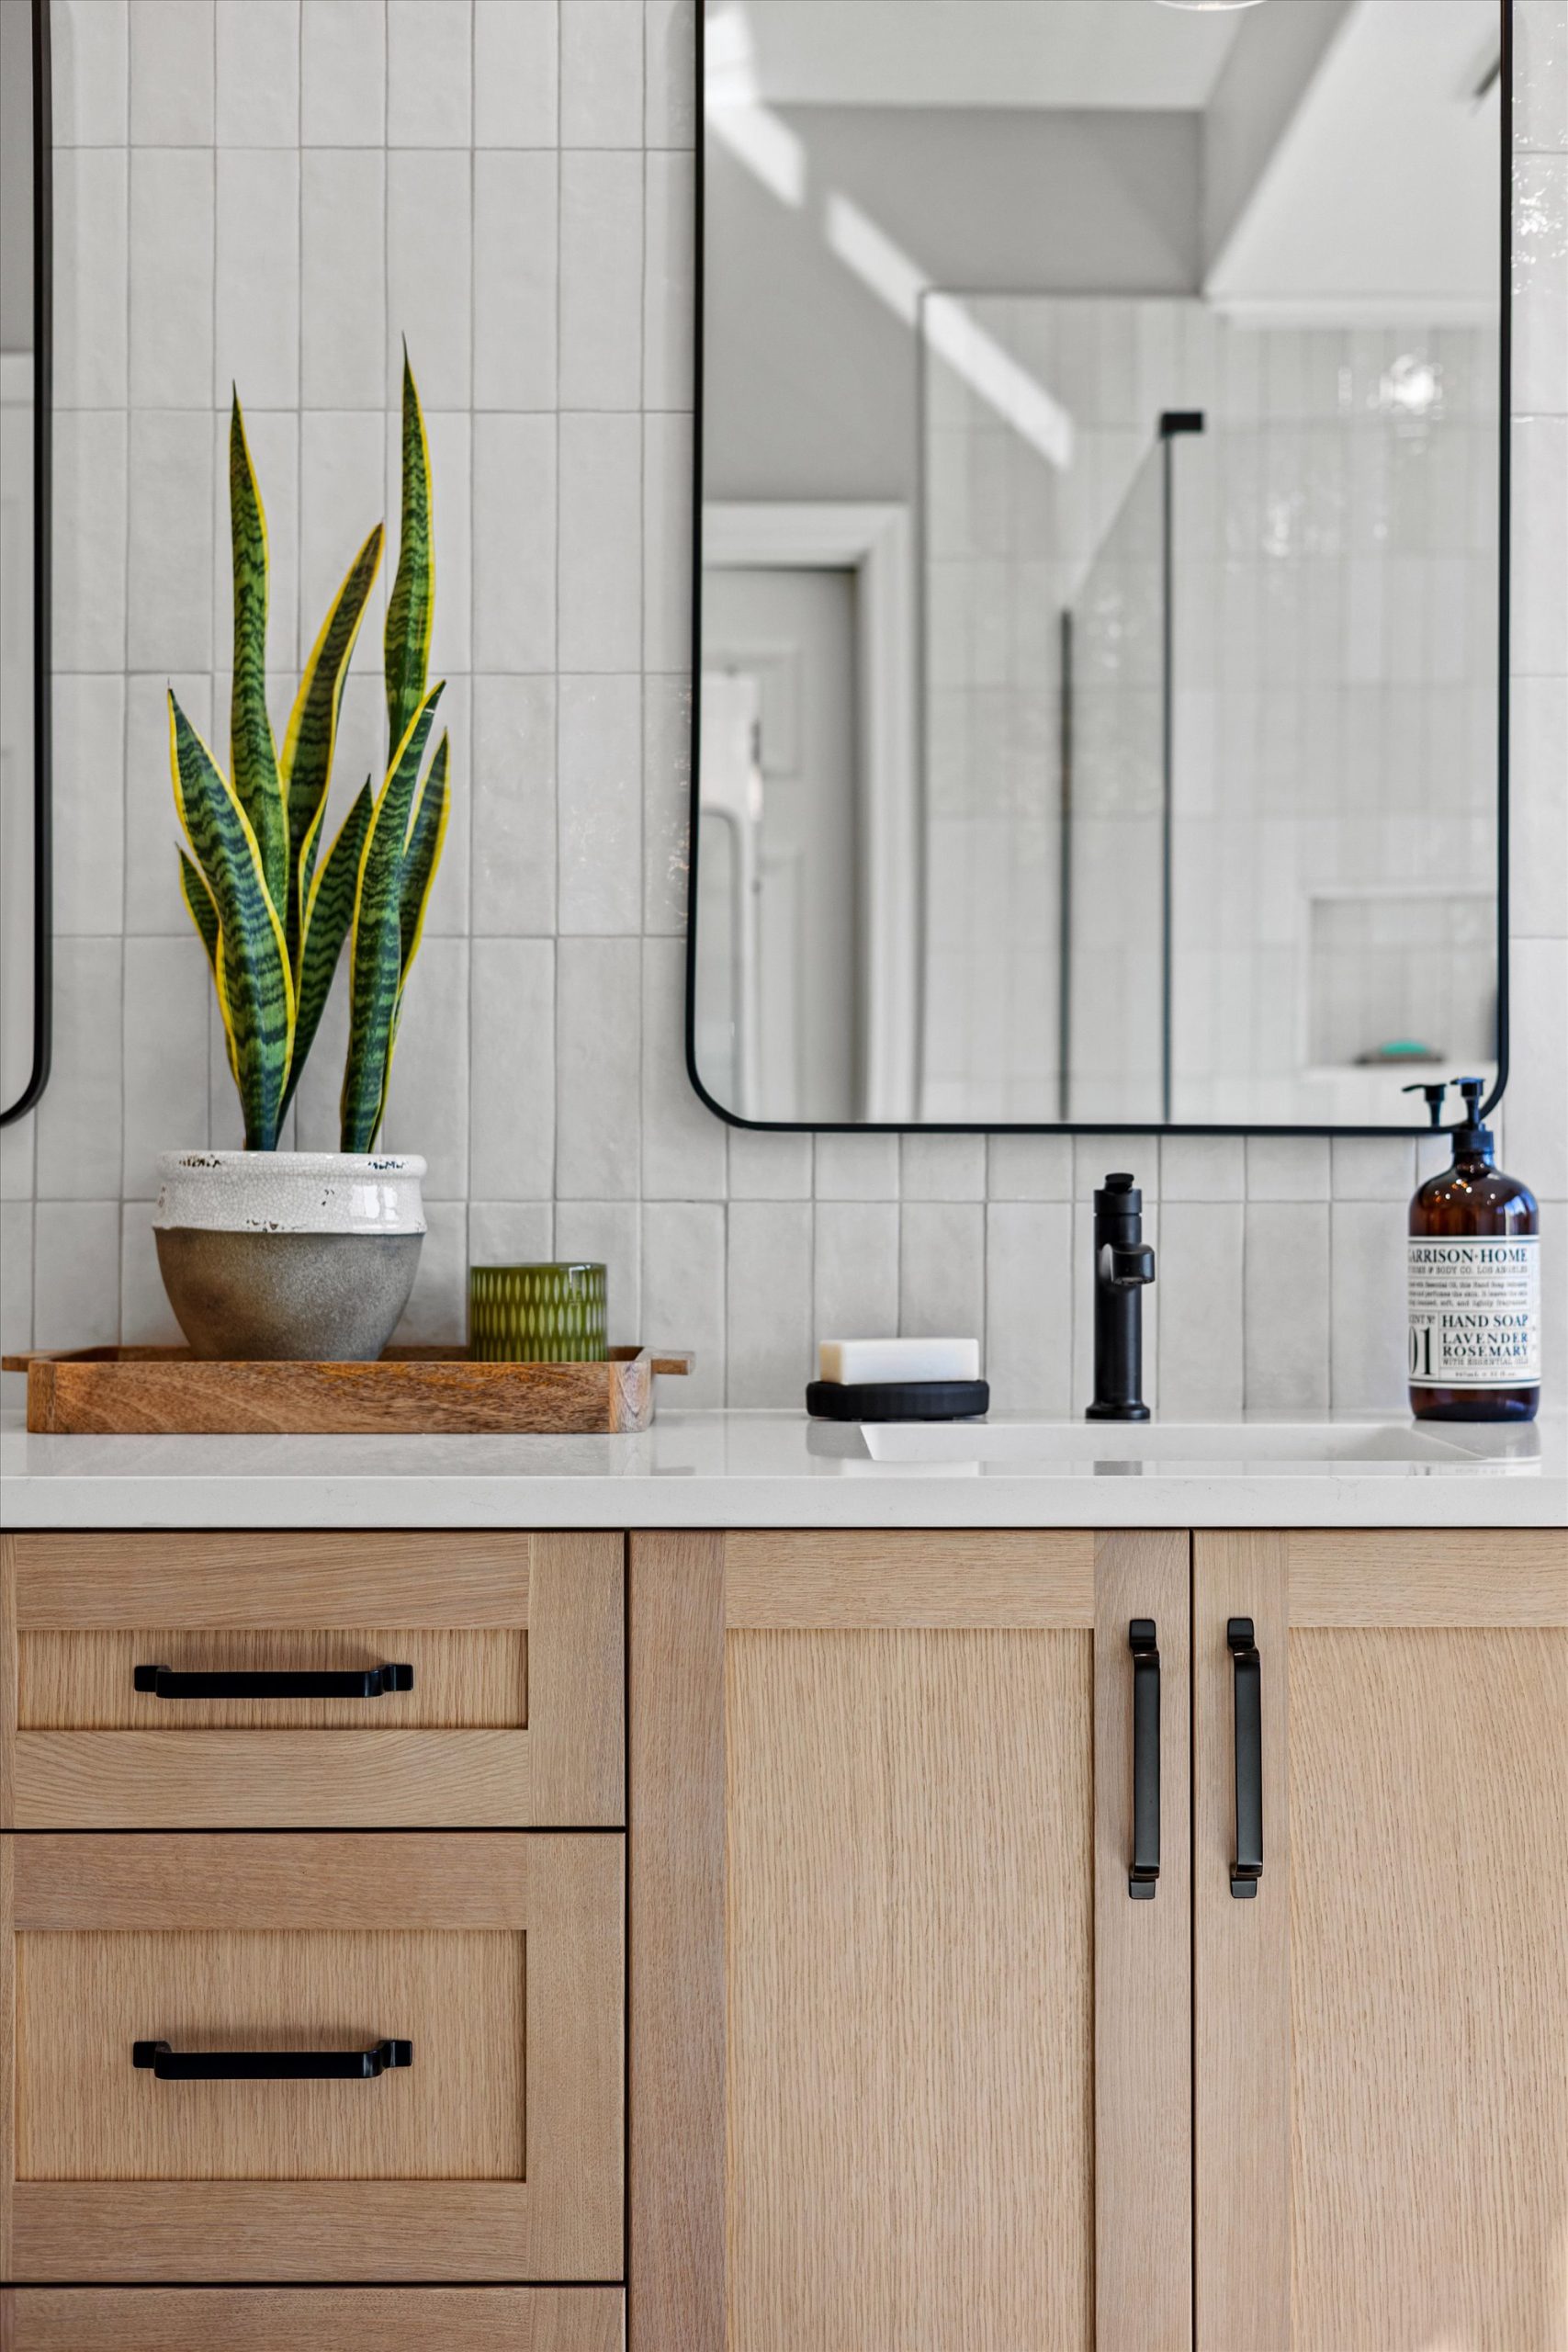
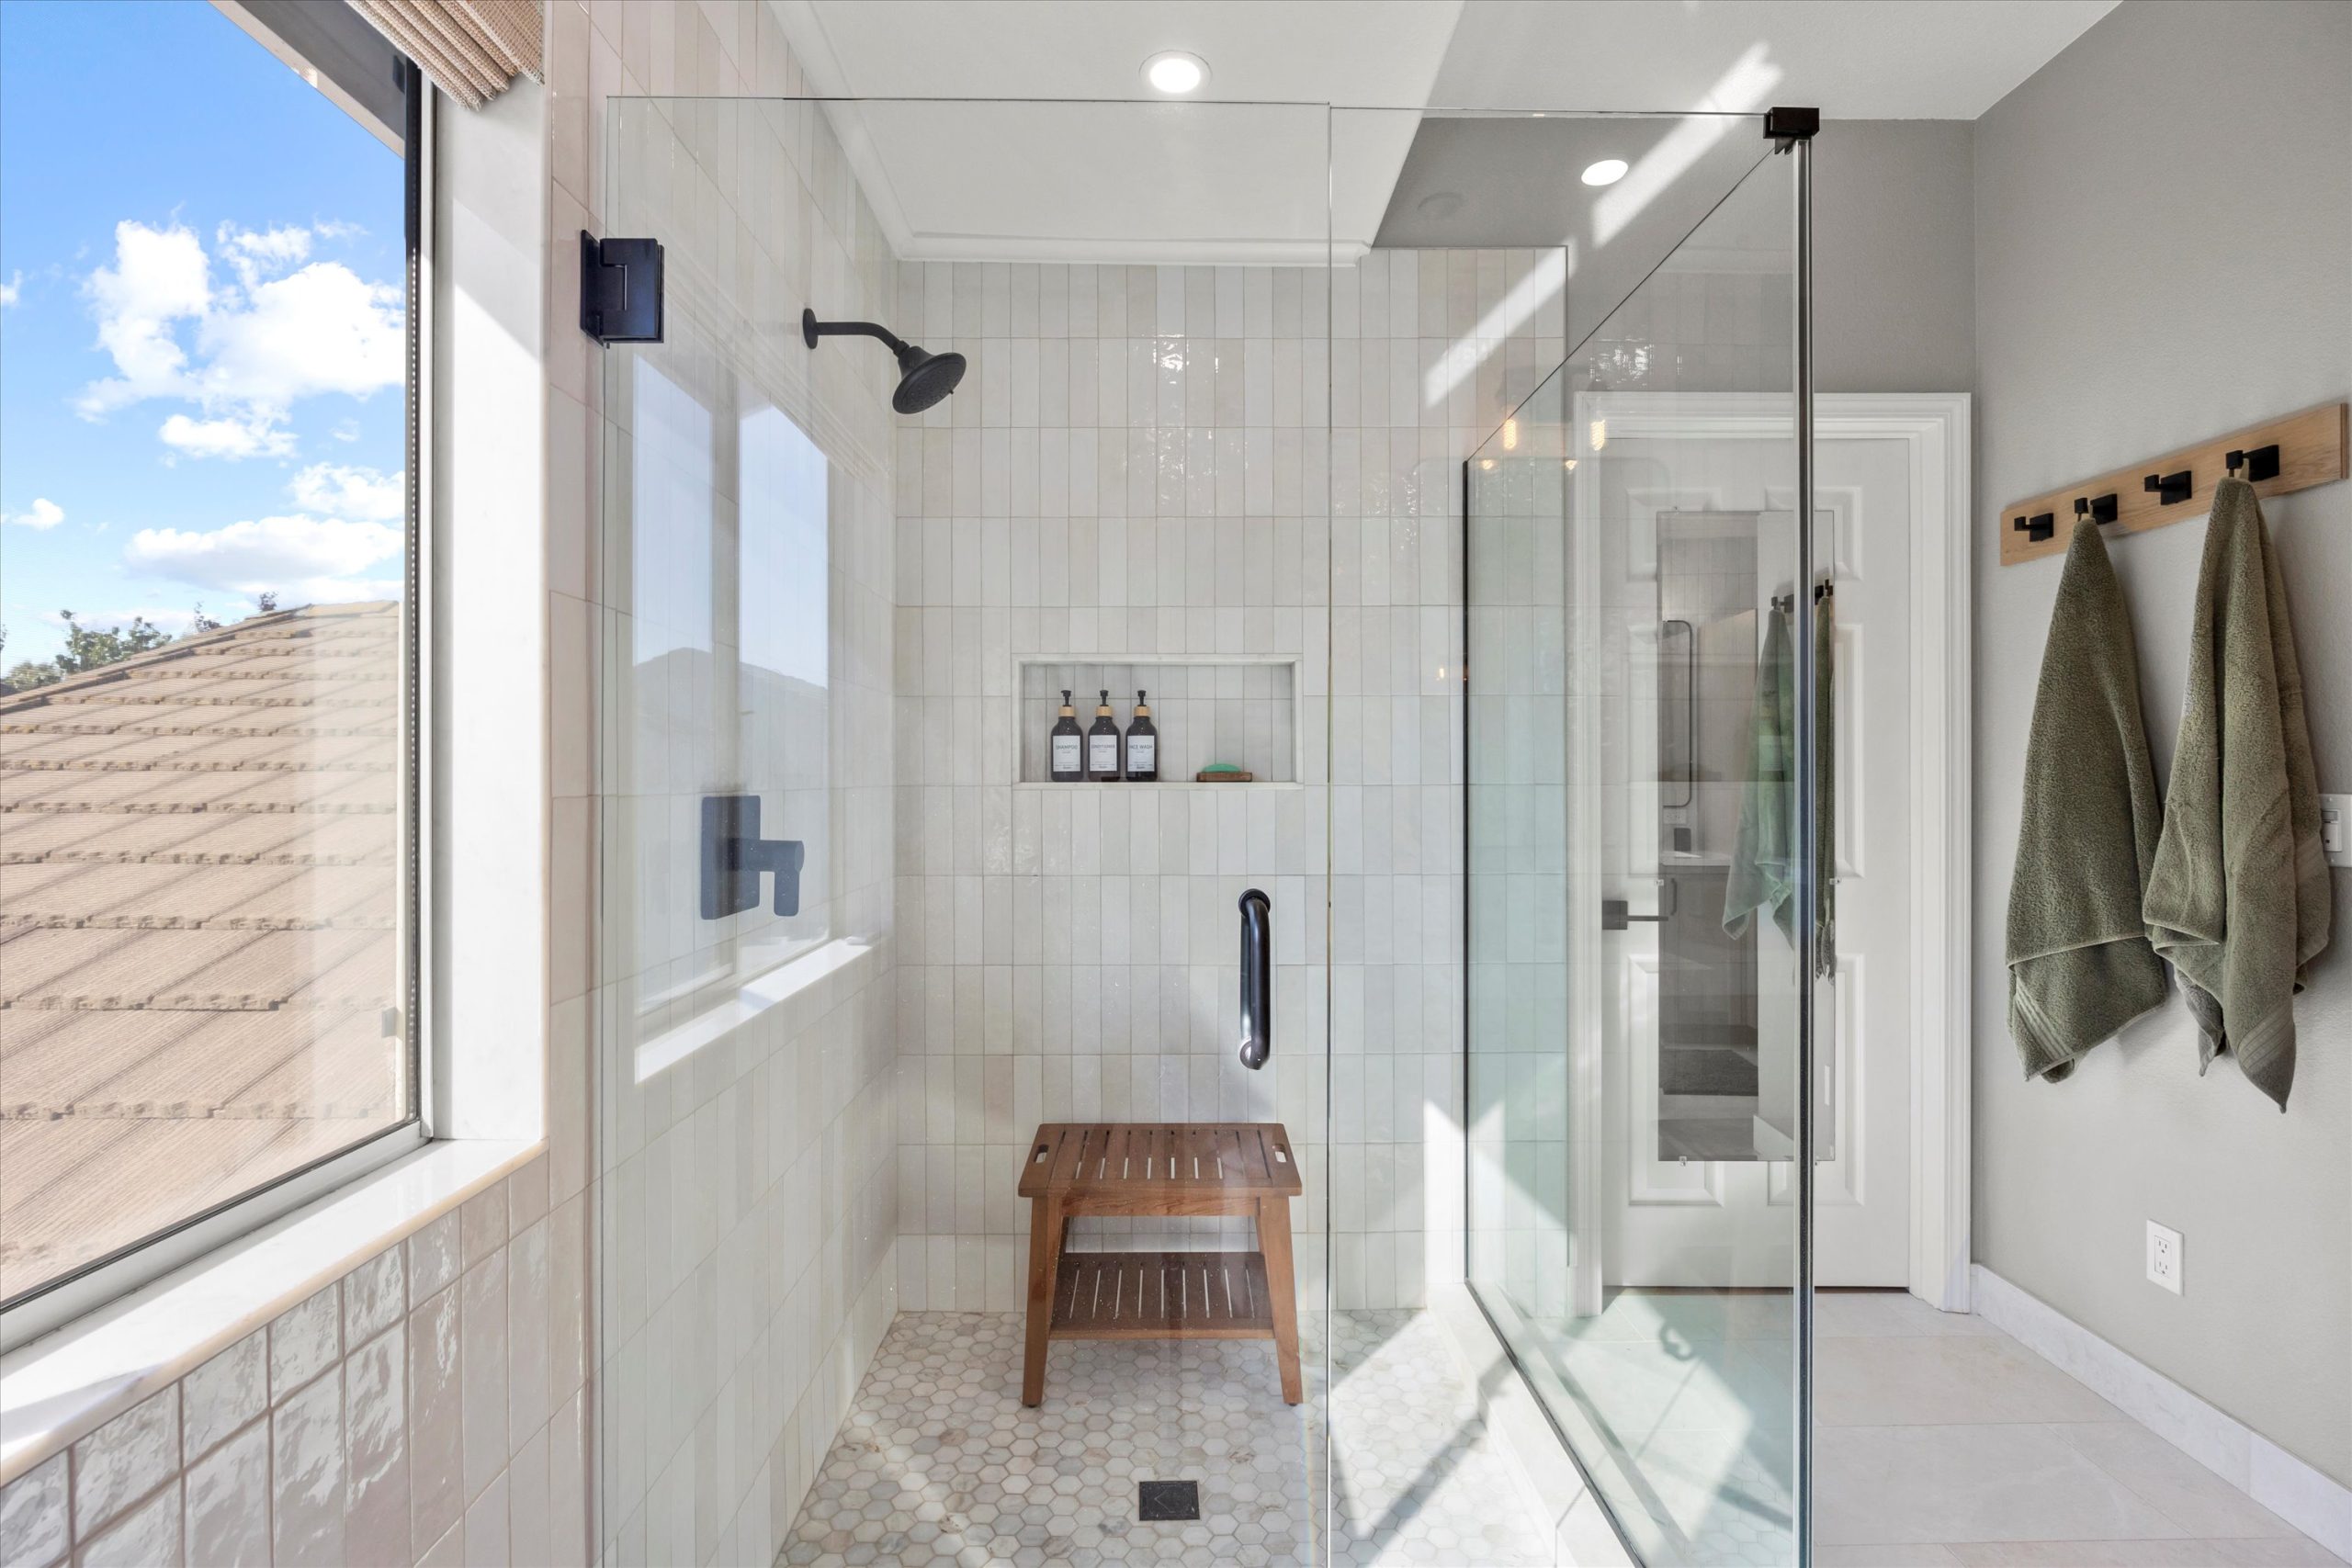
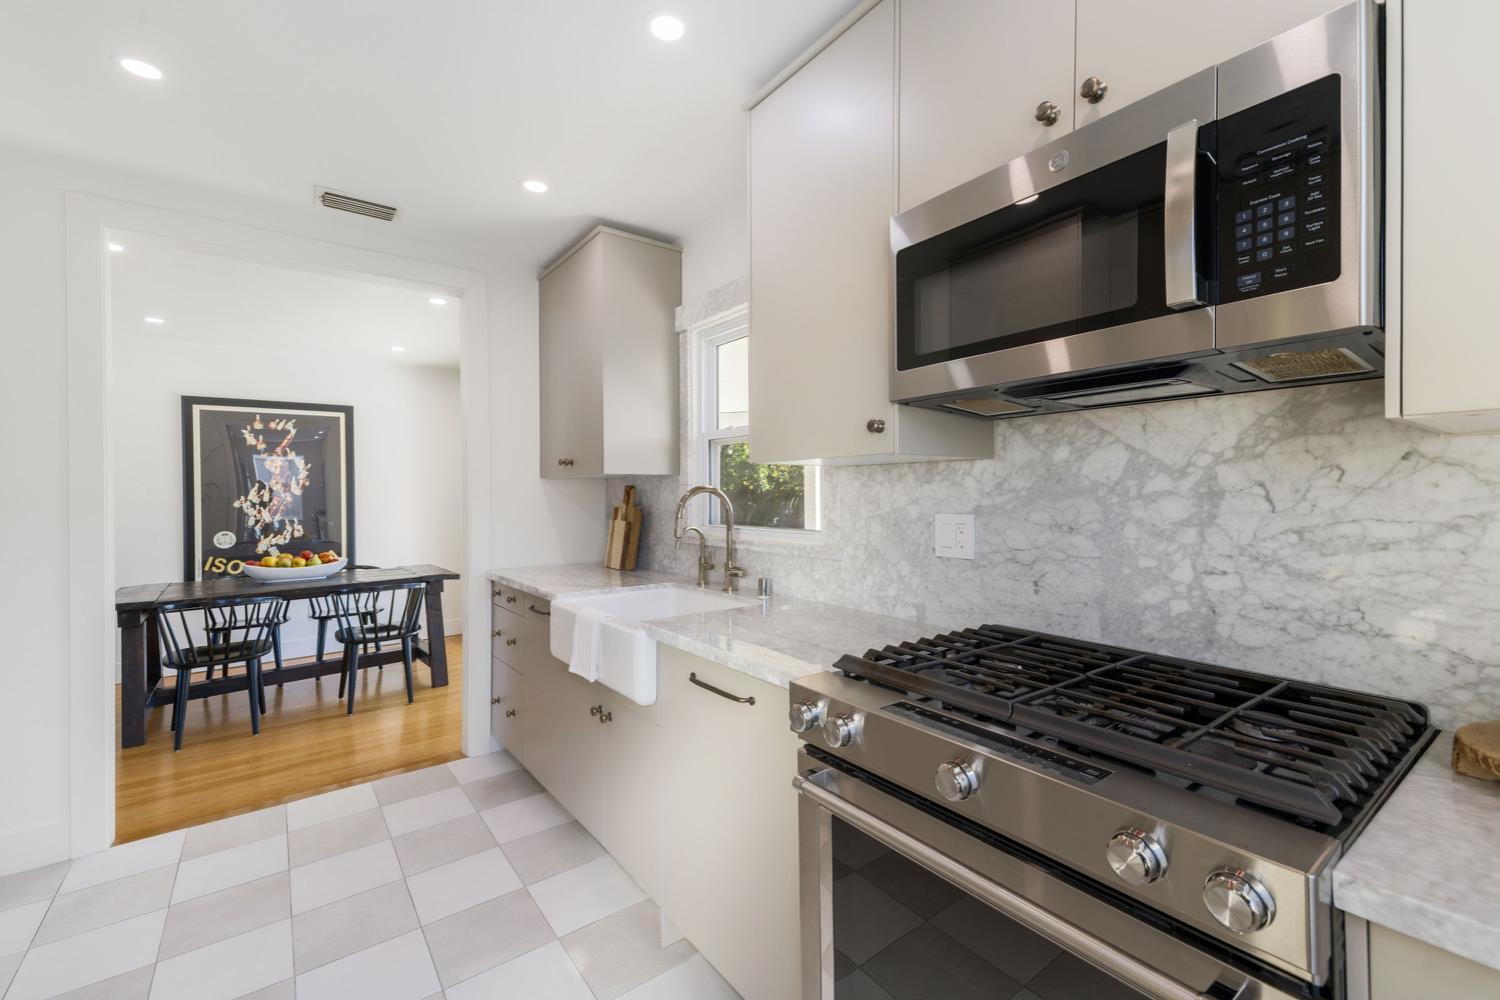
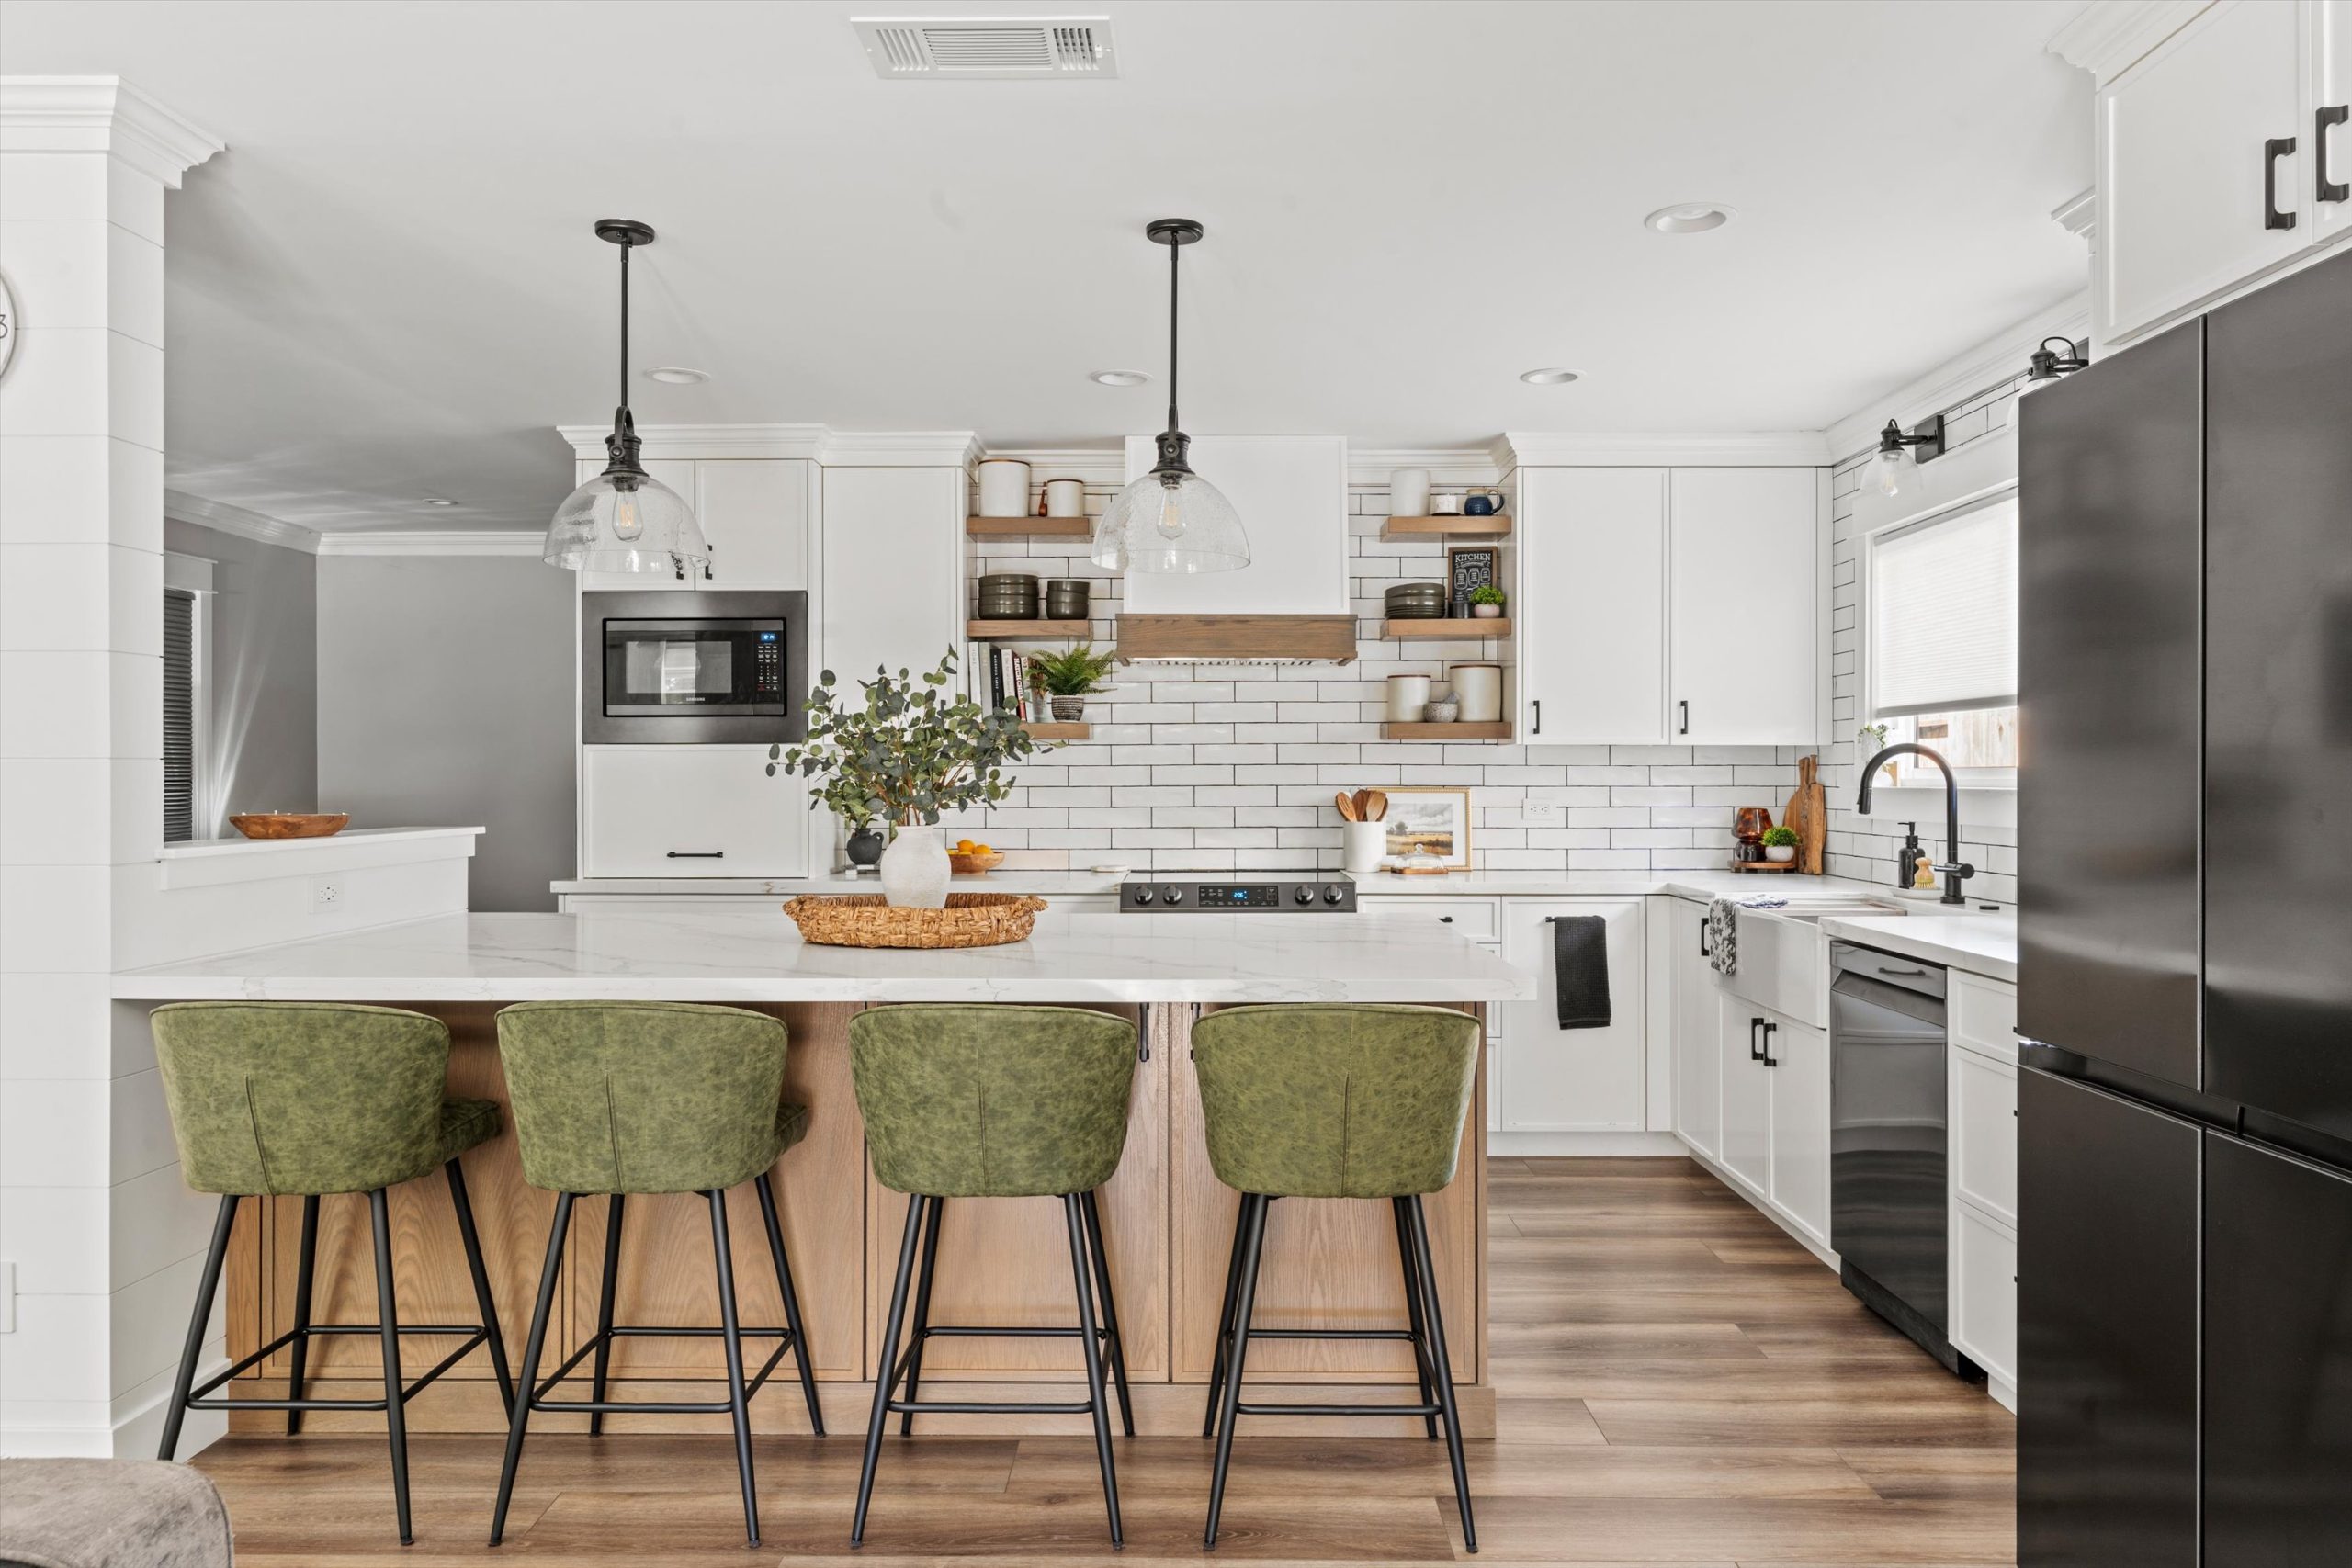
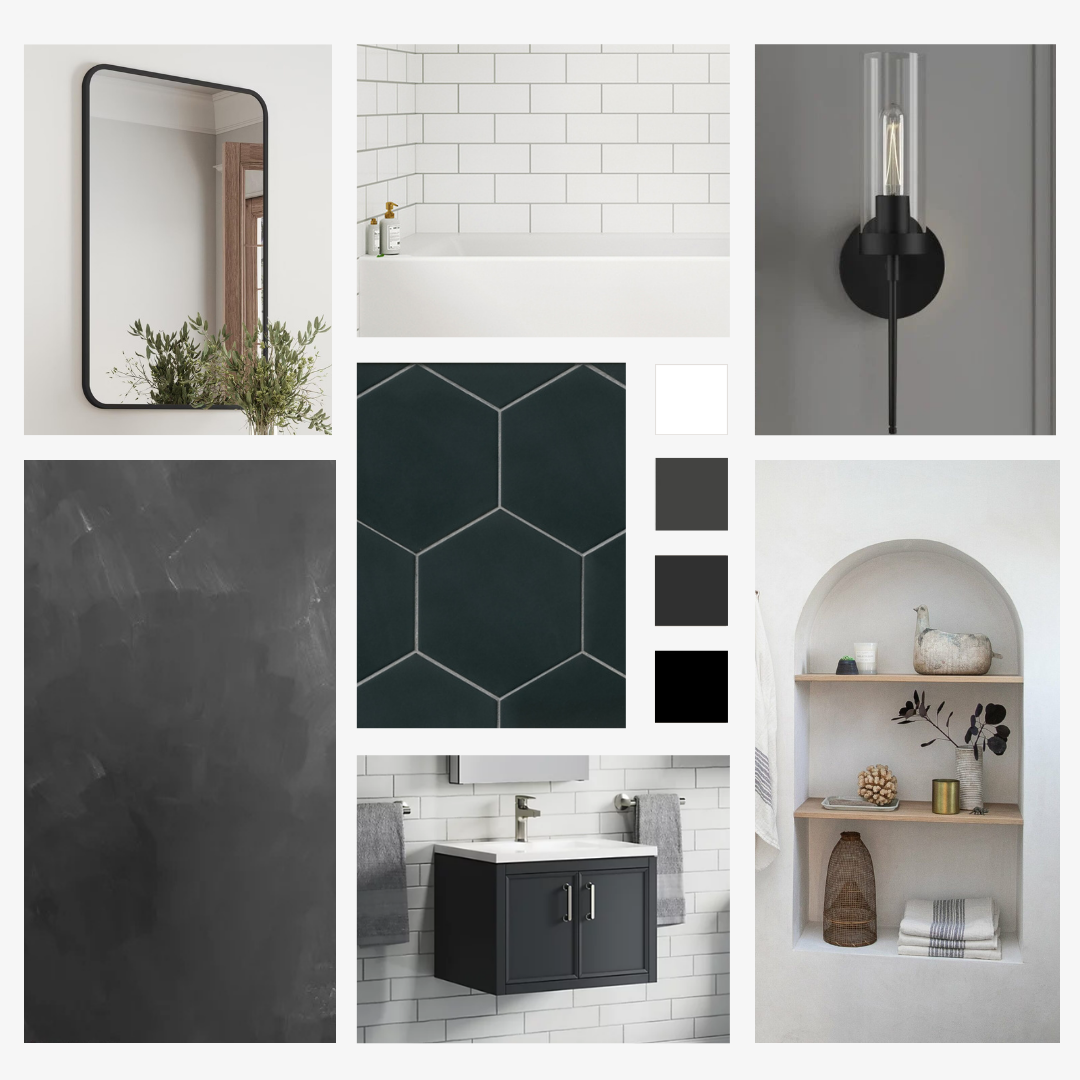
    As a Sacramento design-build remodeling company, we see Walk Your Plans as a powerful planning tool — especially for larger kitchen remodels, primary bathroom reconfigurations, and home additions where layout decisions have long-term impact.

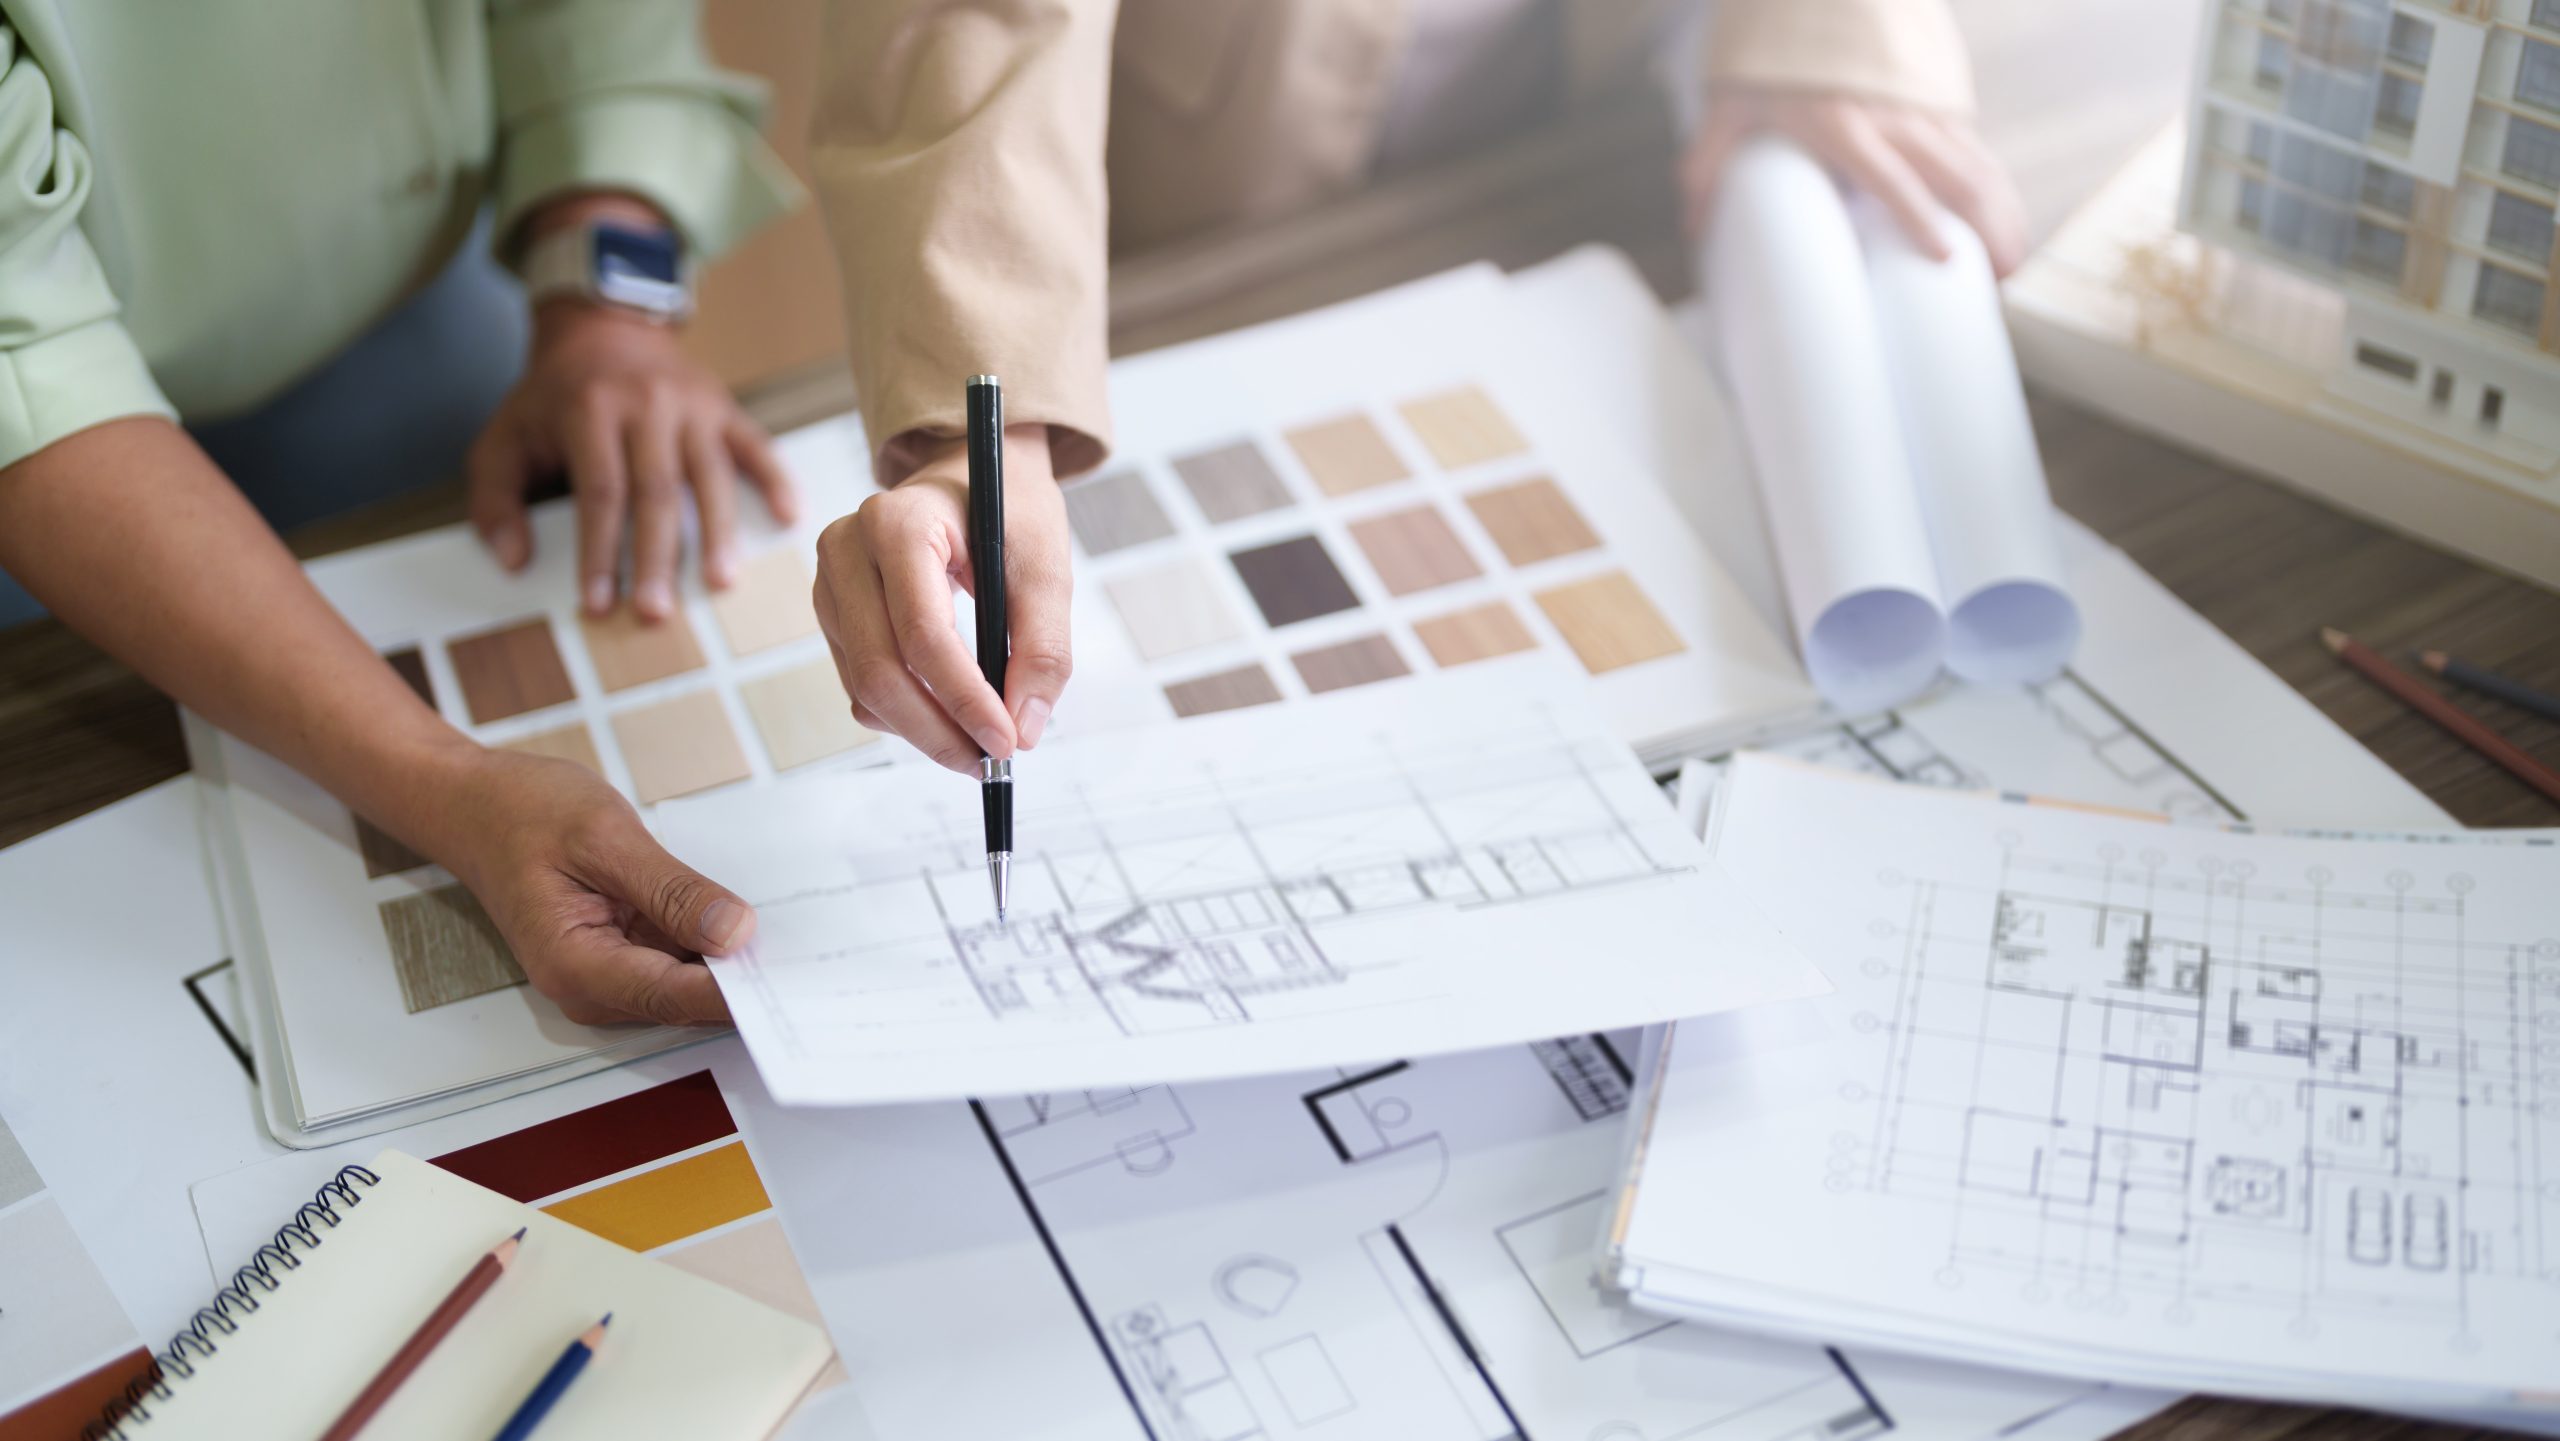
    During the design and pre-construction phase, one of the biggest challenges homeowners face is understanding scale. The difference between a 4-foot and 5-foot island clearance. How a door swing interacts with cabinetry. Whether a hallway feels open or tight.

    Being able to physically walk the layout helps remove doubt before permits are finalized and materials are ordered. It’s not about second-guessing the design — it’s about strengthening it.

    If you’re planning a remodel in Sacramento and want to feel completely confident in your layout before construction begins, we’re happy to coordinate a Walk Your Plans Session as part of your design process. It’s one more way we help our clients build smarter — not just build beautifully.

    Interested in Walking Your Plans?

    Walk Your Plans Sacramento logo
    Walk Your Plans Sacramento
    Full-Scale Floor Plan Experience Studio

    Visit Their Main Website | Book a Session | Follow on Instagram | Connect on LinkedIn

  • When Thoughtful Design Matters: A Bathroom Remodel Recognized by NARI

    When Thoughtful Design Matters: A Bathroom Remodel Recognized by NARI

    Most remodeling awards don’t start with a trophy in mind. They start with a homeowner problem that needs to be solved well. This Sacramento-area bathroom remodel was no exception.

    Recently, one of our projects was recognized with a Remodeler of the Year Award from the National Association of the Remodeling Industry (NARI), in the category Residential Bath Under $40,000 for the Greater Sacramento Area. While we’re grateful for the recognition, what made this project special had far more to do with the decisions made along the way than the award itself.

    Project Highlights

    • Location: Sacramento Area, CA
    • Project Type: Primary Bathroom Remodel
    • Budget: $36,000
    • NARI Category: Residential Bath Under $40,000
    • Design Focus: Space efficiency, resale-aware upgrades, modern warmth
    • Timeline: 6 weeks
    • Recognition: 2025 NARI Remodeler of the Year – Greater Sacramento
    NARI Award-winning bathroom remodel project highlights

    The Starting Point: A Bathroom at a Crossroads

    The homeowners initially reached out after water damage was discovered behind their primary shower, extending into an adjacent closet. While the leak itself had already been repaired, the aftermath left exposed walls, missing finishes, and an opportunity to reassess the space as a whole.

    Like many Sacramento homeowners, they weren’t sure if this would be a “forever” remodel or a strategic update to improve comfort now and resale value later. That uncertainty became the foundation for how we approached the project.

    Establishing a Smart, Flexible Budget

    Rather than designing toward extremes, we worked with the homeowners to establish a $36,000 working budget that balanced durability, modern design, and neighborhood-appropriate investment.

    This budget aligned with what we consider an Enhanced Bathroom Remodel — a tier designed for Sacramento-area homes where thoughtful planning and finish selection can dramatically improve the space without unnecessary excess.

    Every design decision was filtered through three questions:

    1. Does this improve everyday usability?
    2. Does it elevate the look and feel of the bathroom?
    3. Does it make sense for this home and market?

    Design Decisions That Made the Difference

    With a compact footprint—approximately 60″ wide by 106″ deep—every inch mattered. Key upgrades included:

    • A low-profile, charcoal-toned prefabricated shower pan to maximize usable shower space
    • A 42″ walnut vanity with deep drawers and integrated power access for functional storage
    • A recessed, lighted medicine cabinet to add storage while maintaining a clean sightline
    • Carefully selected tile, lighting, and finishes to balance warmth, contrast, and longevity

    None of these choices were meant to steal attention on their own. Together, they created a bathroom that feels intentional, calm, and timeless.

    The Finished Result

    The completed bathroom feels larger, more functional, and visually grounded—without losing sight of the home’s overall value. Storage is improved, circulation is clearer, and the design feels current without chasing trends.

    Most importantly, the space now works for the homeowners today and makes sense for the future.

    Why This Sacramento Bathroom Remodel Was Recognized

    The NARI Remodeler of the Year awards are peer-reviewed, with projects evaluated on problem-solving, budget management, design execution, and craftsmanship.

    This project stood out not because it was the largest or most expensive bathroom remodel in Sacramento—but because it demonstrated how strong planning and disciplined decision-making can elevate a space within real-world constraints.

    What This Recognition Means to Us

    Awards are never the goal—but they matter when they reflect the values we bring to every bathroom remodel:

    • Clear communication
    • Thoughtful design
    • Respect for budget and context
    • Craftsmanship that lasts

    We’re proud of this recognition, and even more proud of the trust our clients place in us when remodeling one of the most important rooms in their home.

    If you’re considering a Sacramento bathroom remodel and want guidance on how to balance design, comfort, and long-term value, we’re always happy to start with a conversation.

  • How to Maximize ROI on a High-End Home Remodel

    How to Maximize ROI on a High-End Home Remodel

    Remodeling your home is about more than just updating finishes or refreshing outdated spaces—it’s an opportunity to invest in the long-term value of your property. For homeowners considering a high-end renovation, maximizing return on investment (ROI) is just as important as achieving a beautiful end result.

    Whether you’re planning to stay in your home for years or considering resale in the near future, a well-planned remodel can deliver both immediate enjoyment and lasting financial value. Here’s how to get the most out of your remodeling budget—without compromising on style or quality.

    What Does “ROI” Really Mean in Remodeling?

    When we talk about ROI in home remodeling, we’re usually referring to how much of your investment you can expect to recoup when you sell your home. But that’s only part of the picture.

    There’s also emotional ROI—the lifestyle improvements, daily functionality, and sense of pride you gain from living in a thoughtfully updated space. For most of our clients, the goal is to strike a balance between smart financial decisions and creating a home they truly love.

    High-ROI Projects for Upscale Homes

    Some remodels consistently deliver more value than others—especially when done with care, quality, and an eye for timeless design.

    Kitchen Remodels – Average ROI: 70–80%

    It’s no secret that kitchens are the heart of the home—and they’re also one of the best places to invest. Custom cabinetry, high-performance appliances, expanded layouts, and elegant finishes can dramatically enhance both function and resale appeal. Open-concept designs, oversized islands, and smart storage solutions are especially desirable in luxury homes.

    Bathroom Upgrades – Average ROI: 60–70%

    Bathrooms are another top ROI project, particularly primary suites and guest baths. Features like heated floors, walk-in showers, freestanding tubs, and double vanities create a spa-like experience that feels indulgent—but also adds real market value.

    Primary Suite Renovations – Average ROI: 55–65%

    Today’s buyers expect more than just a bedroom—they want a retreat. Creating a luxurious primary suite with a sitting area, large walk-in closet, and custom en suite bathroom is a strategic investment that appeals to high-end buyers and enhances your everyday life.

    Outdoor Living Spaces – Average ROI: 50–60%

    Especially in regions with mild climates, outdoor spaces can serve as valuable extensions of your living area. Think covered patios, outdoor kitchens, fireplaces, and well-integrated landscaping. These features are not only great for entertaining—they also photograph beautifully when it comes time to sell.

    Energy-Efficient Upgrades – Average ROI: 50–75%

    Upgrades like high-efficiency windows, added insulation, modern HVAC systems, and even solar panels can improve your home’s performance and appeal to energy-conscious buyers. Lower utility bills and better comfort are perks you’ll enjoy long before resale.

    Planning for ROI from the Start

    The key to maximizing ROI isn’t just in the finishes—it’s in the planning.

    Understand your home’s value in context. It’s important to remodel in line with your neighborhood. Overbuilding can limit your return, while under-investing might not give you the upgrade you need.

    Work with professionals who see the big picture. At Parrish Construction, we help clients navigate choices that balance beauty, function, and long-term value. It’s about knowing where to splurge and where to save without sacrificing quality.

    Design with longevity in mind. Trendy colors and materials can date quickly. Instead, we guide clients toward timeless design choices that stay relevant—and appealing—for years.

    Hidden ROI: More Than Just Money

    While resale value is important, don’t overlook the hidden returns that come from remodeling:

    • Peace of mind from knowing your home is built to last.
    • Daily enjoyment of living in spaces tailored to your lifestyle.
    • Pride of ownership in a home that reflects your taste and values.
    • Improved functionality that reduces stress and makes life easier.

    These benefits might not show up on a spreadsheet, but they’re often what our clients value most.

    How Parrish Construction Helps You Maximize ROI

    Every remodel we take on is approached with a sharp eye for detail, design, and long-term value. We work closely with our clients to understand their goals, lifestyle, and investment comfort zone—then guide them through a process that blends craftsmanship with smart decision-making.

    We don’t just build beautiful spaces—we build homes that make sense for today and tomorrow.

    Final Thoughts

    A high-end remodel is one of the most rewarding investments you can make in your home. By focusing on the right projects, planning with intention, and working with a skilled, experienced contractor, you can create a space that elevates your lifestyle and delivers real value.

    Ready to invest in your home’s future? Contact Parrish Construction Inc. to start a conversation about your next remodeling project.

  • Hot Take: 10 Reasons to Hire a Contractor Instead of “DIYing” It

    Hot Take: 10 Reasons to Hire a Contractor Instead of “DIYing” It

    DIY projects can be incredibly rewarding. There’s a certain pride that comes from building something with your own hands and for smaller home updates, it can absolutely make sense. But when it comes to bigger renovations, complex systems, or anything that affects the long-term value of your home, it’s worth considering the advantages of bringing in a professional. That’s why I want to give you 10 reasons why hiring a contractor might just be the smartest move for your next home project so you can decide for yourself if DIYing is worth it.

    Humorous meme showing a DIY door repair attempt gone wrong with text Hire a Carpenter and I will Do It Myself
    Perfect!

    10 Reasons to Hire a Contractor

    Contractors Bring Years of Hands-On Experience

    What might be new territory for a homeowner is often something a contractor has done dozens (or hundreds) of times. That depth of experience helps prevent costly mistakes and keeps the project moving smoothly.

    DIY Can Be More Expensive Than It Looks

    It’s easy to underestimate the cost of tools, materials, and “do-overs.” Contractors often get better pricing, waste less, and already have the equipment on hand which saves you money in the long run.

    Safety Isn’t Something to Wing

    From ladder work to electrical wiring to structural changes, some home improvement projects come with real safety risks. Contractors are trained to work within those risks safely and they’re insured if something goes wrong.

    Codes & Permits Can Be Complicated

    Navigating local building codes and permit requirements can be tricky. Contractors know what’s needed to stay compliant, pass inspections, and avoid surprises down the line.

    Specialized Tools = Extra Costs

    If you’ve ever started a project and realized halfway through that you need a $200 tool you’ll never use again… you’re not alone. Contractors come with the tools and know-how to use them efficiently.

    Professional contractor using the Dewalt 20V Max Grabo Lifter to install shower glass panel
    Using the Dewalt 20V Max Grabo Lifter to install shower glass

    Quality Craftsmanship Lasts Longer

    There’s nothing wrong with doing a good-enough job yourself, but contractors are trained to deliver work that holds up over time and looks polished. That matters for resale value, daily function, and long-term satisfaction.

    Time Is a Major Factor

    Even the most motivated DIYer is still juggling jobs, family, and a social life. A contractor can dedicate full-time focus to the project, keeping things moving forward without dragging into “someday” territory.

    You Get Accountability

    Working with a licensed contractor means you have a clear agreement, defined timelines, and someone who’s responsible for the results. It’s peace of mind that’s hard to put a price on.

    Less Stress, Fewer Surprises

    Coordinating trades, sourcing materials, and solving mid-project challenges takes a lot of mental bandwidth. Contractors handle all of that—so you don’t have to play project manager after work or on your weekends.

    It’s an Investment in Peace of Mind

    Hiring a professional doesn’t mean you’re giving up control—it means you’re prioritizing quality, safety, and long-term value. Your home is one of your biggest investments, and sometimes the best way to care for it is to trust the experts.

    Collage of DIY home improvement fails highlighting the importance of hiring a professional contractor

    Finishing Thoughts

    DIY has its time and place and if you truly do love the process, go for it. But when the project gets big, complex, or has high stakes, a contractor can offer expertise, efficiency, and peace of mind that’s hard to match. Think of it not as a shortcut, but as a smarter way to get the job done right!

  • Transform Surfaces with Timeless Elegance: Vasari Marmorino Plaster & Colorant

    Transform Surfaces with Timeless Elegance: Vasari Marmorino Plaster & Colorant

    At Parrish Construction, we believe that the finishes you choose should be as intentional as the structure they cover. That’s why we’re excited to highlight one of our favorite luxury surface treatments: Vasari Marmorino Plaster & Colorant — a versatile, natural lime-based plaster that brings old-world texture and modern sophistication together in perfect harmony.

    This natural lime plaster is ideal for luxury interiors, high-end bathrooms, and custom architectural surfaces seeking texture, breathability, and timeless beauty.

    What is Marmorino?

    Marmorino is a traditional lime plaster finish, originating in Venice, that dates back thousands of years. Composed of slaked lime and finely ground marble, Vasari’s Marmorino offers a breathable, mold-resistant, and environmentally friendly alternative to paint or synthetic wall treatments.

    The result? A smooth, matte, or subtly polished surface withnatural depth and richness that evolves with light and time.

    Marmorino contains natural limestone, powdered marble and fine sand. Applied thicker than Veneziano, it can be applied smooth or in a more textured fashion. Applied with subtle color variation, Marmorino is a very popular finish that can be applied with a relatively matte to low sheen depending on technique.

    Why We Love It

    • Natural & Non-toxic- Marmorino is made from natural lime and marble, free of VOCs and synthetic binders. Ideal for clients who prioritize eco-conscious living without compromising aesthetics.
    • Custom Finish Options- Whether you prefer a soft matte look, a polished sheen, or something textured and artisanal, Marmorino can be tailored to fit your vision.
    • Beautiful Color Possibilities- Vasari’s rich Colorants are specifically designed to work seamlessly with their plaster, allowing for a custom palette that ranges from subtle neutrals to bold statement tones. These pigments are mineral-based, ensuring long-lasting, fade-resistant color.
    • Interior or Exterior Use- Marmorino is not just for indoor elegance. It’s highly durable and can also be used for exterior facades, fireplaces, bathrooms, and even shower walls.

    Whether applied by hand for a rustic effect or burnished for a marble-like sheen, Marmorino is more than a wall finish—it’s an architectural element that elevates a space.

    Not Sure What to Expect? Try a Sample.

    Sometimes texture and tone are hard to imagine from a screen. That’s where the Vasari Marmorino Sample Board comes in. These 12″ x 12″ boards are hand-applied and pre-tinted, giving you a tactile, true-to-life preview of the finish. It’s a great tool for designers, clients, or anyone who wants to see and feel the material before committing to a full install.

    Vasari Marmorino plaster sample board with #2 Linen Colorant showing smooth lime-based finish texture
    Vasari Marmorino and #2 Linen Colorant

    How to Apply Vasari Marmorino

    Marmorino can be applied by both professionals and experienced DIYers. Whether you are hand-troweling a subtle finish or layering for more texture, the process is part of what makes lime plaster so rewarding.

    • For best results, start with Vasari Primer to ensure adhesion and even color absorption.
    • After applying the plaster, you can leave it matte, lightly burnish for a low sheen, or finish with Beeswax Polish for added depth and protection.

    A Look at the Full Vasari Collection

    Vasari doesn’t stop at Marmorino. They offer a full suite of artisan plasters, all lime-based and crafted with the same commitment to quality:

    • Veneziano Veneziano is made with natural limestone and powdered marble. It does not contain sand. Veneziano creates a smooth feel with beautiful deep variation. Depending on application, it can be left matte with a plastic trowel or given a medium to high sheen using a metal trowel. You can achieve a highly reflective finish with this product, even without wax. For a high gloss, we recommend applying a burnished third skim coat.
    • Carrera Carrera is made with natural limestone and powdered marble. It contains both fine and coarse sand. Applied thick for a medium to high textured feel, Carrera is used for a rustic old world look with high variation. When burnished it can take on a smoother look with low sheen.
    • Lime Paint Vasari Lime Paint is made from natural limestone and powdered marble, which enables it to take on the same properties of our plasters. It can be brushed, rolled, or sprayed just like conventional paint but is much more versatile. A medium texture can be achieved with a brush, or it can be troweled smooth, left matte or burnished to a medium sheen. Create a gorgeous Lime Wash by simply diluting Vasari Lime Paint with water.
    • Master Coat A high-performance, water-based clear topcoat designed for use over Vasari plasters when added durability and stain resistance are needed. It’s ideal for high-traffic areas, kitchens, and bathrooms. Master Coat provides a satin finish that protects without compromising the beauty of the natural plaster underneath.
    • Primer, Sealer & Wax Finishes Complete your project with Vasari’s compatible prep and finishing products that protect and enhance the plaster’s character over time.

    Frequently Asked Questions

    Is Marmorino safe for bathrooms and showers?

    Yes! Marmorino is naturally mold-resistant and breathable. When sealed properly with Vasari Sealant or Beeswax Polish, it’s ideal for bathrooms and even showers.

    Can I order Vasari Marmorino online?

    Absolutely. You can purchase Marmorino Plaster and Colorants directly through Vasari’s website or start with a Sample Board to explore finishes first.

    How is Marmorino different from other plasters?

    Unlike synthetic or acrylic plasters, Marmorino is made from natural slaked lime and marble, offering a finish that’s breathable, VOC-free, and rich with character.

    Can Marmorino be applied over drywall or painted surfaces?

    Yes, but proper prep is key. We recommend starting with Vasari Plaster Primer to ensure even adhesion and color absorption. This helps create the ideal surface for Marmorino application.

    Is this a DIY-friendly product?

    While professional application yields the most refined results, many experienced DIYers have success with Vasari products. Vasari even offers tutorial videos and guides for those who want to learn.

    How do I maintain Marmorino plaster walls?

    Marmorino is very low maintenance. It naturally resists dust and mildew, but for added protection and a light sheen, consider applying Vasari Soap or Beeswax Polish annually in high-use areas.

    What kind of aesthetic does Marmorino suit best?

    Its versatility shines in everything from Mediterranean and Tuscan-inspired interiors to sleek modern or minimal spaces. Whether rustic or refined, Marmorino adapts beautifully to your vision.

    Can Marmorino be used in kitchens or behind stovetops?

    Yes, Marmorino is a great choice for kitchens due to its breathability and natural antimicrobial properties. For areas exposed to steam or splashes, sealing with Beeswax Polish or Vasari Soap is recommended for added durability and wipe ability.

    How long does Marmorino take to cure?

    While it dries to the touch relatively quickly, full curing can take up to 30 days. During this time, it’s best to avoid excessive moisture and scrubbing to allow the plaster to carbonate fully and harden naturally.

    What makes Vasari’s Marmorino different from other lime plasters on the market?

    Vasari products are handcrafted in small batches using authentic ingredients—natural lime, marble powder, and mineral pigments—with no synthetic fillers. This results in superior depth, workability, and longevity.

    Can Vasari Colorants be used with other plasters or paints?

    Vasari Colorants are designed to integrate seamlessly with Vasari products, but they may also be compatible with other lime-based finishes. Always test first for color accuracy and performance.

    Is Vasari Soap still available?

    At the time of writing, Vasari Soap may no longer be available or may be undergoing a packaging update.


    Looking to incorporate natural Venetian plaster into your next remodel or custom build?

    We love specifying Vasari for clients who value beauty, sustainability, and craftsmanship. Let us help you choose the perfect finish for your space.

    Are you a Designer or Builder?

    We love collaborating on bespoke interiors that call for the richness of real materials. If you’re sourcing for a client, we can help you order sample boards or even arrange custom color matches using Vasari Colorants.

    Schedule a Free Consultation »

  • Understanding Tariffs in Residential Remodeling: What Homeowners Need to Know

    Understanding Tariffs in Residential Remodeling: What Homeowners Need to Know

    If your remodeling estimate has come in higher than expected, you’re not alone — and there’s a good reason for it. Across the country, material prices are increasing due to rising tariffs on goods like cabinetry, stone, tile, and fixtures. For example, tariffs on imported cabinetry can add 10–25% to the base cost before they even reach your contractor. Similarly, recent trade policies have affected everything from lumber to appliances, creating price surges and supply chain delays.

    These changes are often out of our hands but at Parrish Construction, we believe clients deserve transparency about where these costs come from and how we’re adapting.

    What Are Tariffs?

    Tariffs are essentially taxes on imported goods, designed to make those goods more expensive and encourage people to buy locally instead.1 They are often used to protect domestic industries from foreign competition. In simple terms, if a country puts a tariff on imported cars, it will raise the price of foreign cars, making them less competitive with locally produced cars. However, when a country imposes a tariff, the importer pays the tax but then adds that tax onto the goods for consumers. Ultimately these taxes don’t affect the importer – it affects those who are buying the goods.

    Where Tariffs Hit the Industry

    It’s not just existing tariffs causing cost increases, it’s the anticipation of new tariffs that can trigger price hikes, too. When vendors or manufacturers expect tariffs to be imposed, they often raise prices early to offset future costs or disruptions. This uncertainty makes budgeting difficult for suppliers and contractors alike, especially in an industry where materials must often be ordered weeks or months in advance. In some cases, companies raise prices across the board (as much as 20%) as a proactive measure to protect profit margins.

    Cabinetry & Vanities

    • Many are imported from China, and 25% tariffs remain in effect.2
    • Some brands are shifting production to other countries, but that takes time.
    • Custom cabinetry and fixtures, which are already longer-lead items, are more affected by international supply issues.
    • Clients can save time and money by exploring high-quality domestic or stock-grade alternatives.

    Lumber & Plywood

    • Softwood lumber from Canada still faces tariffs.3
    • Prices have stabilized somewhat since the pandemic spikes but remain elevated.

    Tile & Stone

    • Tariffs and fuel costs for global shipping have affected imports from Italy, Turkey, and Spain.4
    • Lead times for premium stone and tile may be longer.

    Appliances

    • Components for refrigerators, ovens, and dishwashers may be subject to tariffs on steel and electronics.
    • Some appliance brands have increased prices by 8–15% in 2024–2025.5

    Plumbing & Electrical Materials

    • Industry analysts predict that tariffs will lead to higher prices on building materials integral to facilities operations, including HVAC, plumbing, and electrical components.6
    • Tariffs on eight of the top 10 exporters of HVAC and water-heating equipment are as high as 46%.7
    • Manufacturers and suppliers are working to adjust their supply chains in response to these tariffs, but these changes take time and may lead to temporary shortages or delays in the availability of certain products.
    • Faucets, showerheads, and valves that are typically imported are facing a 25% tariff.
    • Cast iron components often used in plumbing are facing anti-dumping duties as high as 235%.8
    • Copper wiring prices have risen by 18% since January 2025, steel conduit costs are up 14%, and electrical panels now cost 22% more on average due to combined steel and copper tariffs.9

    What This Means for You

    • Material costs are increasing and not because of contractor markups, but due to tariffs and availability.
    • Some selections may need to be substituted or ordered well in advance.
    • Delays in delivery or installation are more likely with imported items.
    • Planning early helps lock in pricing before further changes hit.

    How We’re Responding at Parrish Construction

    • Sourcing materials locally whenever possible
    • Staying informed on tariff developments
    • Helping clients make smart substitutions to stay within budget
    • Being transparent about quotes and potential price shifts

    When the Estimate Doesn’t Match the Budget

    It’s not uncommon for clients to come to us excited about a remodel, only to feel deflated when the estimate doesn’t align with what they hoped to spend. It’s okay to feel that way and we’re here to work through it with you.

    Tariffs and supply chain disruptions are frustrating because they affect what feels like the “fun part” of remodeling — choosing finishes, visualizing your new space, and watching the transformation unfold. But unexpected cost increases don’t mean the dream has to be delayed or abandoned. It may just require a different approach.

    That’s why we spend extra time during the design and pre-construction phases. Whether it’s shifting the project scope, adjusting timelines, or recommending value-engineered alternatives, our goal is to help you stay excited about your remodel — not overwhelmed by it.

    Our role isn’t just to build, it’s to guide you throughout the entire process. We’ll help you prioritize, problem-solve, and plan with transparency every step of the way.

    Smart Ways to Stay on Budget Without Sacrificing Style

    Remodeling doesn’t always have to mean starting from scratch. If tariffs or rising costs are pushing your project out of budget, there are creative ways to scale back without giving up your vision:

    • Reface or repaint existing cabinets instead of replacing them entirely.
    • Keep your layout intact — moving plumbing or electrical lines adds significant cost.
    • Refresh fixtures and hardware for a modern look without major construction.
    • Focus on high-impact areas, like a new backsplash or countertop, rather than overhauling the whole kitchen or bath.
    • Choose alternative materials that offer a similar aesthetic at a lower price point (e.g., quartz instead of marble, LVP instead of hardwood).
    • Stagger your project — consider completing your remodel in phases to spread out the investment over time.

    A thoughtful, well-planned approach can still yield beautiful results, even with today’s pricing challenges. We’re happy to guide you through these decisions and help tailor a plan that makes the most of your budget.


    We know rising costs can feel frustrating but with proactive planning and open communication, we can still create beautiful, functional spaces that meet your vision and budget. If you have questions or want to start planning ahead, let’s talk!

    Schedule a Free Consultation »

    References

    1. How tariffs impact the home building industry. NAHB. nahb.org
    2. Reuters Staff. “U.S. Locks in Tariffs on Wooden Cabinets from China.” Reuters, 24 Mar. 2020. reuters.com
    3. TradeImeX. “Top 10 Wood Exporting Countries of 2023.” TradeImeX, 10 Apr. 2024. tradeimex.in
    4. Crangle Jr., Robert D. “GYPSUM.” USGS, 1 Jan. 2024. pubs.usgs.gov
    5. Rochas, Anna Flávia. “US Steel Tariffs Set to Hike Costs, Lead Times in Clean Power.” Reuters, 14 Apr. 2025. reuters.com
    6. Freedman, Robert. “Trump Tariffs to Hit HVAC, Plumbing Hard, Analysts Say.” Facilities Dive, 3 Apr. 2025. facilitiesdive.com
    7. Fabris, Peter. “HVAC, Plumbing, and Electrical Equipment to Be Hard Hit by Tariffs.” BDCNetwork.com, 2025. bdcnetwork.com
    8. Pospisil, Kate. “How Tariffs Are Driving up Home Renovation Costs in 2025.” Modernize, 4 Apr. 2025. modernize.com
    9. “How Do New Tariffs Affect Electrical Contractors? 2025 News.” Buildforce.com, 2025. buildforce.com
  • Exploring the Different Types of Fireplaces: Which One Is Right for Your Home?

    Exploring the Different Types of Fireplaces: Which One Is Right for Your Home?

    Exploring the Different Types of Fireplaces

    When it comes to choosing a fireplace, there’s more to consider than just looks. From traditional wood-burning hearths to modern electric units, today’s fireplaces come in a wide range of fuel types, features, and design styles. Whether you’re planning a new build, remodeling an existing fireplace, or simply researching your options, understanding the pros and cons of each type can help you make an informed decision.

    In this section, we break down the most popular types of fireplaces—wood, gas, electric, pellet, and more—to help you find the best fit for your lifestyle, home layout, and heating needs. Here’s a closer look at each option and what makes it unique:

    Wood-Burning Fireplace

    The classic choice. Uses logs and real flame. Typically built into a masonry chimney.

    Pros:

    • Authentic ambiance with real flames, crackle, and scent
    • No electricity/gas required
    • High visual appeal, especially in traditional homes

    Cons:

    • Requires a chimney and regular maintenance (cleaning, inspections)
    • Less efficient—much of the heat escapes through the chimney
    • More emissions and environmental impact than other types
    Traditional wood-burning fireplace in coastal living room with real flames and rustic charm
    A traditional wood-burning fireplace adds cozy charm and rustic elegance to this coastal living room, creating a timeless focal point for open-concept home designs.

    Gas Fireplace (Vented)

    Fueled by natural gas or propane, these units mimic a real flame but use ceramic logs or glass media. Vented models exhaust combustion gases outdoors.

    Pros:

    • Convenient—turn on/off with a switch or remote
    • Cleaner-burning than wood
    • Provides consistent heat
    • Realistic flame appearance

    Cons:

    • Requires gas line installation
    • Still needs venting/chimney system
    • Less eco-friendly than electric
    Sleek vented gas fireplace in contemporary living room with ceramic logs and efficient heating
    This sleek gas fireplace (vented) design adds warmth and style to a contemporary living room, offering the beauty of real flames with the convenience of clean, efficient heating.

    Gas Fireplace (Ventless / Vent-Free)

    Like vented gas fireplaces, but they don’t require a chimney or flue. They release combustion byproducts directly into the room.

    Pros:

    • Easier and cheaper to install
    • High efficiency—almost all heat stays in the room
    • Good option for remodels without chimney access

    Cons:

    • Not allowed in all jurisdictions (check local code)
    • Adds moisture and low levels of combustion gases to the air
    • Less realistic flame quality
    Sleek ventless gas fireplace in modern minimalist home with efficient heating and flexible installation
    This sleek gas fireplace (ventless / vent-free) delivers effortless warmth and contemporary style, offering a flexible heating solution perfect for open-concept and modern minimalist homes.

    Electric Fireplace

    Uses electricity to simulate flame visuals (LED, projection) and produce heat via a fan-forced heater or infrared element.

    Pros:

    • No gas, chimney, or venting required
    • Easy to install anywhere—great for apartments or remodels
    • Safe for kids and pets
    • Low maintenance

    Cons:

    • Flame is simulated, not real
    • Dependent on electricity
    • Lower heat output than gas or wood options
    Modern electric fireplace mounted on marble wall in cozy living room with LED flame effect
    Modern electric fireplace is mounted on a marble wall in cozy living room.

    Pellet Fireplace (Stove or Insert)

    Burns compressed wood pellets. Often freestanding or inserted into an existing firebox. Requires electricity for the feeder system.

    Pros:

    • High-efficiency, low-emission
    • Renewable fuel source
    • Long burn times with automatic feeding

    Cons:

    • Requires electricity
    • Pellet storage and occasional hopper filling
    • Upfront cost can be higher than standard wood/gas
    Sleek pellet fireplace stove with high efficiency, eco-friendly heating and modern technology
    This sleek pellet fireplace (stove or insert) offers a highly efficient and eco-friendly heating solution, combining modern technology with the cozy appeal of a traditional hearth.

    Ethanol Fireplace

    Burns bioethanol fuel. No chimney or venting needed. Available in tabletop, wall-mounted, or built-in styles.

    Pros:

    • Clean-burning and eco-friendly
    • Stylish, modern designs
    • Ventless and mobile—flexible placement

    Cons:

    • Limited heat output—best for ambiance
    • Fuel can be pricey
    • Must be refilled manually
    Sleek ethanol fireplace with clean-burning ventless flame in contemporary living space
    This sleek ethanol fireplace offers a clean-burning, ventless flame that brings modern elegance and warmth to contemporary living spaces.

    Outdoor Fireplaces (Wood, Gas, or Electric)

    Exterior fireplace options for patios or yards. Available in all fuel types depending on setup and access.

    Pros:

    • Enhances outdoor living space
    • Can be a focal point for entertaining
    • Wide range of design and fuel options

    Cons:

    • Subject to weather and climate use limits
    • May require special permits depending on area
    • Can be costly if built-in
    Stunning stone outdoor fireplace transforming patio into cozy year-round gathering space
    This stunning stone outdoor fireplace showcases how outdoor fireplaces (wood, gas, or electric) can transform any patio into a cozy, year-round gathering space.

    The Right Choice For You

    With so many fireplace options available, finding the right one isn’t just about appearance—it’s about how it fits into your daily life. Your home’s layout, your family’s needs, and even your design style all play a role in determining the best choice. Whether you’re looking for a low-maintenance solution, a statement feature, or an eco-friendly upgrade, this section will help you narrow down your options.

    Here’s how to match your ideal fireplace with the way you live and the space you live in:

    Family-Friendly with Kids or Pets? → Electric or Vented Gas

    Why it fits: These options offer the safety of cool-touch glass or enclosed flames, and they don’t require real fire or combustion in the living space.

    Ideal fireplace types:

    • Electric Fireplace
    • Vented Gas Fireplace

    Bonus tip: Wall-mounted electric units are sleek and out of reach for little hands or wagging tails.

    Cozy Ambiance for Entertaining? → Wood-Burning or Ethanol

    Why it fits: If the feel of a real flame matters most—crackling logs, flickering firelight—these provide maximum ambiance.

    Ideal fireplace types:

    • Wood-Burning Fireplace
    • Ethanol Fireplace

    Bonus tip: Ethanol options are especially useful in modern homes without chimneys.

    Environmentally Conscious Living? → Pellet or Electric

    Why it fits: You’re looking for efficient, low-emission options. Pellet stoves use renewable fuel, and electric models draw from your home’s energy source (or even solar).

    Ideal fireplace types:

    • Pellet Fireplace
    • Electric Fireplace

    Bonus tip: Look for EPA-certified pellet units for the cleanest burn.

    Minimal Renovation or Apartment Living? → Electric or Ventless Gas

    Why it fits: If you can’t install a chimney or run gas lines, go vent-free. These options require little to no structural modification.

    Ideal fireplace types:

    • Electric Fireplace
    • Ventless Gas Fireplace

    Bonus tip: Many electric units are plug-and-play—perfect for renters.

    Traditional Home with Existing Chimney? → Wood or Vented Gas Insert

    Why it fits: You can make the most of an existing masonry fireplace by retrofitting it with an insert that improves efficiency.

    Ideal fireplace types:

    • Wood-Burning Fireplace
    • Vented Gas Insert

    Bonus tip: Gas inserts offer remote control and better insulation than open wood-burning setups.

    Modern or Minimalist Aesthetic? → Linear Gas or Wall-Mounted Electric

    Why it fits: Clean lines and frameless installations complement contemporary interiors beautifully.

    Ideal fireplace types:

    • Linear Gas Fireplace
    • Wall-Mounted Electric Fireplace

    Bonus tip: Consider glass media or smooth concrete surrounds for a sleek finish.

    Outdoor Living Enthusiast? → Gas, Wood, or Electric Outdoor Units

    Why it fits: Create a year-round backyard focal point with weather-resistant units designed for exterior use.

    Ideal fireplace types:

    • Outdoor Wood Fireplace
    • Outdoor Gas Fireplace
    • Outdoor Electric Heater with Flame Effects

    Bonus tip: Match the fuel source to what’s most accessible (e.g., natural gas line vs. available firewood).


    Ready to explore your fireplace options? Whether you’re remodeling an existing hearth or starting from scratch, our team can help you choose the right fireplace for your home.

    See Fireplace Styles & Options »

  • Fireplace Terminology Made Simple: Click to Learn Each Part

    Fireplace Terminology Made Simple: Click to Learn Each Part

    An Interactive Guide to the Fireplace

    Whether you’re considering a fireplace remodel or just exploring design ideas for your home, understanding the different parts of a fireplace can be incredibly helpful. From fireboxes and hearths to mantels, surrounds, and everything in between, each component plays an important role in both form and function. This page is designed to give you a clearer picture—literally. Click through our interactive fireplace diagram to discover what each piece is, how it contributes to the overall design, and what to consider when planning your own project. If you’ve ever wondered “What are the parts of a fireplace called?”—you’re about to find out, one piece at a time.

    Interactive fireplace diagram — click each label to learn what each part is called
    Overmantel The section above the mantel shelf, often extending to the ceiling. It adds height and visual impact, and can be enhanced with decorative panels, molding, or built-in shelving.
    Mantel A decorative shelf positioned above the firebox opening. It can be a floating feature or supported by legs or pilasters for added architectural detail.
    Header (Undermantel) Spans the space above the firebox between the pilasters. It connects the vertical elements and supports the mantel shelf, serving as both a structural and decorative feature.
    Pillasters (Legs) The vertical elements on either side of the firebox that support the mantel and frame the opening. They can be simple or ornate, adding architectural character and balance.
    Surround Frames the perimeter of the firebox, usually extending 8 to 12 inches around it. Its purpose is to safeguard the interior from heat and must be made of non-combustible materials.
    Plinth The base block at the bottom of each pilaster or leg, providing structural support and a visual foundation. Often slightly wider than the pilaster above, it adds grounding and completes the architectural detailing.
    Fireplace Insert An enclosed unit that fits within the firebox. Electric and gas fireplaces typically include an insert with extra features such as glass doors or built-in ventilation components.
    Hearth Sits at the base of the fireplace, typically extending 16 to 18 inches beyond the firebox. It shields surrounding flooring from heat and embers, and must be made from non-combustible materials.

    Hover to highlight, click to learn about each part

    A Glossary of the Parts of a Fireplace

    Overmantel

    The overmantel is the section above the mantel shelf, often extending to the ceiling. It adds height and visual impact to the fireplace, and can be left simple or enhanced with decorative panels, molding, or even built-in shelving or artwork.

    Mantel

    The mantel is a decorative shelf positioned above the firebox opening. It can either be a floating feature or supported by legs or pilasters for added architectural detail.

    Header (Undermantel)

    The header, or undermantel, spans the space above the firebox between the pilasters. It connects the vertical elements and supports the mantel shelf, serving as both a structural and decorative feature in the fireplace surround.

    Pillasters (Legs)

    Pilasters or legs are the vertical elements on either side of the firebox that support the mantel and frame the fireplace opening. They can be simple and understated or more ornate, adding architectural character and balance to the overall surround design.

    Surround

    The surround frames the perimeter of the firebox, usually extending 8 to 12 inches around it. Similar to the hearth, its purpose is to safeguard the interior from the fireplace’s heat and must be made of non-combustible materials.

    Plinth

    The plinth is the base block at the bottom of each pilaster or leg, providing both structural support and a visual foundation for the fireplace surround. Often slightly wider than the pilaster above, it adds a sense of grounding and completes the architectural detailing.

    Fireplace Insert

    Traditional masonry fireplaces often consist of just a firebox. In contrast, electric and gas fireplaces typically include an insert—an enclosed unit that fits within the firebox and may contain extra features such as glass doors or built-in ventilation components.

    Hearth

    The hearth sits at the base of the fireplace, typically extending 16 to 18 inches beyond the firebox onto either a raised platform or a floor-level surface. It’s designed to shield the surrounding flooring from heat and stray embers and must be constructed from non-combustible materials.


    Now that you know the anatomy of a fireplace, let’s find the one that fits your home just right. From cozy wood-burning classics to sleek electric options, we’ve got you covered.

    See Fireplace Styles & Options »

  • The Pros and Cons of Open Floor Plans: Why It’s Not Always the Best Choice

    The Pros and Cons of Open Floor Plans: Why It’s Not Always the Best Choice

    Open floor plans have been a major trend in modern home design for years. With their spacious feel, natural flow, and bright atmosphere, it’s easy to see why many homeowners and designers gravitate toward this layout. However, despite the widespread popularity, open floor plans aren’t always the best solution for every space or lifestyle. Here’s a closer look at the advantages and disadvantages of open floor plans, and why it might not be the right choice for you.

    The History of the Modern Open Floor Plan

    One of the earliest champions of the open floor plan in residential architecture was Frank Lloyd Wright. Building on the principles of Charles and Henry Greene and the shingle style movement, Wright reimagined the home’s layout to promote connection and flow. His designs often featured a centralized kitchen that opened directly into shared living and dining areas—an intentional shift meant to bring the homemaker out of isolation and into the social heart of the home.

    As Wright put it, the housewife could now act as a “gracious hostess,” rather than being confined to the role of a “kitchen mechanic” tucked behind closed doors. This concept gradually gained traction, and by the 1970s, open kitchen-living spaces had become especially popular in American homes.

    Open floor plan architectural diagram showing a kitchen flowing into living and dining areas
    Open Floor Plan

    Pros of Open Floor Plans

    Increased Natural Light – With fewer walls, natural light can easily flow through the space, creating an airy, bright, and inviting atmosphere. This can make even smaller homes feel larger and more open.

    Better Social Interaction – An open floor plan encourages socialization by removing barriers between rooms. Whether you’re cooking in the kitchen, relaxing in the living room, or entertaining guests, everyone can interact and communicate without feeling confined.

    Greater Flexibility – The lack of walls means more flexibility in arranging furniture. You can adapt the layout to your needs, whether you’re hosting a party or just relaxing with family. This versatility is especially helpful in multi-functional spaces.

    Easier Supervision – For families with young children, an open floor plan can make it easier to keep an eye on kids while cooking or doing other tasks. It provides a clear line of sight across the home.

    Modern Appeal – Open floor plans tend to have a sleek, contemporary look, which is appealing to many homeowners. The seamless flow between living areas is often seen as more aesthetically pleasing than more traditional segmented spaces.

    Cons of Open Floor Plans

    Lack of Privacy – One of the biggest downsides to an open floor plan is the lack of privacy. Rooms are not divided, so everyone is visible and audible, which can lead to distractions, especially in households with multiple people. It may not be ideal for people who value their personal space.

    Noise Levels – Without walls to absorb sound, noise can travel freely between rooms. This can become a problem, especially in larger homes where the sounds of cooking, television, or conversations can overlap. This can disrupt quiet time or make it hard to focus in certain areas.

    Limited Storage and Organizational Space – Open floor plans often have fewer built-in storage solutions compared to more traditional layouts. With fewer walls, there are fewer places for shelves, cabinets, or closets. This can lead to clutter if you don’t make a conscious effort to organize your space.

    Heating and Cooling Challenges – Large, open spaces can make it more difficult to regulate temperature. Airflow may not be as efficient, leading to hot or cold spots. This can be costly in terms of energy use, as heating or cooling a large, open area requires more energy.

    Closed floor plan architectural diagram showing separate rooms with defined walls
    Closed Floor Plan

    Why Open Floor Plans Aren’t Always the Best Option

    Despite all the buzz around open floor plans, they might not be right for everyone. Here are a few reasons why this trendy layout might not suit your needs:

    Lifestyle and Family Needs – If you have a large family or share your space with multiple roommates, the lack of privacy could be problematic. Open floor plans can feel chaotic, especially if you have different routines or schedules.

    Noise Sensitivity – If you work from home, study, or just prefer a quieter environment, the sound transmission in an open floor plan could be disruptive. It’s harder to create quiet spaces when the sound of the TV or phone conversations easily spills over into other areas.

    Clutter and Mess – Open floor plans require a higher level of organization to avoid clutter. Without walls to hide messes, every area needs to be tidy, which might not always be practical, especially if you have children or pets.

    Cost Considerations – The construction of an open floor plan can sometimes be more expensive due to the need for structural changes or higher-quality materials to ensure that the space is cohesive and functional.

    A beautifully remodeled open-concept kitchen by Parrish Construction

    Open floor plans are definitely a great fit for some people and lifestyles. They encourage togetherness, allow more natural light, and provide a sleek, modern aesthetic. However, they aren’t always ideal for those who value privacy, peace, and order. It’s important to weigh the pros and cons carefully and assess your personal preferences and needs before jumping on the open floor plan bandwagon.

    Remember, there’s no one-size-fits-all solution. Whether you’re renovating your current space or building a new one, it’s important to consider what works best for your lifestyle. An open floor plan might be perfect for some, but it may not be the right fit for everyone.

    Can’t decide between the two? Why not have both! A great solution is to incorporate flexible design elements like pocket doors, glass partitions, or sliding barn doors. These options allow you to open up or close off spaces as needed, giving you the best of both worlds. This way, you can enjoy the flow and light of an open floor plan when you want it, but also create privacy and separation when necessary.

  • The Remodeling Emotional Roller Coaster

    The Remodeling Emotional Roller Coaster

    Remodeling your home isn’t just a physical transformation—it’s an emotional roller coaster. Whether you’re updating a kitchen, bathroom, fireplace, or tackling a full-home renovation, the process is a big deal. We hear from homeowners all the time that their remodel is years in the making, carefully choosing designers, contractors, and materials to make sure every detail is just right. However, homeowners often underestimate just how emotional of a journey it can be.

    At first, excitement is high as you design your dream space, but once construction begins, the reality of delays, long lead times, dust, and disruptions to your daily life start to take a toll. Just when you’re at the peak of frustration, you start to see visible progress which brings renewed hope and energy. As the finishing touches come together, anticipation builds, and you can’t wait to start living in your new space!

    By understanding the highs and lows in advance, you can better prepare yourself for navigating your remodel and stay focused on the end result.

    Phase 1 – Design & Pre-Construction

    It’s Finally Happening!

    This is one of the most exciting parts of the process! You’re full of ideas and dreams, scrolling through Pinterest, making mood boards, visiting showrooms, and picking out countertops, cabinets, and fixtures. Everything is starting to feel real! Keep in mind that flexibility is key—sometimes, adjustments are needed based on budget and feasibility.

    Design mood board with tile samples, fixtures, and material selections
    The design phase: mood boards bring your vision to life

    The excitement might take a dip when you start requesting bids. Be prepared for a reality check when you start receiving the estimates. Oftentimes, bids from contractors may bring some sticker shock, and adjustments might be needed to balance design dreams with budget realities. Check out “What to Expect When Hiring a Contractor” for more information.

    The last part of this phase is finalizing the contract and scheduling your project. At this point, you might be realizing just how long your project is going to take and it might be longer than you were initially expecting. Working with a reliable contractor who is fully transparent and sets realistic expectations is super important!

    Phase 2 – Early Construction

    When Reality Hits

    The fun (and chaos) begins! Demolition day marks the official kickoff of your remodeling project, and it’s a thrilling yet nerve-wracking time. There’s something oddly satisfying about watching those old walls come down and knowing that you’re making way for something fresh and new. Flooring is ripped up, outdated fixtures are hauled away, and that kitchen or bathroom you’ve been dreaming about is finally starting to take shape—at least in theory!

    Autumn Pressley wielding a hammer on demolition day
    Demolition day: the exciting (and messy) beginning

    It’s noisy, dusty, and a little overwhelming at times, but don’t let the mess distract you from the excitement of progress. This is the moment where your vision starts to become reality, even if it currently looks more like a construction zone than your future dream space. You might feel a mix of excitement and apprehension as your home temporarily looks worse before it gets better—but that’s all part of the process.

    Don’t forget to capture the moment! Take plenty of “before” pictures, not just of the space itself but also of the progress along the way. Snapping photos of the bare walls and exposed framework might seem strange now, but you’ll be amazed at how dramatic the transformation will be. Being able to look back at the starting point will make the final reveal even more satisfying.

    Keep in mind that early construction often comes with a few surprises—unexpected wiring behind the walls, hidden water damage, or the occasional design adjustment. Stay flexible and trust your contractor to handle these bumps in the road. Remember, this phase is about laying the groundwork (literally) for the beautiful space that’s on its way. So, take a deep breath and embrace the chaos—it means you’re one step closer to the finish line!

    Interior framing with open studs and natural light
    Framing and rough-ins: the structural bones take shape

    The framing and rough-in process might not be the most glamorous stage of construction, but it’s one of the most important. This is where the structural bones of your project are put in place, and all the behind-the-scenes systems—like plumbing, electrical, and HVAC—are carefully installed. Even though you may not see much visible progress, this stage is essential for making sure your home functions properly once everything is finished.

    At this point, it might feel like the excitement of demolition has faded, and you’re left wondering why things seem to be moving so slowly. After all, pipes and wires don’t exactly give you that “wow” factor. But while it might look like nothing is changing, there’s actually a lot happening beneath the surface. The framing determines the shape and structure of your space, while the rough-ins ensure that water flows, lights switch on, and heating and cooling work seamlessly once everything is closed up.

    Delays can be common during this phase, and they’re usually out of your control. Sometimes unexpected issues come up once the walls are opened—like outdated wiring, hidden water damage, or structural issues that need to be addressed before moving forward. On top of that, you might have to wait for an inspector to sign off on the work before the walls can be sealed back up. Waiting on approvals can be frustrating, but remember—it’s all about ensuring that everything is up to code and safe for the long haul.

    It’s easy to feel like you’re in limbo during framing and rough-ins, but try to stay patient. This phase sets the foundation (literally and figuratively) for everything that follows. Once the walls are closed up and drywall goes in, the project will start to look more like an actual living space rather than a construction site. So, take a deep breath and trust the process—this behind-the-scenes work is what makes the final result not only beautiful but also functional and safe.

    Room with fresh drywall and laser level on tripod
    Drywall goes up: the space starts to take shape

    Then comes drywall—the phase where your project finally starts to feel like an actual room rather than just a skeleton of framing and exposed wires. Seeing the drywall go up is exciting because it gives your space definition, transforming it from an open framework into recognizable walls and ceilings. You can finally start to visualize how each room will flow and how the layout will come together. But while hanging drywall is a sign of progress, what comes next—drywall sanding—is arguably one of the hardest and most frustrating parts of the process.

    Drywall sanding creates an incredible amount of fine dust that seems to find its way into every crack and crevice, no matter how well the space is sealed off. It settles on floors, countertops, and furniture, and even makes its way into rooms that aren’t part of the construction zone. If you’re living in the house during this stage, you’ll likely feel like you’re in a constant battle with the dust—and losing. Running an air purifier or sealing off vents can help, but some level of mess is unavoidable.

    Living in a construction zone at this stage can be exhausting, especially if your kitchen, bathroom, or main living space is out of commission. Simple daily tasks like cooking, showering, or just relaxing can become a challenge when you’re surrounded by construction noise and dust. The lack of normalcy and the constant inconvenience can definitely wear on your patience.

    But take heart—this messy phase is temporary, and it means you’re one step closer to the finish line. Once the drywall is up and sanded smooth, the space will really start to come together. You’ll be able to see the final shape of the rooms, and soon after, the fun part—like painting and installing fixtures—can begin. Keep your eyes on the prize and remind yourself that the discomfort now is laying the groundwork for the beautiful, functional space you’ve been dreaming about.

    By the end of this phase, I’m sure the excitement of the remodel has faded, especially as the reality of living in a construction zone sets in. Your stress is probably at an all-time high if you’re trying to live without a kitchen or bathroom (or both!). On top of that, you have all the dust and noise wearing on your nerves.

    Dog relaxing in bed on the job site among construction tools
    Even the job site supervisor needs a break sometimes

    Phase 3 – Mid Construction

    A Light at the End of the Tunnel

    Now that the drywall is installed, you’re finally starting to see some exciting progress again! With the walls back up, your space is really beginning to resemble the home you’ve been imagining. The rooms feel defined, and you can better visualize how everything will come together. While this stage brings a sense of relief—especially after the chaos of demolition and the slow, behind-the-scenes work of framing and rough-ins—it’s important to remember that there’s still a lot left to do.

    Bathroom vanity with double mirrors and modern light fixtures
    A light at the end of the tunnel: details start coming together

    At this point, the focus shifts to the finer details that bring your space to life. Trim work, built-ins, and tile installation are all essential steps that require precision and care. These finishing touches might seem small, but they make a huge impact on the overall look and feel of your space. It’s tempting to rush through this stage because you’re so eager to reach the finish line, but patience is key. Each element takes time to get right, and the craftsmanship that goes into these details is what truly elevates your remodel.

    It’s completely normal to feel torn between excitement and exhaustion during this phase. On one hand, you’re thrilled to see your vision coming together—but on the other, the constant presence of contractors, noise, and dust can start to wear you down. Living in a partially finished home is challenging, and the disruptions to your daily routine can make this phase feel like it’s dragging on forever.

    When frustration creeps in, try to focus on the progress that’s being made. Each day brings you closer to completion, and every new detail—whether it’s freshly painted trim, installed cabinetry, or new tile work—adds to the transformation. Celebrate those milestones, no matter how small, to help keep your momentum and energy up.

    Remember, you’re in the home stretch now! The hard work you’ve put in is paying off, and soon enough, you’ll be standing in the beautifully finished space you’ve been waiting for. Hang in there—it’s all coming together!

    Phase 4 – Finishing Touches Begin

    Renewed Energy

    One of the most exciting turning points of any remodel is when installations begin! After weeks (or months) of dealing with dust, noise, and the not-so-glamorous parts of construction, this is when the space starts to feel like a home again. Suddenly, the empty, rough-looking rooms are being filled with the details that will define the final character of the space. Cabinets, vanities, flooring, and built-ins start going in, and with each addition, the space becomes more functional and polished.

    Cabinet installation, in particular, feels like a major step forward. Seeing your kitchen or bathroom take shape with beautifully installed cabinetry and vanities makes the room feel more put together and gives you a glimpse of the finished product. Flooring installation also makes an immediate impact—it adds warmth and texture, tying the whole design together. Built-ins, like bookshelves or window seats, create a custom, high-end feel and bring a sense of personality to the space.

    Kitchen with marble countertops and pendant lights taking shape
    Cabinets and fixtures going in: the space starts to feel like home

    Tile work and painting often happen during this phase as well, and this is where the remodel really starts to reflect your unique style. A fresh coat of paint instantly brightens and defines the space, while carefully chosen tile patterns in the kitchen or bathroom add a layer of texture and interest. The backsplash in the kitchen or the shower tile in the bathroom serves as a focal point and a reflection of your personal taste.

    Fixture installation is another big moment. Seeing light fixtures, faucets, and cabinet hardware go in makes the space feel even more finished. Suddenly, the room isn’t just a construction zone—it’s becoming a functional, stylish living space. The small details, like the sheen of a brushed gold faucet or the soft glow of new pendant lights, give the space personality and make it feel truly yours.

    By this point, the end is in sight, but it’s not without a few lingering inconveniences. There might still be touch-ups to handle, delayed hardware deliveries, or a few finishing adjustments that need to be made. Maybe a cabinet door arrived damaged, or the grout color needs tweaking—but these are minor compared to the heavy lifting that’s already been done.

    The excitement is back in full force as you watch the space come together piece by piece. You’re no longer just imagining how it’s going to look—you can actually see it. Every new element adds another layer of completeness, and you’re finally able to visualize how the finished space will look and feel. After weeks of hard work and patience, you’re in the home stretch, and the sense of satisfaction is growing by the day. The finish line is right there—you’ve almost made it!

    Phase 5 – The Last Details & Completion

    The Final Stretch!

    At this stage, everything is coming together, and you might find yourself wondering—what’s taking so long? The big, dramatic changes are already done, so why does it feel like progress has slowed down? Now it’s all about the finishing touches: countertops, plumbing and electrical hookups, hardware installation, and those last, frustrating little details that seem to take forever. It might feel like small things, but these are the elements that give the space its final polish and make all the difference in how the finished product looks and functions.

    Shower and tub with tile work nearing completion
    So close: the finishing details that make all the difference

    Countertop installation is a major milestone. Once the countertops are in, the kitchen or bathroom feels much more complete, and you can start imagining how you’ll actually use the space. The plumbing and electrical hookups that follow bring even more functionality—being able to turn on a faucet or test out your new light fixtures makes the space feel truly livable. These are the moments where the project starts to shift from “under construction” to “ready to use.”

    But as exciting as it is, this phase can also be the most frustrating. Small adjustments like fixing uneven cabinet doors, touching up paint scuffs, or adjusting a misaligned drawer might seem minor, but they’re essential for achieving that flawless, professional finish. It’s easy to grow impatient at this point because you’re so close to being done, but these finishing touches are what elevate the space from good to great.

    This is also when your contractor might do a final walkthrough to create a “punch list”—a list of small fixes and adjustments that need to be addressed before the project can officially be considered finished. Maybe there’s a bit of uneven caulking around the backsplash, or a door needs to be realigned. It’s completely normal for these small imperfections to surface at the end, and it’s better to address them now than to notice them after you’ve settled in.

    The anticipation is real at this stage. You can see the finish line, and you’re ready to move back into the space and start using it. The vision you’ve been carrying in your head for months is nearly a reality, and that mix of excitement and impatience is completely natural. Try to stay patient—this is the home stretch, and these last adjustments are what will make the space feel truly finished. After all the hard work, you deserve a flawless result, and these final details are what make the difference between “almost done” and “absolutely perfect.”

    Phase 6 – Completion

    Embracing the Process

    Completed kitchen with subway tile backsplash, marble island, and pendant lights
    The big reveal: your dream kitchen, complete

    Then, before you know it, the big moment has finally arrived—your project is done! Now it’s time to really appreciate the transformation. One last step, make sure you do a final walkthrough with your contractor to make sure everything meets your expectations. Then, you can finally enjoy your beautiful new space!

    Remodeling is an emotional journey, filled with highs and lows. By preparing for the roller coaster, you can better navigate challenges and stay focused on the big picture. Trust the process, communicate with your contractor, and remind yourself that the temporary stress will be worth it when you’re finally enjoying your dream home!

    Finished shower with glass enclosure, vertical tile, and mosaic floor
    Every detail comes together in the finished space